Sunday, January 24, 2021

Battle of Vimeiro Hill, 21st August, 1808

Last week we played the second scenario in Jonathan Jones’ O’er the Hills Peninsular War scenario book. This is the third time I have played this scenario, and it has always proved to be a very hard nut for the French to crack! This attempt was no exception, but it was still fun to play.

We made a few small tweaks to the scenario. We pushed the French grenadier fatigue hit values up and the British Rifles down to conform with the ratings system in Over the Hills 2nd Edition. We also assigned the small Rifles battalion to Acland rather than Fane as this is where Oman appears to place them. Finally there is evidence that Kellerman’s grenadiers were eventually supported by more guns, so we gave the French an additional battery.

The game was played on a 6’ X 9’ table with my 1/72 scale miniatures using the Over the Hills rules.

Scenario map, with the French lines of attack indicated. The British movement primarily consisted of shifting their right towards the centre and holding tight.


1. Vimeiro Hill

The British array themselves in battle order along the heights of Vimeiro Hill as the first French begin to arrive.

2. British right

On the British right the 9th Foot on the ridge line, observes Charlot’s troops as they emerge from the woods. The 52nd stay out of sight behind the ridge.

3. British Centre

The 97th, with the 43rd in reserve behind the ridge, occupy the British centre.

4. Dragoons on far right

The British 20th Light Dragoons, along with a regiment of Portuguese Dragoons are placed on the far right.

5. British Guns

Wellesleys’ 6 pdrs. are at the extreme end of Anstruther’s position. Only hand-hauled in this scenario, they were not allowed to start in an ideal position at the beginning of the fight.

6. British left

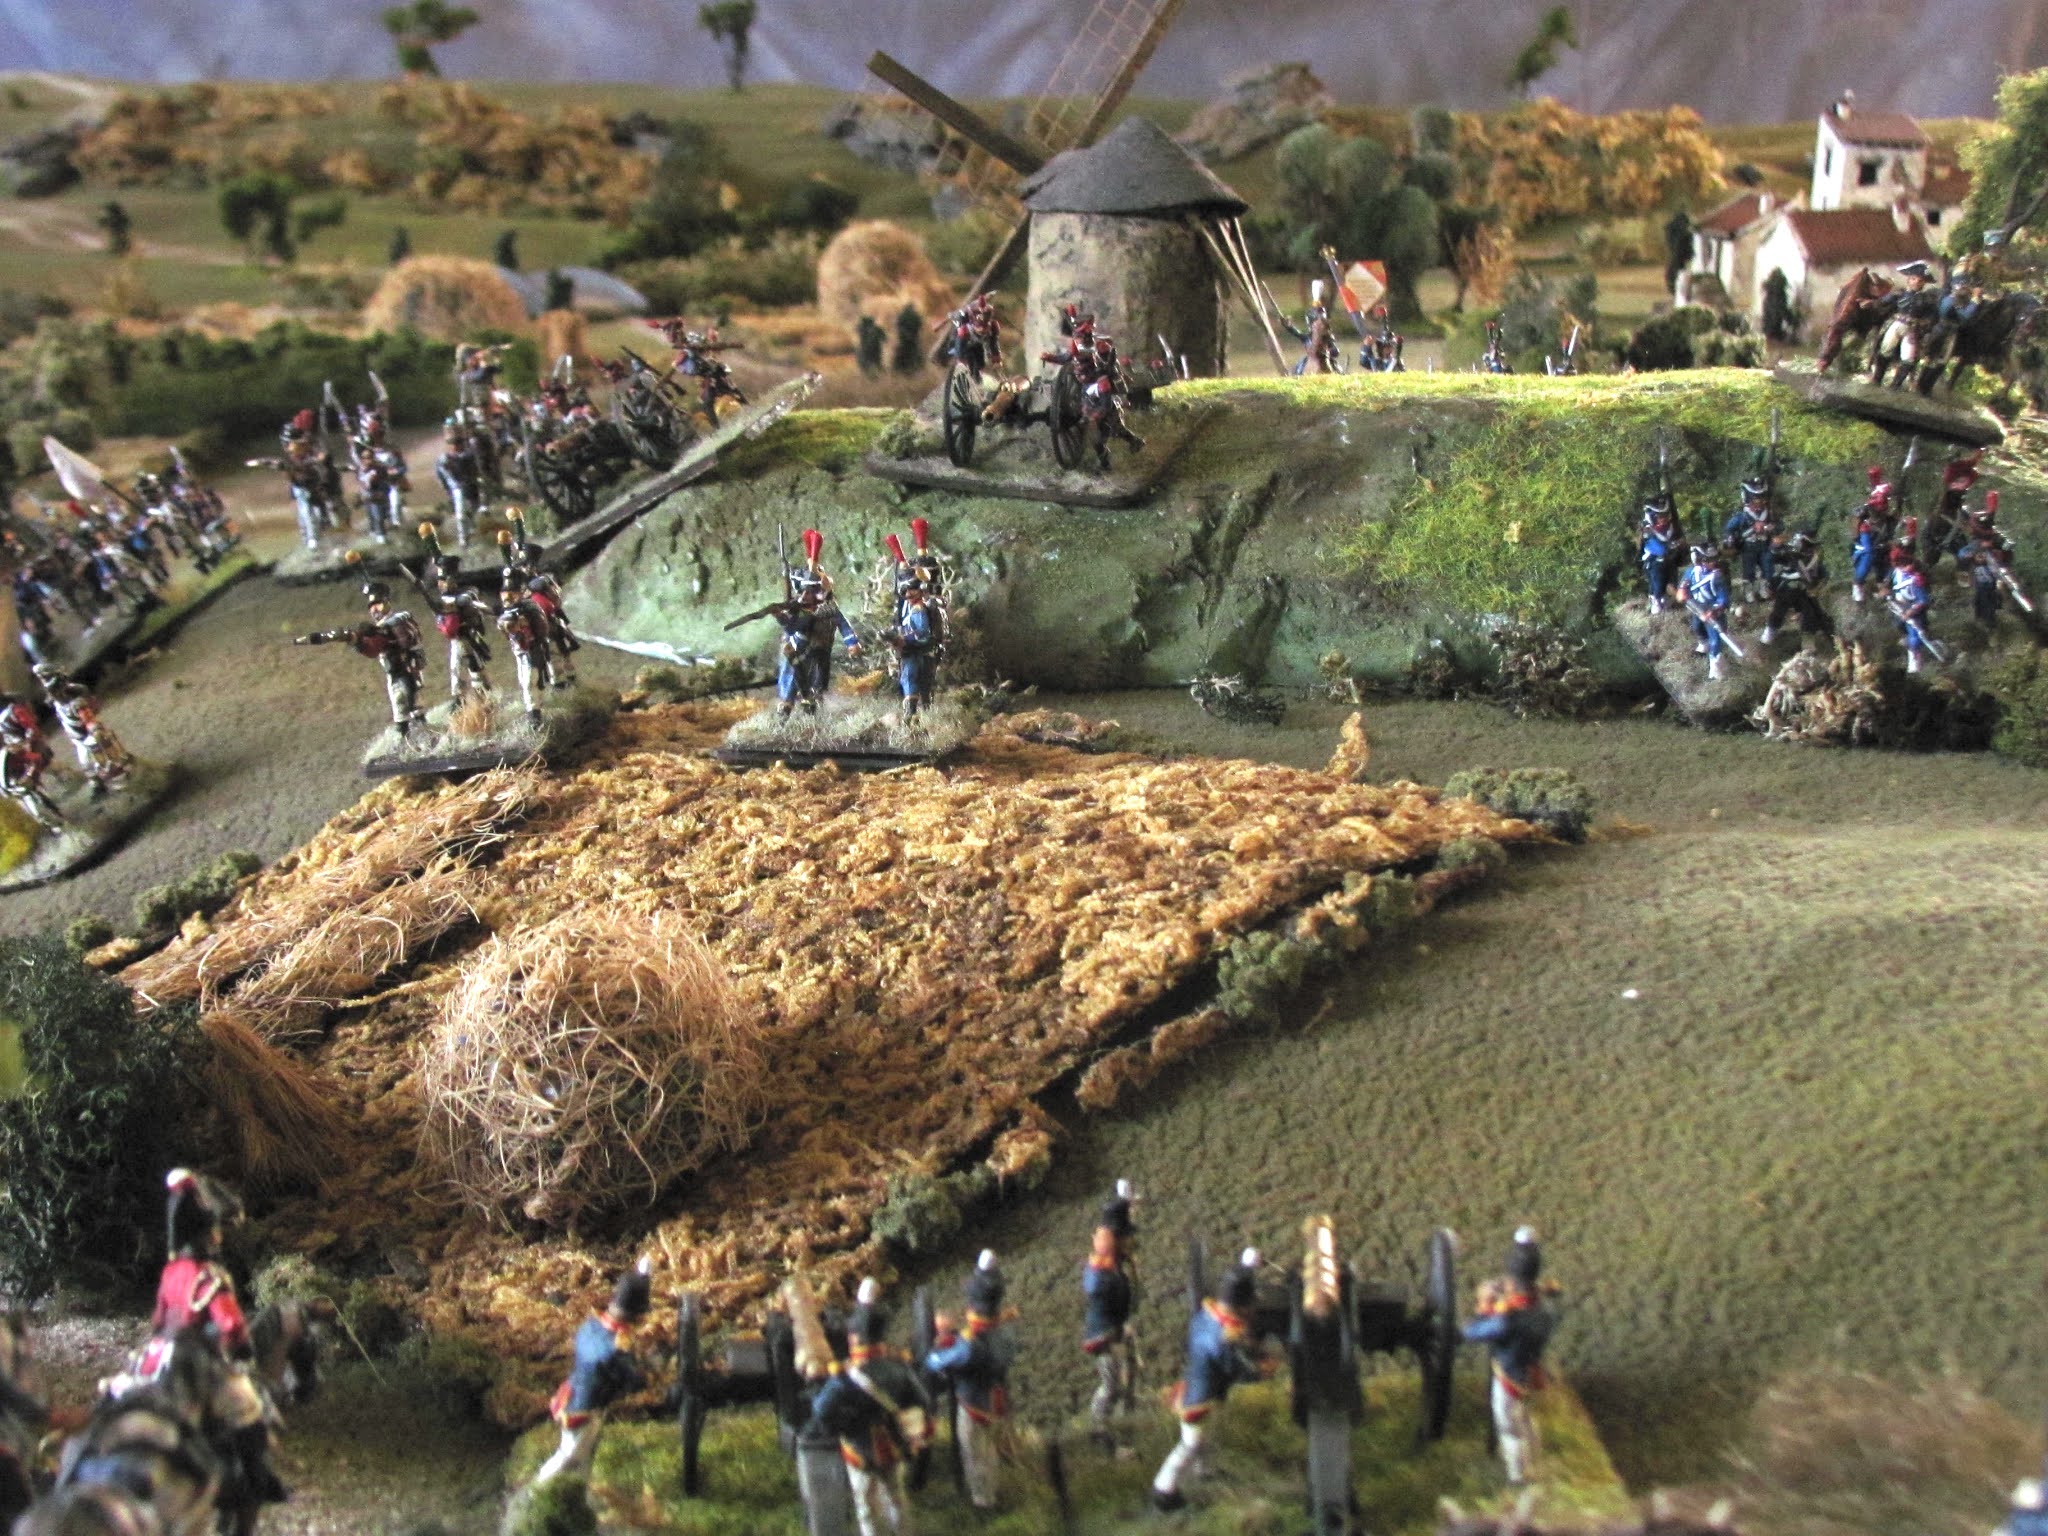
Fane begins to the left of the 9 pdr. battery with his 50th in line and the 65th and 50th Rifles thrown out front. Acland’s two company unit of Rifles (in red for this game) is also out front in this picture, before we decided he should be assigned to Acland.
7. Charlot marches out of the woods

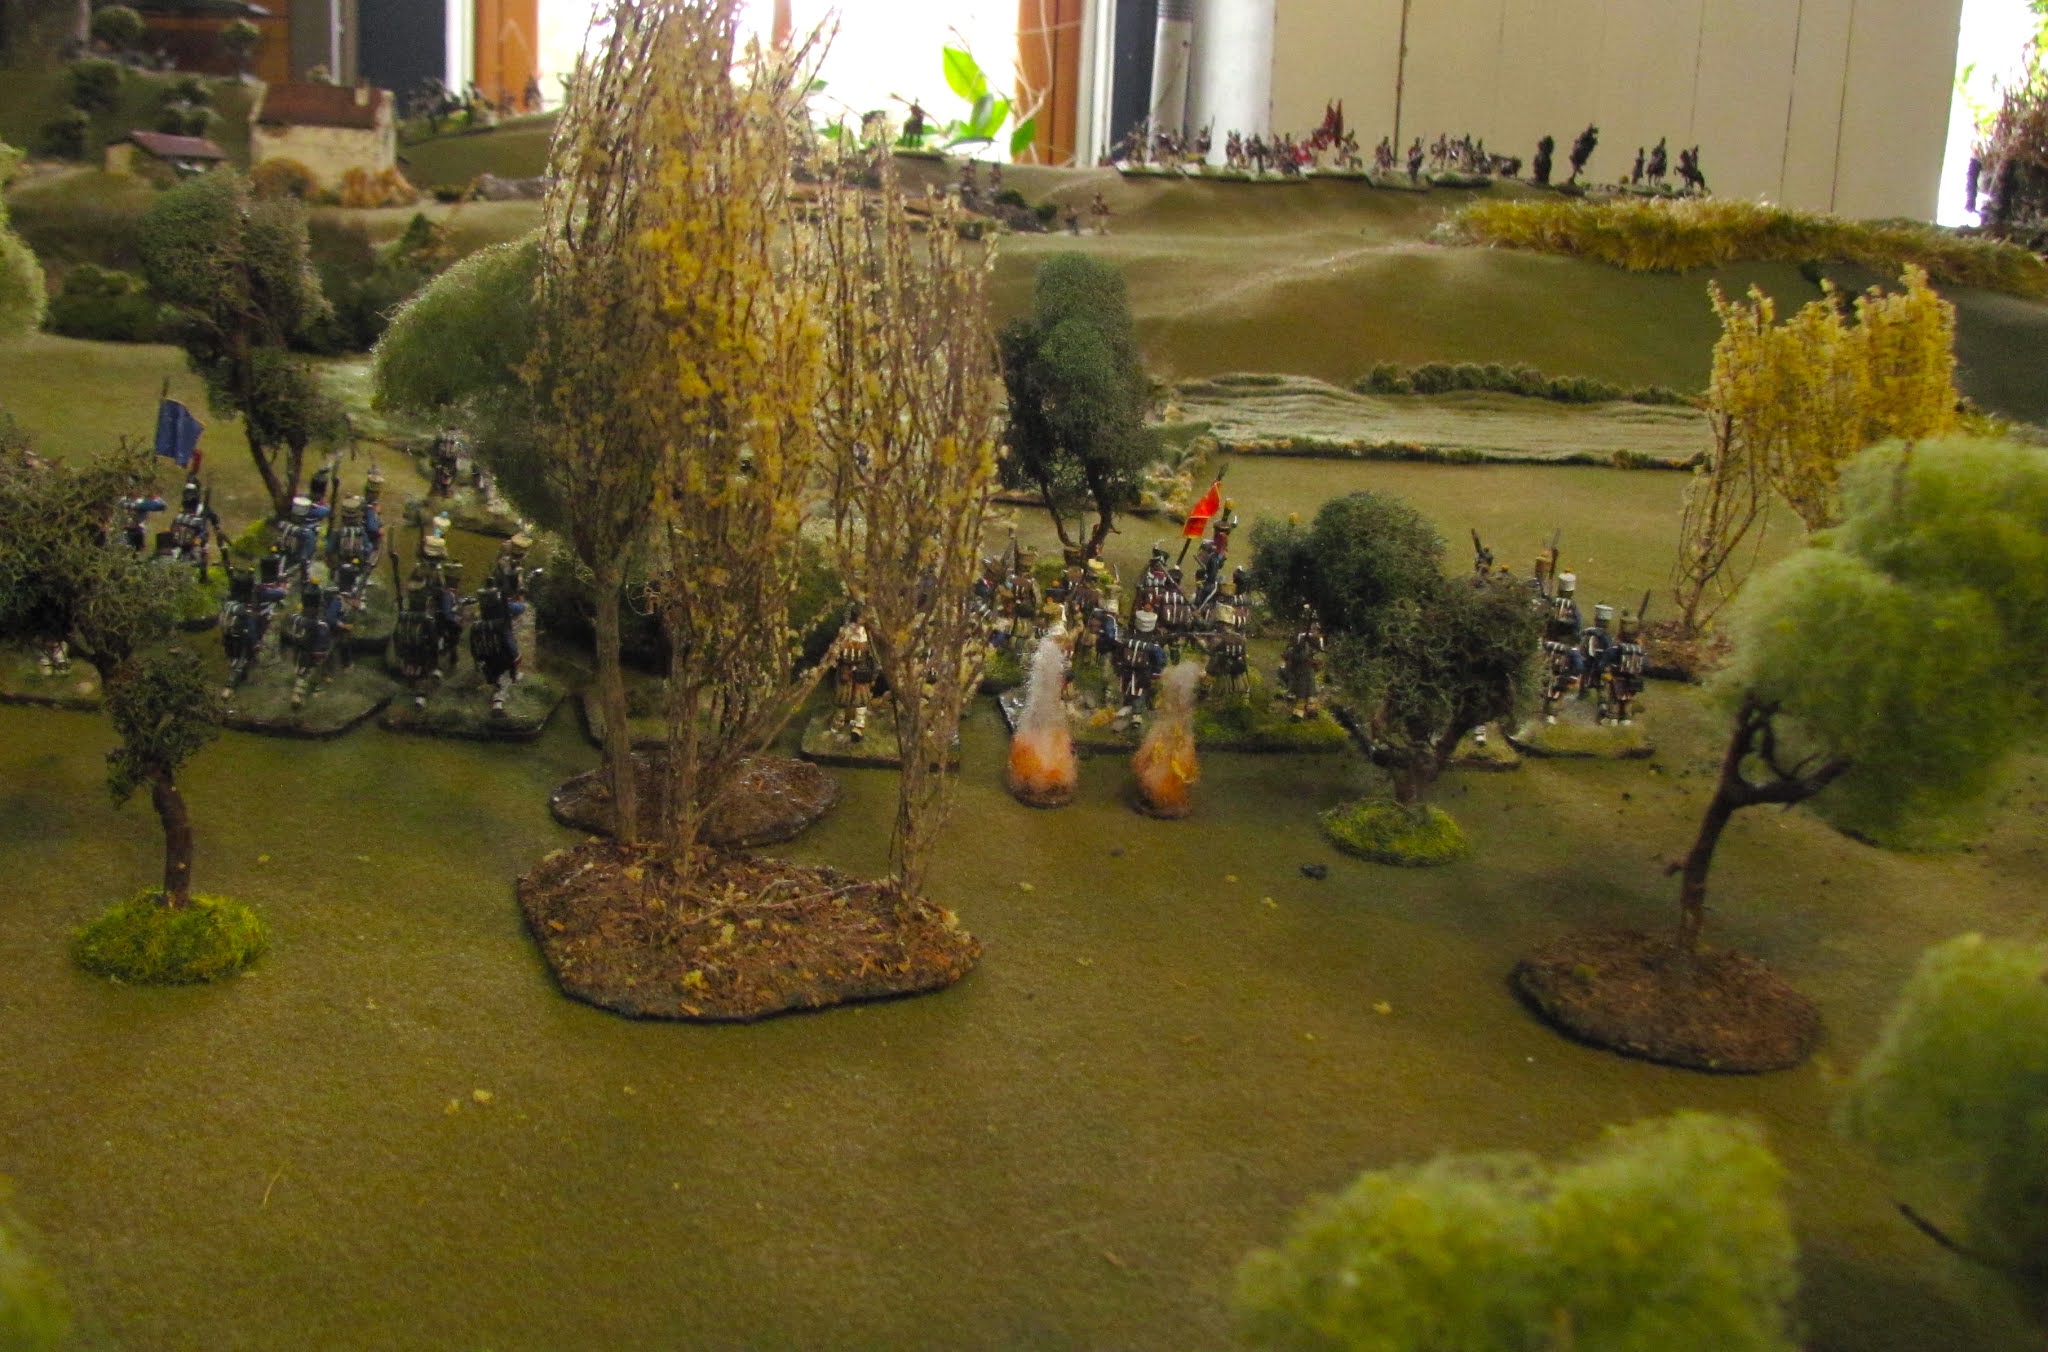
Junot’s plan is to send Charlot onto the British far right, hoping to gain the ridge and then roll the enemy up with the help of St. Clair’s and Kellerman’s grenadiers.

8. Thomieres advances towards Fane

Meanwhile Thomieres would demonstrate on the British left, pinning Fane and hopefully drawing off the Allied horse to this flank with the help of the Dragoons.

9. French right (Overview)

Thomieres advances in column with his voltigeurs thrust out in front while the small Swiss battalion (4th) march up the road towards Vimeiro.

10. Allied cavalry sallies forward

To buy time to draw Anstruther’s brigade and the 6 pdrs. closer to the centre, Wellesley sends out his cavalry towards Charlot, who responds by forming square with the 3/82me.

11. British 6 pdrs. open fire on Charlot

The British gunners begin hand-hauling their guns in from the far right, pausing occasionally to fire a salvo at Charlot’s brigades. 

12. Anstruther marches to centre

Anstruther moves towards the centre (left) while Fane pulls back his skirmish line as French dragoons arrive on the French left (top right)

13. British right

The Allied horse shift left as well, maintaining their presence between Charlot and the guns. In the upper left the French grenadiers arrive.

14. The 97th form line behind the British 9 pdr. battery in the centre
15. Acland occupies Vimeiro

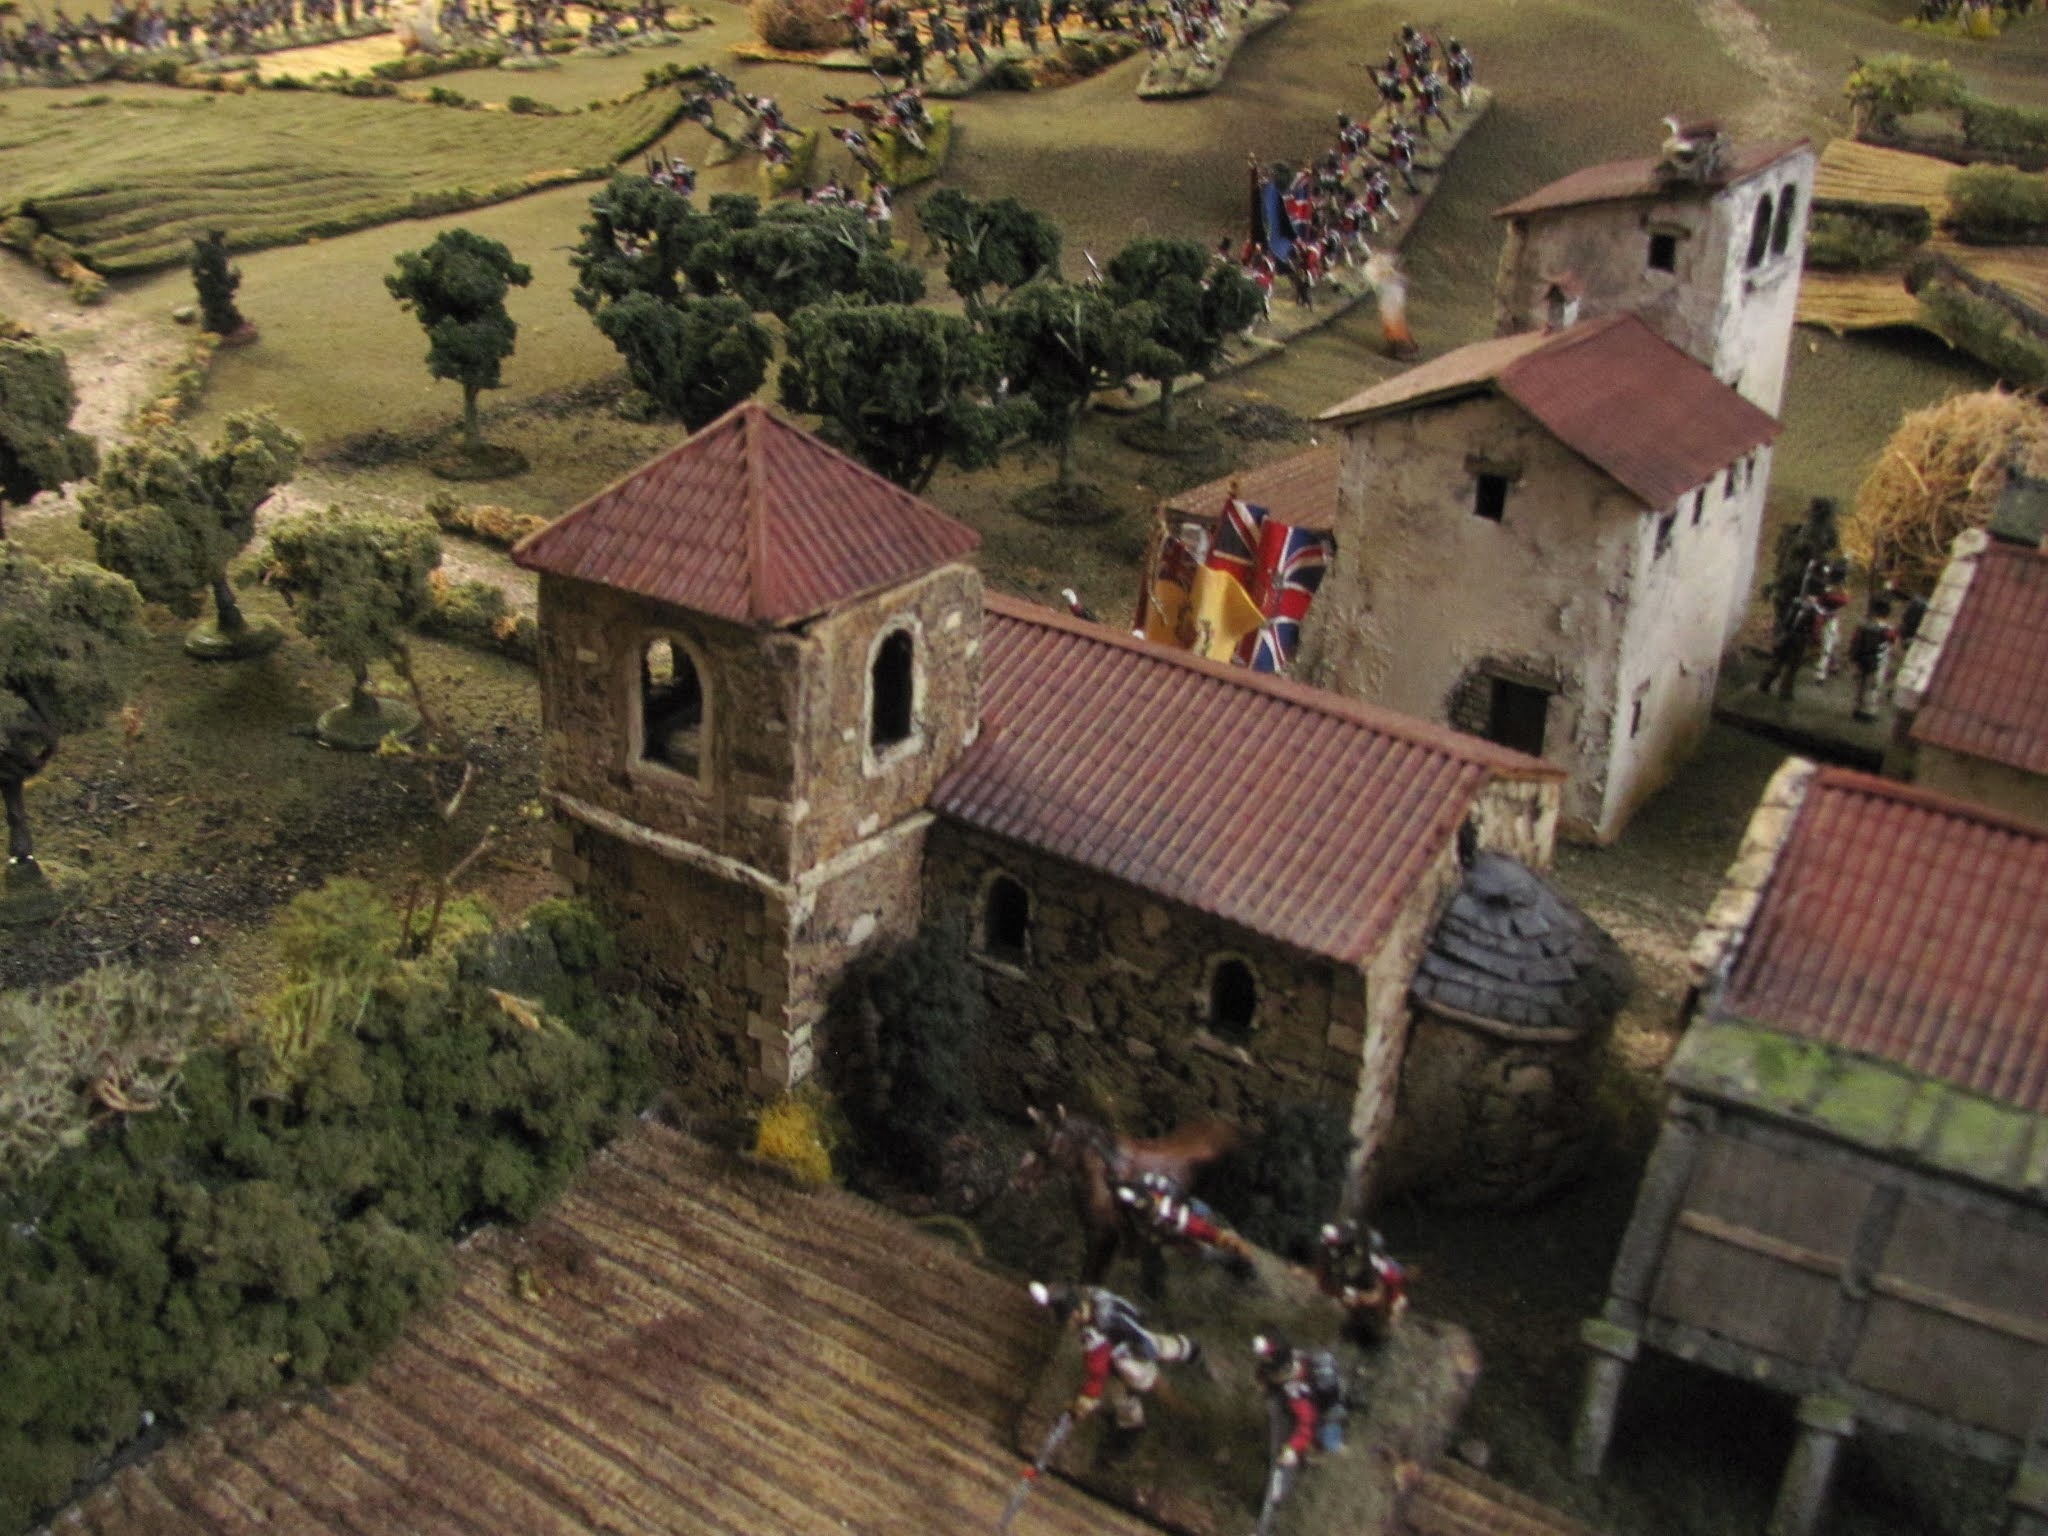
Meanwhile, on the British left, Acland arrives to garrison Vimeiro with his four companies of the 20th while his 2nd link up to Fane’s left.

16. French Dragoons arrive

The 5me Provisional Dragoons appear before Vimeiro as the 4th advance in column on the right side of the road.

17. Grenadiers march on centre

Kellerman’s grenadiers and guns also arrive, advancing behind and to the left of Thomieres’ troops, who are now shaken out into line.

18. St. Clair’s grenadiers follow up Charlot

19. Overview (French)

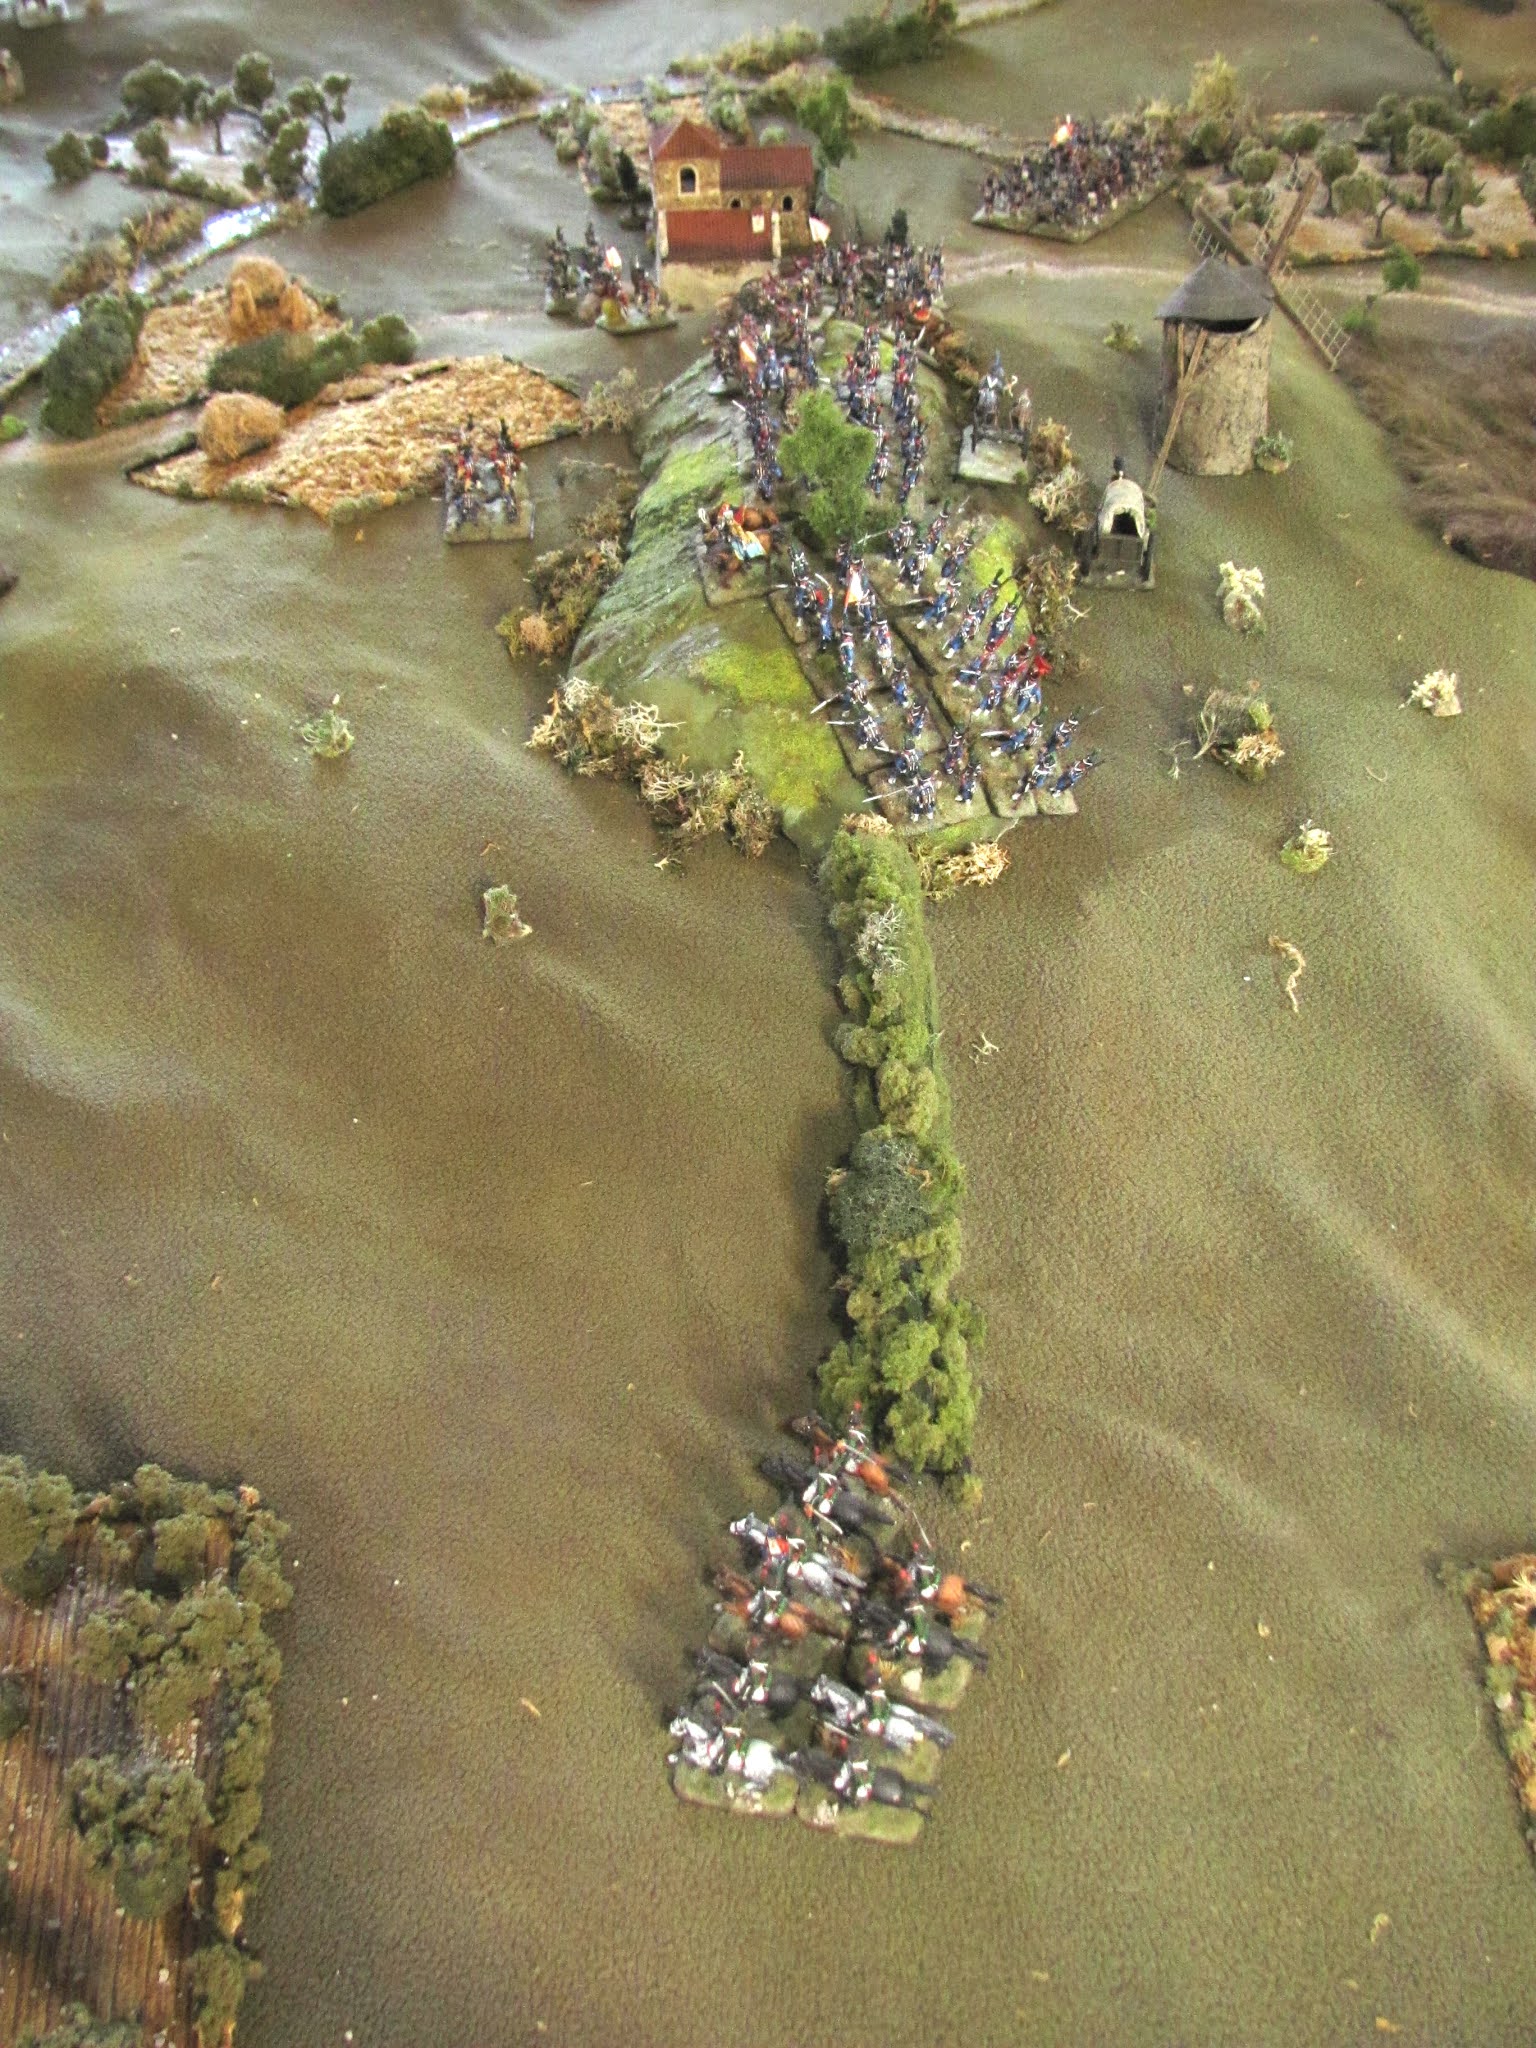
In the foreground Margaron’s brigade of dragoons, now in columns of squadrons circle in on Fane’s left while above them Thomieres, now in line, demonstrates at Fane’s front.

To the left of the small woods in the centre Kellerman’s grenadiers advance while above that St. Clair and Charlot also advance. 

Far top centre Charlot’s 3/82me, no longer in square, maneuver onto Wellesley’s right while avoiding the Allied horse, who are protecting the 6 pdrs. (top right) making their slow way back towards the British centre.

20. Dragoons sweep in on British left while Swiss approach Vimeiro

21. Overview (British)

Upper right the 6 pdrs. link up again with Anstruther’s brigade before Charlot can contact them. Freed up, the Allied horse gallop to the British left, with the Portuguese moving in front to threaten Thomieres while the 20th Light Dragoons (centre right) form column of squadrons on the ridge in support of Fane and Acland (bottom right).

22. Close up of British left

Fane and Acland have put the 50th and 2nd into squares with supporting fields of fire on the British left while the 95th form a skirmish line out front (our house rules allow skirmish troops to evade horse if within 6” of formed troops and give no Zone of Control to squares).

Bottom right Acland’s skirmishers have moved into the orchards in front of Vimeiro to harass the French Dragoons’ flank.

23. Brave Swiss

Spotting the British skirmishers firing from the orchards, the 4me Regiment de Suisse begin to cautiously advance past the vineyards on the village outskirts, eventually driving Acland's Rifles into Vimeiro.

24. Acland’s Skirmishers in orchard

25. British squares

26. Bringing up Kellerman’s guns

27. Thomieres demonstrates in front of Fane

28. French left closes

With the Allied horse gone Charlot and the grenadiers begin to close in on Anstruther. Upper left the 3/32me take some heavy shelling from the 6 pdrs. on the ridge.

29. Charlot’s skirmishers crest ridge

In advance of the 3/82me, still making its circuitous route to the ridge, Charlot’s voltigeurs close on the British 6 pdr. battery.

30. 52nd and 43rd moved over in support

In response to the arrival of the French on this flank Anstruther sends back his 52nd and 43rd to engage. The French are driven back with heavy casualties but the 52nd slips out of command range and is unable to follow up. 

31. French Dragoon regiment broken

Margaron sends in his first regiment against the 20th, but the flank fire from the squares coupled with the 20th’s countercharge destroys it.

32. A second clash

A second attempt is made but this too is driven off. Both sides, winded, fall back to recover.

33. 9th breaks 3/32

Meanwhile in the centre Charlot’s 3/32me and the French grenadiers clash with Anstruther and Fane’s 60th Rifles. A series of attacks and counterattacks leave the 60th broken on the British side and the 3/32me and one of St. Clair’s grenadier battalions broken and one of Kellerman’s battalions routed on the side of the French. 

34. Grenadiers clash with 97th

St. Clair’s second grenadier battalion clashes with the 97th, who is routed. But a counterattack by the 9th (on right) breaks St. Clair’s second battalion, leaving only Kellerman’s grenadiers on the field.

35. 9th watches as Kellerman's grenadiers fall back

The French attack has left a huge hole in the British centre, but at too great a cost. Kellerman falls back to regroup as Wellesley hastens to stop the routing 97th from leaving the field.

36. 1/50th square is threatened

As the French attack on Anstruther loses steam Junot attempts to force the British left. Thomieres’1/86me shifts left and forms column of divisions, preparing to try to break the 50th’s square. At the same time he begins to shift two of the three remaining regiments of French horse to the centre.

37. Thomieres' voltigeurs exit

Earlier Thomieres’ voltigeurs, badly mauled by the British 9 pdrs., had routed and now exit the field. But Thomieres still has two intact battalions plus the small Swiss contingent.

38. Portuguese dragoons trapped in front of own lines

The Portuguese dragoons find themselves trapped and unable to maneuver in front of Kellerman’s guns, which, inching forward, have moved into canister range.

39. Overview

At the bottom - In front of Vimeiro the Swiss still occupy the orchards, just out of sight of Acland’s 20th and Rifles holding tight in the village.

Above this Thomieres 2/86me cues up a charge on the 50th’s square while just above the Portuguese horse suddenly find themselves boxed in in front of the French guns.

Centre top Anstruther  and Kellerman battle it out while at the top right Charlot’s remaining battalion faces off against the 52nd and 43rd.

40. French guns charged

In a desperate move to break out the Portuguese horse charge the French guns. Fire from both the 1/86me square and the guns decimate them and they flee the field.

41. 50th square is driven back but survives

The 65th Rifles move back into line between the two squares in support, but Thomieres’ attack drives back the 50th square. Amazingly, however, the square survives. Thomieres pays a big price for a small victory as simultaneously and in support, the 1/86me charge the British cannon, and are driven back with heavy losses.

A second charge routs the 50th, and this time a French Dragoon regiment charges the cannon and in turn are driven back and eventually broken by canister fire.

42. French attack on British right collapses

Despite the 2/86me success in finally routing the 50th the left flank attack collapses. Thomieres 1/86me are routed by a volley and charge by the 95th while a third dragoon regiment is routed by small arms fire from Acland’s troops on their flank.

43. Final clash

In a final and spectacular clash between the remaining dragoons on both sides, the French break the British horse…

44. 9th broken!

And carry their charge on into the 9th, who are overrun and scattered.

50. Final overview

At the bottom Thomieres brigades and all but one of the Dragoon regiments are routed or in retreat, with the sole exception of the Swiss, bottom right, cut off and surrounded by Acland as his forces move forward from Vimeiro. Above the last French dagoon regiment falls on the rear of the British 9 pdr. battery after it broke the 20th Dragoons and the 9th Foot. The battery will also fall to this regiment before they, too, withdraw from the field.

So with St. Clair gone, the Dragoons broken (two units broken, one routing) and Thomieres broken (one large battalion at 11 FH routing and the voltigeur battalion at 5 FH routed off the board, leaving only the second battalion at 11 and the Swiss at 4) the French have had three out of five brigades broken, forcing them to withdraw. The British, on the other hand, have had one brigade lost (the horse) with two others having lost one battalion each (the two routing battalions were rallied), leaving them fimly in control of both Vimeiro Hill and Vimeiro village.

As was mentioned at the outset, this has proved a hard nut to crack in three games now. The terrain of Vimeiro Hill render the horse less useful than they might normally be, and, as was historically the case, Junot, by splitting his forces fails to have the troops necessary to defeat the British at Vimeiro. The hill itself in this game, allowing the British to form a very tight perimeter, meant that the French would only overcome one line of defence to come up against another.

Next time we plan to take on the linked scenario from the book representing the flank attack at Ventosa. Perhaps this time the French will have more success!

Thursday, December 17, 2020

4th "Queen's Own" Dragoons

The "Queen's Own" 4th Dragoons ride through a village high in the northern Portuguese mountains as a local priest emerges from his hovel to give the passing soldiers a Christmas blessing.

Happy holidays, everyone! What a year!! May 2021 be just a bit more normal...

I recently finished my first unit of British Heavy Dragoons, deciding on the 4th “Queens Own” due to their long history of involvement in the Peninsular Wars. As I painted them I thought they looked so Christmassy in their red and green that they would make the perfect Christmas post!

These figures are the new Peninsular War HaT Heavy Dragoon set, the second of two sets in which I participated in the crowd-funding campaign. As I stated in an earlier post on the sister set Light Dragoons, which can be found here, these were a very long time coming and I was excited to finally receive my order a couple of months ago.

Much has already been written about these, including a review of the set that can be found here on the Plastic Soldier Review. Like the light dragoons, I found there were problematic elements with these, but also things that I quite liked.

On the down side, again I found that the optional arms for some of the figures just did not fit at all and had to be universally re-pinned and reinforced with putty. Also the figures do not grip the horses well, also requiring pinning and there is the odd issue of the missing (or at least truncated) plumes on some figures. The one issue that many found bothersome was the disparity of sizes among the figures, and although this is true, I did find that once I had added the missing plumes this became less obvious. The static and repetitive quality of the poses has also been criticized, but I think that the optional arms, if you go to the trouble to apply them correctly, help make up for this failing.

So on to what I do like. The horses are well-sculpted, although unfortunately only two poses, and overall I found that flash and blobby detail was less an issue with both horses and men than with the light dragoons. Like the light dragoon set I really like the campaign feeling of these. Although none of the heavies wear the customary overalls, they all carry a haversack, canteen and all have a carbine that can be attached. I reinforced this attachment with lots of glue as it seems it is  a part that could easily be dislodged if you are using these as gaming figures.

Overall I was happy enough with the set. I guess I just love painting red-coated soldiers so that alone is a bonus. The missing plumes are just weird but I found those were easily replaced and again, with a bit of work up front, the set was still a real pleasure to paint, despite their many imperfections.

These are the four smaller figures with optional arms attached (there is no trumpeter arm in the set - I used the one from the Light dragoon set). I have added the missing plumes and pinned and reinforced the arms. 

A bit of History

The 4th "Queens Own" were first established in 1685 at the time of the Monmouth Rebellion as the Princess Anne of Denmark's Regiment of Dragoons. It received its rank of forth in the listings in 1751 and in 1788 was designated "Queen's Own" after King George III's wife, Queen Charlotte.

The 4th Regiment arrived in Portugal in April of 1809 and was brigaded with the 3rd Dragoon Guards to form the first British heavy cavalry brigade in the Peninsular War under Major General Henry Fane. They went on to be present at Talavera and served with the British cavalry throughout the remainder of the Peninsular War.

If you are interested in more history of this unit, along with some great information on the mounts of the British heavy cavalry I would refer you to the post on JJ’s Wargames that can be found here.

And finally a few more Christmassy pictures...

A priest's blessing
Front view
Rear view. Here you can see the canteen and haversack - a nice touch!


Sunday, December 6, 2020

Roliça August 17, 1808

 We played Jonathon Jones’ Roliça scenario (The Leopard’s Debut, from his O'er the Hills scenario book) last week, and had a lot of fun fighting it out. It is the sort of scenario I really enjoy, a lot of maneuver and less fighting, although it had its clashes and ended in a monstrous brawl on the ridge.

The scenario is based on the first major encounter between Junot's French and the Anglo-Portuguese force under Wellesley’s command on August 17, 1808. As Wellesley marched south towards Lisbon, a French force under Delaborde moved to block him with a delaying action fought at the Portuguese village of Roliça. Delaborde was aware that Wellesley was in the process of outflanking him with the remainder of his force, and planed to retreat from the village to a stronger position on a ridge to the south, above the village of Columbeira, to continue the action.

In the scenario Wellesley’s forces need to gain a lodgement on the ridge by Turn 12, and Delaborde needs to prevent that from happening. We played the game with 1/72 scale figures on a 6’ X 9’ board and used the Over the Hills ruleset for our game.


The scenario map with the British lines of advance shown for our game.


The Battlefield


Viewed from north to south (British enter in the foreground) with Roliça and its high ground front centre and Columbeira and the ridge at the top. The area is liberally sprinkled with orchards, vineyards, woods and hedgerows to create impediments to the advance/withdrawal. All the creek beds are dry and not considered obstacles, but the ridge is only accessible by four narrow gullies, with the exception of skirmish order troops who can move through the rough bits.


1. Delaborde on Roliça hill

Delaborde takes up his first position, with his 26me Chausseurs flung out far to his left and the 1/70me Line on his far right. He chooses not to occupy Roliça.


2. The British arrive

The British arrive in front of Roliça in column, with Hill’s 1st Brigade on the right (foreground), Nightingale’s 3rd followed by Crawford’s 5th in the middle and Fane’s 8th Brigade on the far left (top).The 20th Light Dragoons also arrive and immediately form up in line to close with Delaborde’s horse.


2. View from the British right

Hill’s brigade, on the British right, advance in column with Columbeira and the ridge in the distance.


3. On the British left

While Fane’s infantry quickly move to secure Roliça, and engage the French left Crawford’s 91st and 50th (foreground) follow Nightingale’s troops in their circuitous advance up the flank and through the orchards and vineyards surrounding Roliça. The small Swiss battalion (remnants of the 4th) fall back in front of the superior British numbers.


4. Roliça occupied

The 95th Rifles easily occupy Roliça and begin sniping at the surrounding French forces.


5. Roliça hill

The 6 pdrs. unlimber to engage the French artillery firing on the advancing British.


6. Chausseurs on the loose!

The French cavalry meet the British light dragoons’ charge and send them reeling back (it happened so quickly I wasn’t able to get a picture!) They follow up with a second charge that scatters the British horse (as should have been expected as it was the first time my British dragoons had been on a table). The victorious French wheel and form up to assault Hill’s columns as they push ahead up the right.


7. Overview - French withdrawal begins

With Roliça in enemy hands the French begin to withdraw. At the top Nightingale’s and Crawford’s brigades quickly move up the French right. Below Fane occupies Roliça with his 95th Rifles and pushes the 1/45th past the town to form line and charge the 1/70me (upper right).

In the centre Delaborde abandons Roliça hill and begins the retreat to his intended line of defence, the ridge to the south.

At the bottom Hill forms the 1/9th into square to protect his rear against the French horse as his other two battalions continue to advance in columns of companies up the British right.


8. French rearguard

The 1/70me holds firm against the 45th, sending the British back bloodied, thus guarding the right of the French withdrawal. 


9. Overview of British left

Roliça is in bottom right, held by the 95th as the 45th is thrown back by the French. But the 45th serve their role, occupying the enemy as Nightingale and Crawford (left) advance towards the ridge.


10. Wellesley brings his command forward

With the French in retreat, Wellesley moves up to Roliça as Fane sends the 5/60th Rifles in column to the right of the town.


11. 1/70me fall back


12. Chausseurs stymied

Hill forms a second square and orders his third battalion into a closed column before the 26me can bring their charge home.


13. Back to Roliça

With Hill for the moment bogged down, Delaborde orders his cavalry back towards Roliça to support the French withdrawal.


14. 2/70me engage

As the 1/70me hastens back towards the ridge along with the Legere battalions the 2/70me takes over the reargurad (upper left), along with the Swiss and a voltigeur battalion. They fight a running battle with Fane’s troops through the fields north of Roliça as they advance out of the town, with Fane unaware of the French horse advancing on the far side of the hill!


15. Overview

Upper left Crawford advances while just visible at the top is Nightingale’s troops. Centre right the 1/70me has gone into open order as they rush back in a race with the British to the ridge. Below them the 3/2me Legere and the 3/4me Legere also retreat in columns of divisions while centre left the 2/70me fight a rearguard action with Fane’s 8th Brigade.


16. British left

Nightingale (bottom) races the 1/70me (top) to make the ridge (left) while Crawford (edge right) makes for the next gap over.


17. 2/70me routs

2/70me (right) routs after another clash with Fane while a small voltigeur battalion turns and forms line to try and protect the retreating cannon.


18. From the ridge

On the left the two Legere battalions and the 1/70me on the right reach the bottom of the ridge while the fields south of Roliça swarm with the British advancing infantry. On the hill in the distance the French horse arrive on Fane’s flank, forcing his columns to close up in response.


19. Cavalry arrive

The Chausseurs arrive (top) on Fane’s flank, causing his columns to close up as the 2/70me (top left) routs towards the ridge. Bottom left the French voltigeurs, in line, bravely hold back an assault in column by Fane’s 1/45th as the French guns make their slow way towards safety.


20. Brave voltigeurs!

The voltigeurs manage to hold back this attack, but soon after the British drive them off and the French guns are captured.


21. Nightingale deploys

Nightingale’s battalions form up in line in preparation for an assault on the 1/70me as his light infantry engage the enemy from behind a hedgerow.


22. 26me Chausseurs retreat

Delaborde, realizing that Hill on the British right is in danger of making the ridge, pulls his horse back to hold them off. Here they ride past Columbeira.


23. Hill occupies Columbeira

Hill throws his light infantry into Columbeira, who discharge a devastating fire into the flank of the French horse as they charge past. Meanwhile, bottom, his battalions push on.


24. A parting shot

From Roliça hill the British artillery, held back by the threat of the French horse ranging behind the British lines, unlimbers and fires a parting shot into the rear of the retreating 2/70me, rallied and now in column. It is enough to panic the French battalion a second time and they again rout towards the ridge. It will be the last shot fired by the British cannon.


25. 3/2me Legere march onto the ridge


26. 1/70me holding back the tide

The 1/70me, managing to slip past Nightingale as he formed up for an attack, gains the ridge top intact and forms line. Nightingale throws his battalions forward, hoping to force a foothold on the ridge before the French can firm up their defence. But only the 29th makes contact, and the narrow access means the British need to attack in columns of companies. The French easily throw back this first attempt.


27. Overview of ridge

At the top the 1/70me confronts Nightingale, while below that (second gap) the 3/2me Legere have formed line to confront Crawford.

In the third gap the 2/70me rout back in disarray with Fane in pursuit while bottom right the 3/4me Legere have begun to move towards blocking the fourth gap, only to see the Chausseurs (bottom centre) arriving to block Hill’s access. 


28. 1/70me holds fast

The 1/70me repulses a second attempt, this time by both of Nightingale’s battalions while to their left their voltigeurs engage in a fierce firefight trying to hold off the British and Portuguese light infantry, making their way up the rough ground between the gullies.


29. 29th routs

The 29th routs, but unfortunately so do the French skirmishers, driven out by the British light who now begin to engage the 1/70me’s left.


30. Driven back!

The skirmish fire from the rough drives back the 1/70me…


31. Foothold

…allowing Nightingale’s 82nd to gain the ridge top, shake into line and attack. Vicious hand to hand fighting ends with both sides reeling backwards, but the 82nd, falling back into the rough, becomes disordered and routs back down the ridge! But this will be the last French success.


32. West end of the ridge

The 26me Chausseurs, badly battered, retreat to the top of the ridge, while Hill’s battalions cautiously advance in closed columns.


33. Victory!

However in the centre Crawford’s 5th Brigade finally breaks the French defence. Charging up the gully in two columns abreast, they drive the 3/2me back. The 3/2me’s retreat takes them through their supporting battalions and a second charge by the Scots and British cause the 3/2me to break and rout. The momentum of the charge then propels them into the flank of the second Legere battalion and the supporting Swiss. 


34. Overview

At this point the French threw in the towel. With two full battalions in rout, a third battered and engaged on the flank and even the brave 1/70me staggering there was no option but to withdraw in the face of the red tide.


From top to bottom:

Upper right the 1/70me still stand while upper left Nightingale’s two line battalions rout from the ridge. 


Centre right Crawford’s victorious brigade floods onto the ridge, the 91st taking the 3/4me in the flank. 


In between the gaps British and Portuguese skirmishers also break onto the top of the ridge.


In the third gap from top Fane’s brigade arrives late to the show, having done legion work in engaging the French rearguard all the way from Roliça.


At the bottom Hill’s closed columns creep up towards the French horse.


All in all it was a great game, full of suspense and nail-biting moments. The British almost beat the French to the ridge due to a slightly delayed withdrawal and a concerted push by Nightingale up the British left. But the 1/70me, both at Roliça and on the ridge, as well as some of the smaller voltigeur battalions, threw back wave after wave of British attacks. In the end British numbers and the degradation of the French troops meant that the rot had set in and not all of the accesses to the ridge could be adequately held. The ridge fell at the beginning of Turn 9.