We were back to WWII again this month, moving on from our brief foray into North Africa to the long-awaited Sicilian invasion of July 1943. Three days after the launching of the invasion, the British 1st Parachute Division, in Operation Fustian, was dropped to seize Primosole Bridge over the Simeto River, in order to pave the way for the 8th Army advance. Friendly fire and a wide dispersal at the drop zone meant only a fraction of the brigade arrived to join in the fight. Unknowingly the paratroops had been dropped into an area held by the 1st Machinegun Battalion of the 1st Fallscirmjager Division, many being dropped south of the bridge and forced to engage with the dug in troops there. A small group of British managed to seize the bridge from the Italian defenders and by the following day 12 officers and 283 other ranks had gathered around the bridgehead as the Germans pulled together a hasty counterattack.
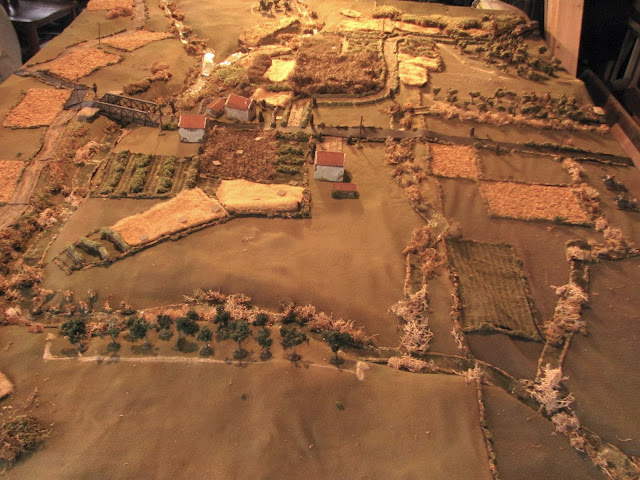
This battle was fought on a 6’ x 7.5’ board, using my 1/72 WWII toys and played with the Battlefront WWII ruleset. Alan took the Germans while I ran the British. The scenario is a replay of one that I wrote for this ruleset many years ago. It can be downloaded here: https://www.fireandfury.com/scenarios/primosole.pdf
1. The Battlefield
The Simeto River snakes across the battlefield from upper left to lower right. A few streams that feed into it provide obstacles over relatively open ground on the bottom half of the board, but the main German attack, originating top right, crosses through an area dense with tall crops, vineyards and rough ground. This gives plenty of cover for the advance but also opportunities for ambush by the British. The British paras have set up a defensive perimeter around the bridgehead left centre, with a platoon-sized contingent well forward, hidden in the vineyards.
2. The objective
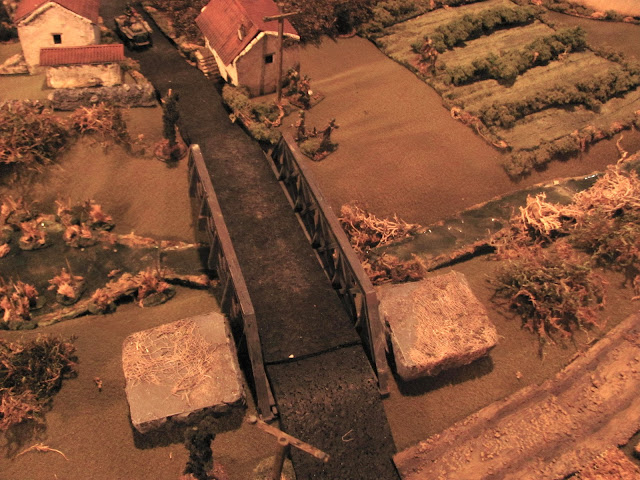
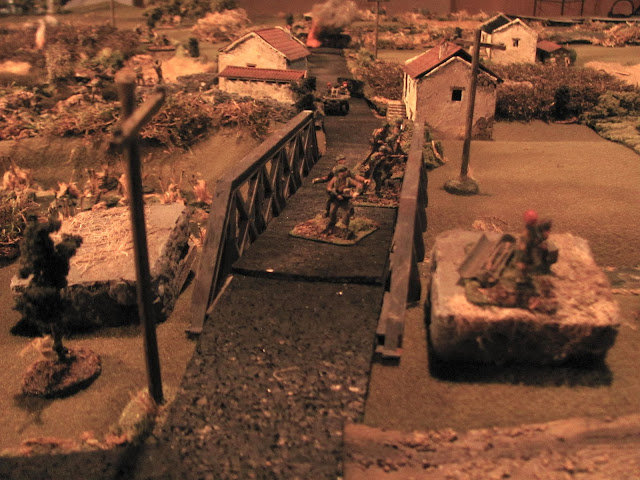
The bridge, seized the day before from Italian defenders by British paras of the First Parachute Brigade, must be held by battle’s end. Two pillboxes defend the south bank, currently unmanned as any attack is expected from the north. A cluster of farm houses north of the river provide good cover for the dug-in defenders.
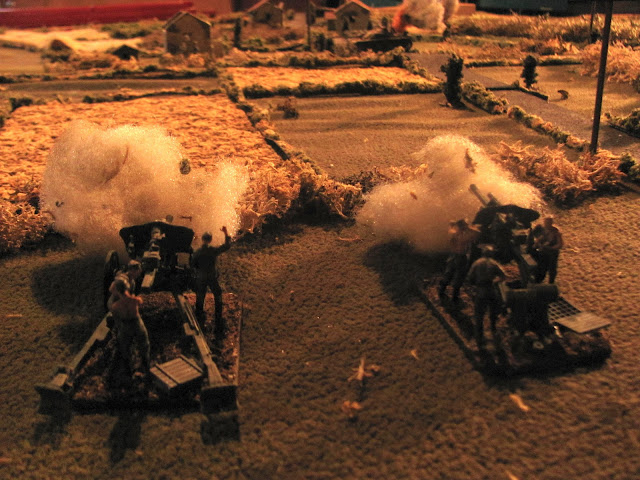
3. The German 105's
A battery of German 105’s is in support of the Fallschirmjager attack (typically off board, but I had the models!). But they rarely made an appearance as a result of successive failed calls for fire! Curse of the new model.
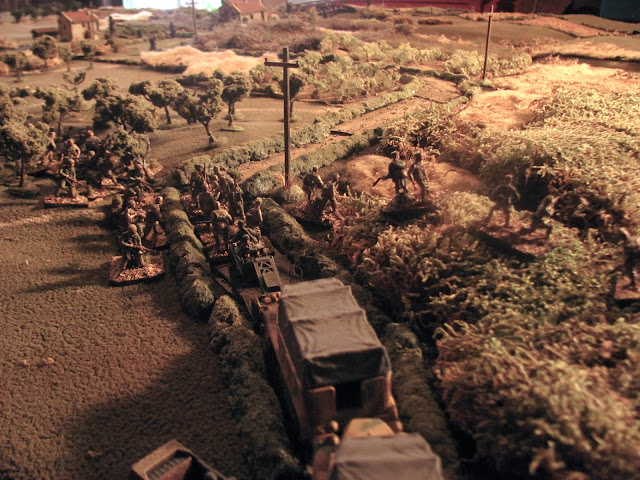
4. Fallschirmjager enter along sunken road
With frontline troops of the 1st Fallschirmjager Division engaged elsewhere the German command is forced to pull together a hasty Kampfgruppe from HQ troops. As a result the Kp. of 1st Fallshirmjager Nachrichten Battalion (the signals company) were pressed into the attack. Here they arrive via the sunken road along with towed 88’s and support guns. A platoon of the centre company also supports this flank.
5. German centre
In the German centre a smaller ad hoc company of headquarter troops prepare to assault down the paved road, supported by an assault gun platoon and a towed 50mm gun. On platoon each of this company have been sent to the far left and right of the battlefield, the former to move around to the rear of the position and the latter to bolster the main attack on the German right.
6. On the far left
On the far left a platoon of German paras prepares to cross the Simeto.
7. Mortar strike!
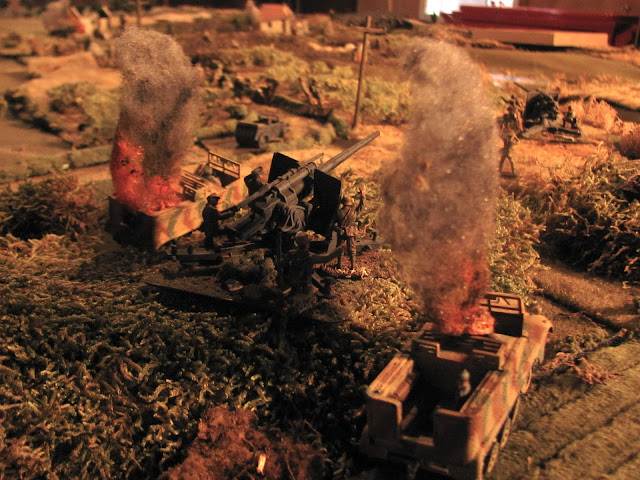
As the German artillery exit the sunken road to move across the ground on the right, a mortar strike knocks out one of the 88 transports. But the crew manage to bail out and salvage the gun.
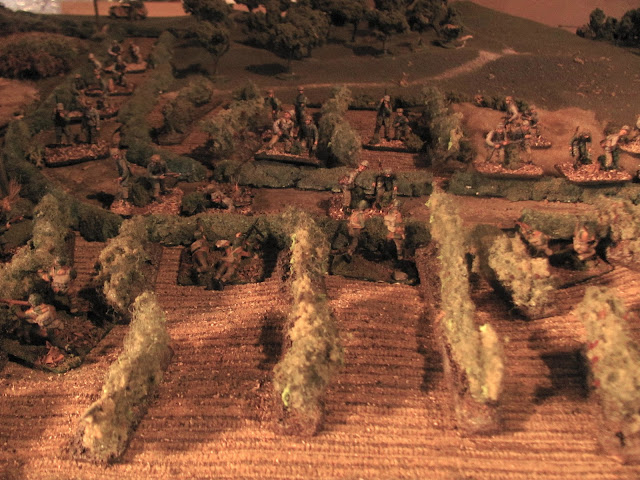
8. British paras encountered along sunken road
Well forward from the bridge a large contingent of British paras ambush from the verges of the sunken road. The Fallschirmjagers take heavy casualties as they move in to engage.
9. German guns emplace
The two 88’s and 75mm recoiless gun emplace to lend fire support.
10. British paras fall back
But damage inflicted, the paras melt back through the cover towards their main line, disappearing into the vineyards.
11. Stug KO'd!
In the centre the Germans press forward either side of the main road. But small arms fire erupts from the fields around the bridgehead, exacting a heavy toll. The Stug is brought forward in support but as it exits the road it is knocked out in enfilade by a hidden 6 pdr.
12. 105's answer
In one of the few successful German calls for fire the 105’s put down a concentration on the area where the anti tank fire originated…
13. Knocking out the 6 pdr.!
14. Another German halftrack destroyed
However the attackers’ grief mounts as the British mortar continues to lay down deadly and accurate fire. When the lead 88’s halftrack pulls back to try to bring the second gun further forward, it too is destroyed.
15. Fighting retreat
The Germans pursue the retreating British through the tall crops and vineyards in a running battle.
16. Fallschirmjager press in on the bridgehead
The German paras press in both by field and the sunken road. The British are caught before they can make it back to their main defensive line around the bridgehead but still manage to get the better of almost all the close combats as German casualties approach the breaking point.
17. Overview
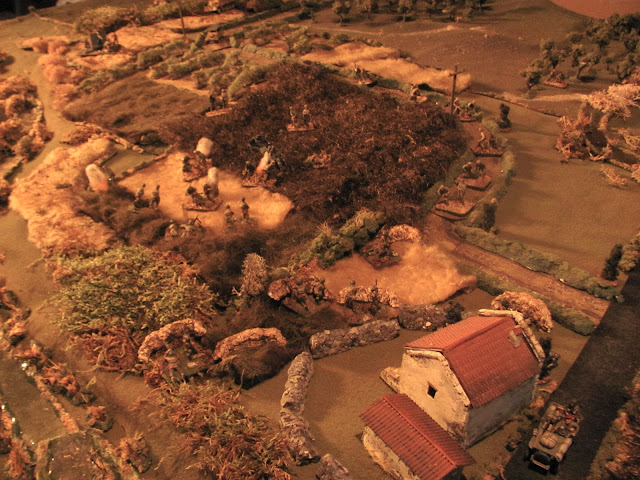
In this overview, at the bottom the German platoon circling behind along the river have almost reached the bend. Above this but below the paved road the attack up the centre has stalled. Heavy German casualties and the loss of the Stug have caused the survivors to go to ground around the right hand farmhouse where they exchange gun fire with the dug in defenders. Compounding their troubles, the 50mm antitank gun that was supposed to be in support has become seriously bogged down in a stream bed to the rear. Seeing the enemy circling behind Brigadier Lathbury pulls some of his troops on this flank back to protect the south end of the bridge.
North of the paved road the fallschirmjager try to break through the British perimeter.
18. Mortar strike on sunken road
The enemy is seen bunching up along the sunken road and take a devastating mortar strike.
19. Paras from British right rush back to defend south end of bridge
British paras hurry back but have misjudged the approach of the enemy, as both race to seize the pillboxes on the south bank.
20. Fallschirmjager close in from south side of river
21. Goddammit, do I have to do everything myself??
Brigadier Lathbury himself, realizing that the enemy might arrive before his paras, abandons his command post to rush back with his HQ staff to man the bunker. The late arriving paras take up positions along the bridge in support.
22. German Pak38 KO'd
But all this is a side show to the main event. On the road the 50mm, finally arriving and unlimbering, is KO’d by the mortar before it can take a shot!
23. Main attack in retreat
And in the face of heavy casualties the main attack unravels. As they fall back disordered Captain Stagenberg calls off the assault.
24. A small bright spot for the Germans in a day of grief
In a very small victory, the paras push the enemy out of the south shore pillbox and seize it. But it is too little too late as no supporting attack is materializing on the north shore. Outnumbered and cut off, they surrender.
25. Game end
The game ends with a clear victory for the British. Casualties were very light compared to that inflicted on the attackers and the bridgehead is firmly in the hands of the 1st Parachute Brigade when lead elements of the 8th Army roll up from the coast.
So that is the narrative. The back story is that Alan, as the Germans, rolled as poorly as anyone I have ever seen in years of gaming!! On the other hand the dice seemed to love the British, with the mortar alone accounting for three KO’s - the two halftracks and the 50mm. The German 88’s were therefore forced to emplace at long range and did no damage, with only the 75mm getting in close - just as the entire attack broke off. And finally the Stug was KO’d on the first shot of the British 6 pdr., again before it had even spotted any of the enemy! So about as uneven a game as you can have.














Dice are dice, over a game or a lifetime of gaming they roll 50%
ReplyDeleteYes, but over a game they can be brutally unfair!
DeleteI've always wanted to play this event. Great scenery and kit Bill, awesome
ReplyDeleteThanks, Al. It's a good game and usually quite balanced. Even in this one that large German company just kept coming and coming!
DeleteSound like you had a whale of a time, Bill. Poor Alan
ReplyDeleteYes, poor Alan. But he too it bravely on the chin!
DeleteGlad to read another one of your WW2 battle reports. They are also a pleasure to read and also admire the great terrain and kit. That scenario looks very interesting. Thanks for posting!
ReplyDeleteThank you, Shaun. It is fun to dip back into the WWII stuff again. I have missed it.
Delete