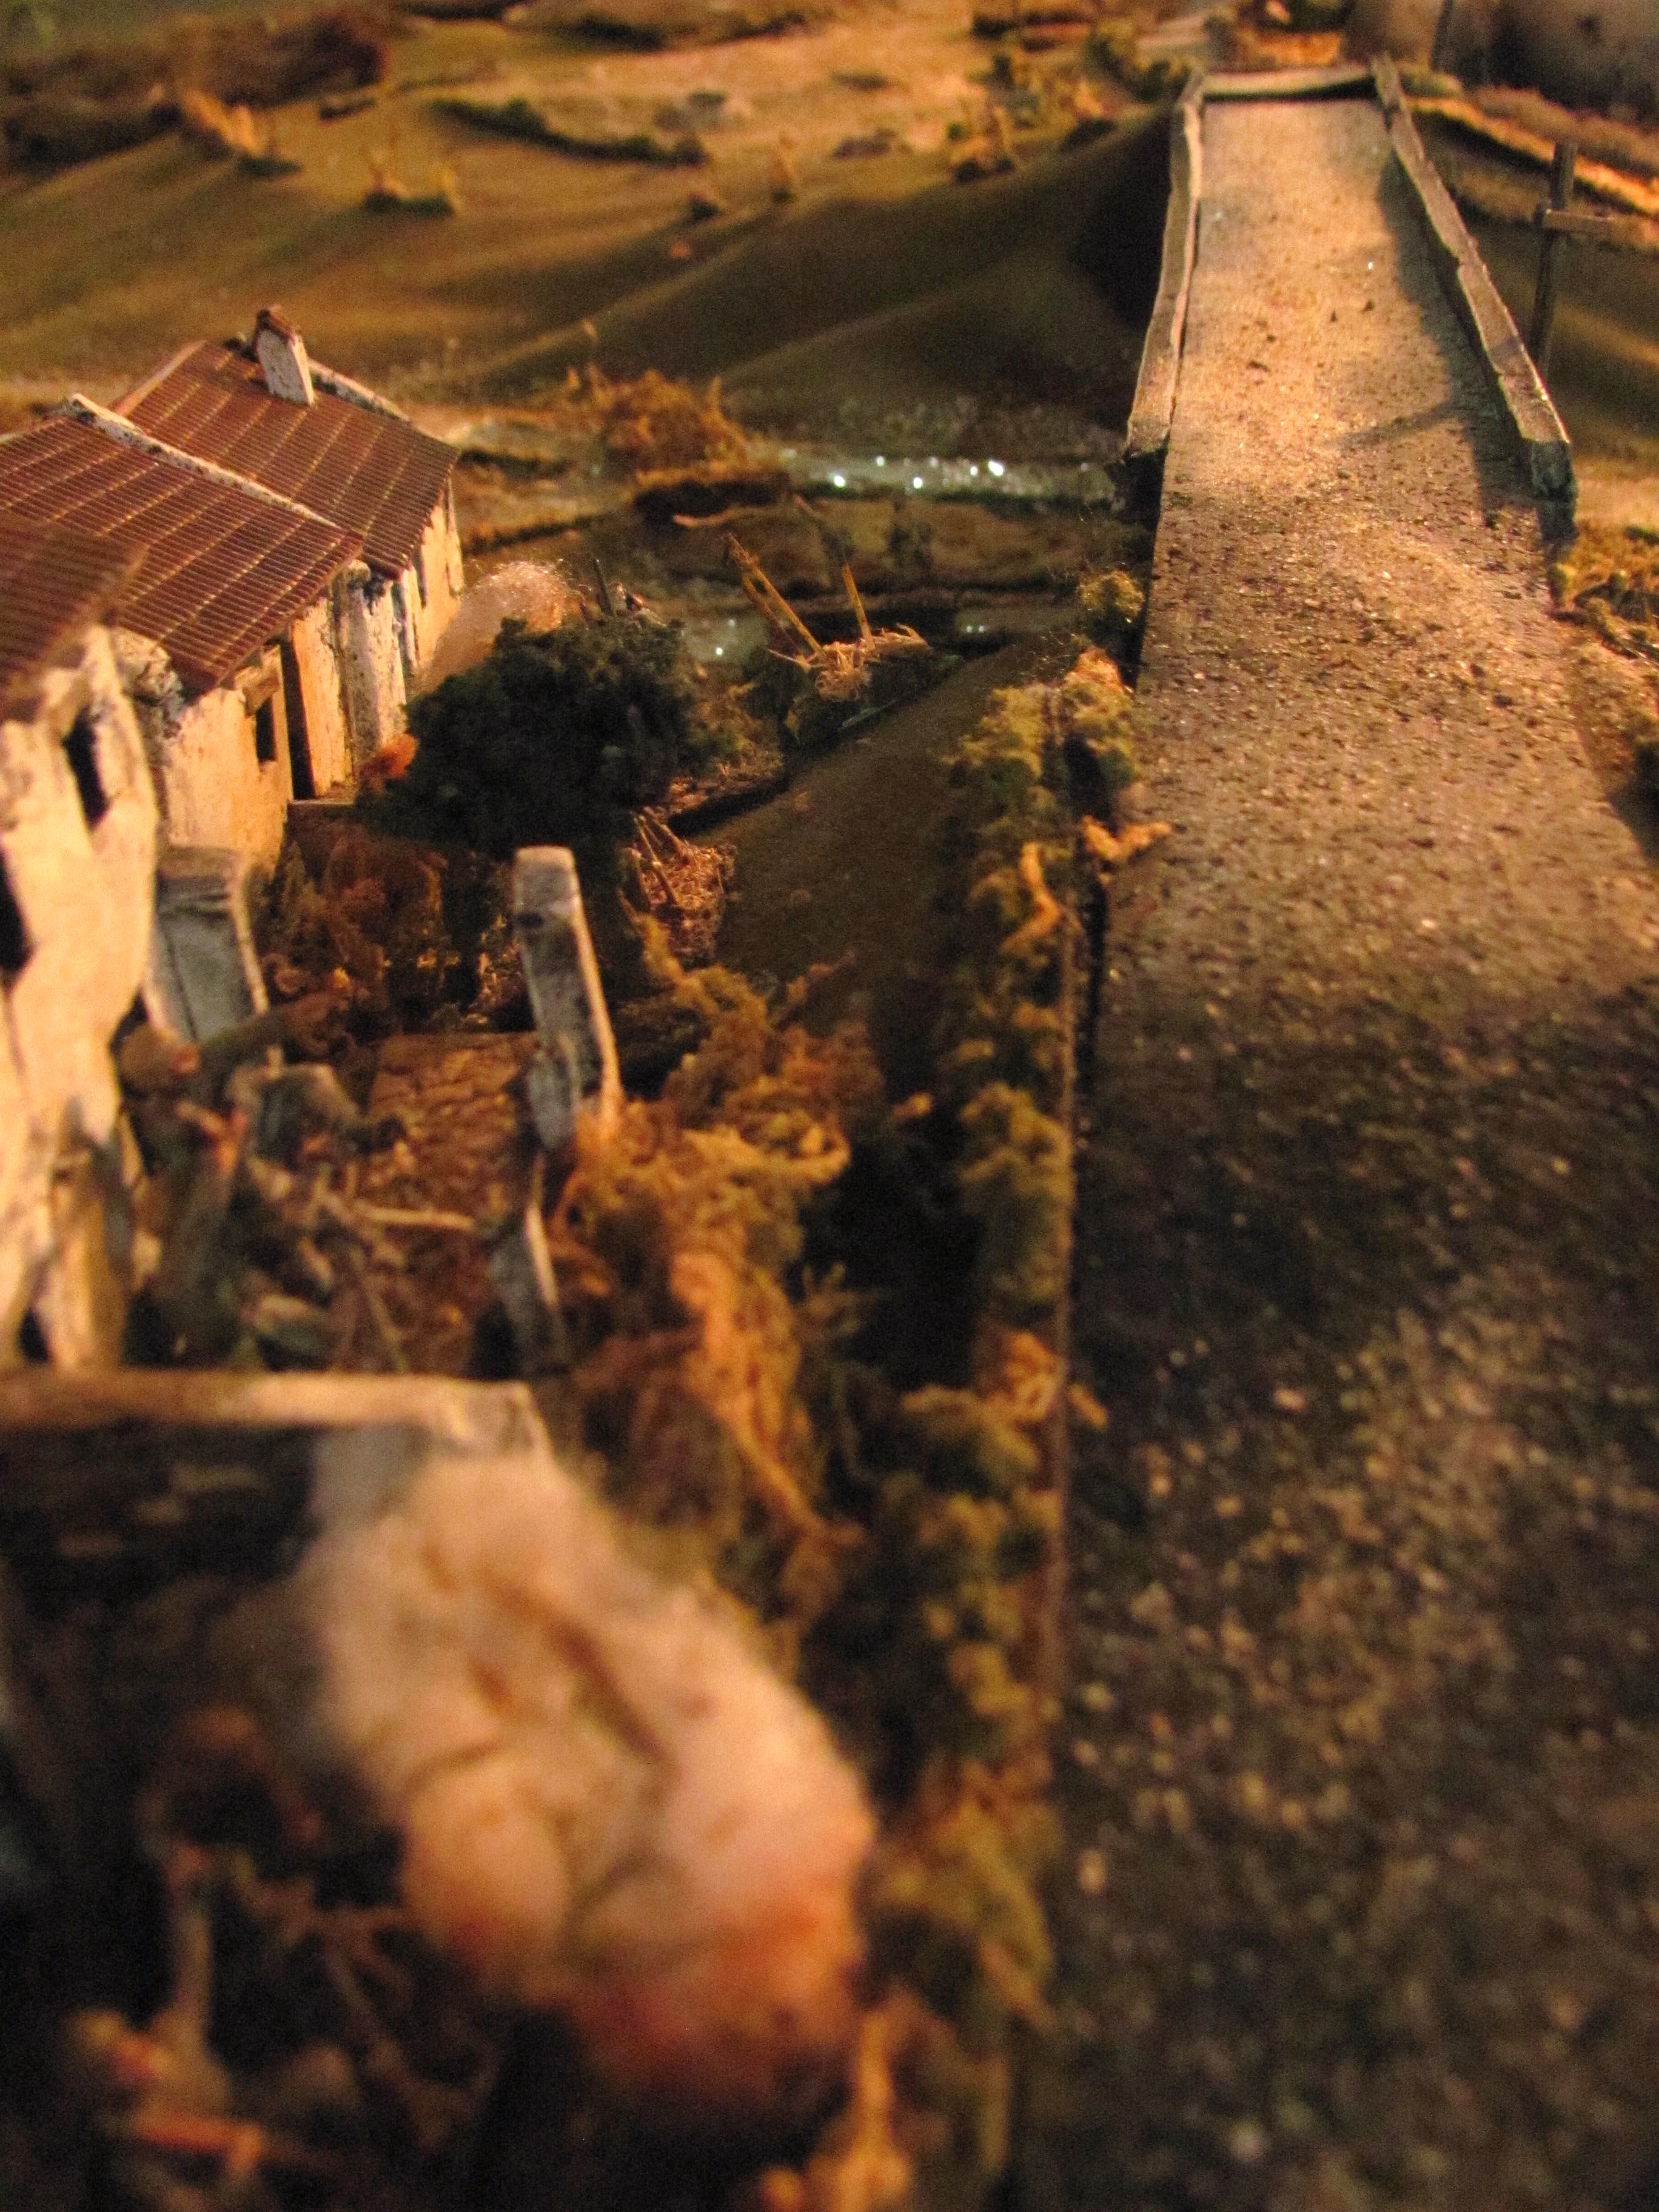
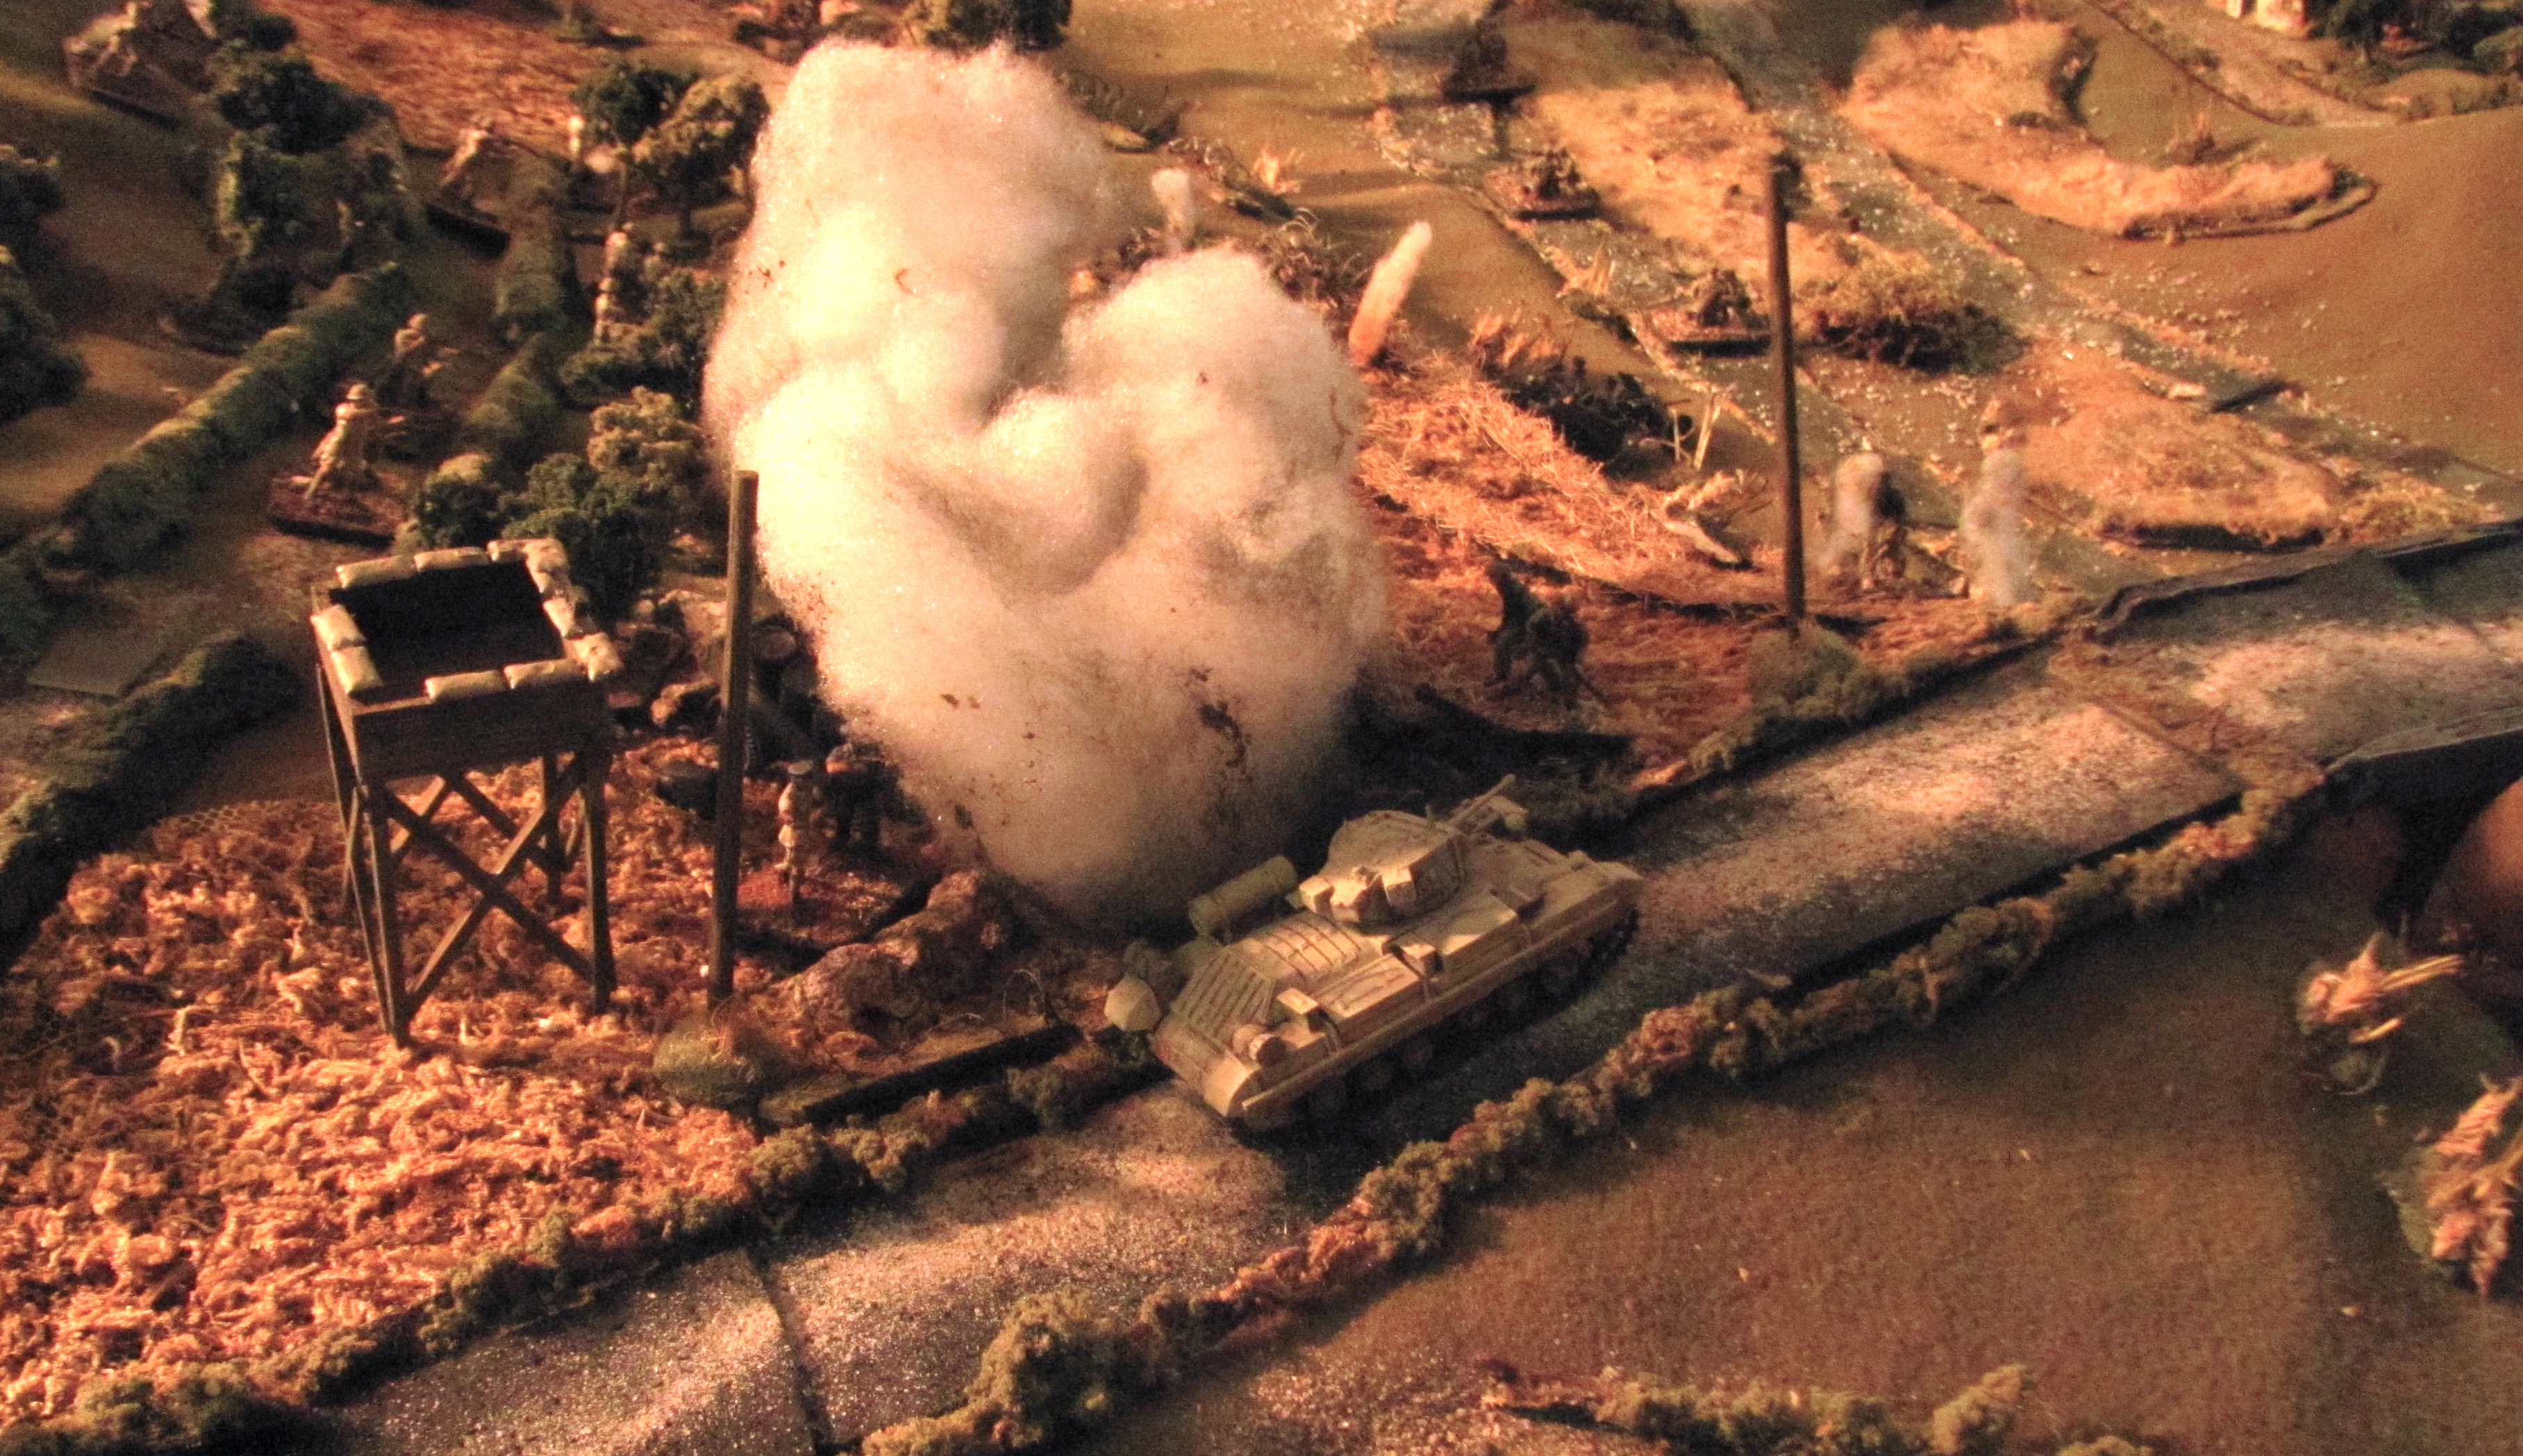
We played the Combat at Sabugal last week, a scenario that I have been working on over the past month. It was an interesting project, trying to come up with a scenario that reflected the chaos and uncertainty of a fight that took place in the fog and the rain at the Rio Coa in 1811. It is the last action fought in Portugal at the end of the third (and final) French invasion of Portugal in almost as many years, as Masséna's once proud 65,00 strong army stumbled out of the country broken and bedraggled, starved of both food and supplies after foundering on the ramparts of Wellington's Lines of Torres Vedras.
The biggest challenge was in trying to keep the moves and location of the opposing player hidden and as a result I decided to write the scenario in two modes, refereed and non-refereed. The refereed version uses a lot of map movement and keeps the two forces hidden until well into the game. The other challenge was modelling the weather, so each round the weather would change, with visibility sometimes being little more than musket range and at other times the fog would suddenly clear and large swathes of the battlefield were revealed. Things were made even more iffy with sudden rain squalls, sometimes heavy that would reduce visibility further, firing ranges and even at time movement. Finally, as the full situation becomes known, the victory conditions themselves shifted as players adapted to new situations. So a lot of unknowns!
The immediate background to the battle was Wellington's plan to turn the French flank along the Rio Coa in eastern Portugal, encircling and destroying Reynier's II Corps before help from the rest of the French army could arrive. To this end Erskine was to take the British cavalry and Light Division (the latter temporarily under his command) downstream to cross behind Reynier while the 3rd and 5th Divisions would attack from the front. However the Light Division became separated from the cavalry in the fog, and Erskine, rather than accessing the situation himself sends an aide-de camp back to order the Light Division forward. This they do, crossing the Coa at a ford where they encounter French pickets, which is where the game begins.
Phong took the French and Alan the Anglo-Portuguese while I had the pleasure of refereeing. It was fought on a 7.5' X 6' table over 12 turns, using the Over the Hills rules and my own 1/72nd scale figures. If you are interested in downloading the scenario to try for yourself, I have posted it at this link. Apologies for the cheesy fog effects - I just wanted to give a feel of the actual battle!!
 |
| Game map showing starting positions and some of the early moves by the French and Beckwith's brigade. |
 |
| The battlefield as seen from the north. High ground runs down the middle of the board, occupied by the French while the Light Division crosses the Coa at the top right by a ford. A second ford (by the small house on the right) is where the 3rd Division enters and the small wood of yellow trees (centre top) is the chestnut forest and stone enclosures in a valley between two hills where much of the fighting took place historically - and in our game as well! |

1. Pickets encountered at the ford
The battle starts with the 95th Rifles crossing the Coa at a ford, where they encounter French pickets (another scenario specific addition - lots of fun!) Scattered shots are fired and then the pickets scamper back in the direction of Reynier's Corps.

2. Beckwith's brigade crosses the Coa
As the Rifles disappear in the fog, off to the right in skirmish order, the 1/43rd and 3rd Caçadores follow across the ford, moving off to the left in the direction of where they believe the enemy to be!

3. French pickets watch from woods
However the pickets have not gone directly back to the French line. Instead they dally a bit, trying to get a sense of the size of the Anglo-Portuguese force.

4. The fog thins
Suddenly the fog thins revealing the 4th Legere on the hills in front of the 1/43rd! Beckwith belatedly realizes that he has crossed at the wrong ford and is marching towards the front rather than the rear of the enemy.

5. From the high ground
Merle's 4th Legere, on the left flank of Reynier's Corps, at the same time spots the 1/43rd moving forward in skirmish formation.

6. Rifles arrive on French flank
At the same moment the Rifles are spotted on the 4th's flank, on high ground separated from the French by a small valley of woods and stone-walled enclosures.

7. Overview
In this overview you can see the four battalions of the 4th Legere drawn up at the right end of the French line, with some of the rest of Merle's division also visible. The French battalions are very small, reduced to half normal size as a result of the miserable trek out of Portugal. The 95th Rifles are on high ground to the left while the 1/43rd followed by the Portuguese 3rd Caçadores battalion are just moving away from the river (top).
In the valley between the 95th and the 4th can be seen the picket stand, not yet back to the lines but carrying news that is now a bit redundant due to the shift in weather!!

8. 4th Legere go into the attack
Merle immediately sends the 4th Legere to attack the 95th on his flank while the remainder of his division shifts their line to enagge the 1/43rd. (The 4th attacking is a compulsory move, something that happened historically. Beyond this the French player can make his own srategic decisions.) Word is sent back to Reynier about what is happening on his left flank.

9. 43rd and 3rd Caçadores advance
Meanwhile the remainder of Beckwith's brigade continues to advance, trying to close with the enemy in front of them before the French can get organized.

10. Rifles fall back as Caçadores appear on 4th's flank
As the 4th Legere advances on the Rifles, falling back up the slope the 3rd Caçadores suddenly emerge on the French flank through the woods.

11. 43rd forms line in preparation to attack
Meanwhile the 43rd prepares to assault Merle's second brigade, the 2nd Legere and 36th Ligne who still hold position on the high ground.

12. Fog briefly clears, battlefield revealed
At this moment the fog again lifts and Beckwith can see Foy's brigade of Heudelet's division (foreground) with howitzer in tow marching down to join Merle (top).

13. French cavalry appear on 1/43rd's rear
At the same moment Soult's cavalry appears on a ridge to the rear of 1/43rd's position. Soult prepares to order them into the charge as things suddenly look decidedly dicey for the 43rd.

14. 36th Ligne move into woods on 1/43rd's flank
Merle sends the 36th Ligne into the woods on 1/43rd's flank while the 2nd Legere form up in front.

15. Drummond's brigade arrives
As things begin to look sticky for Beckwith, Drummond's brigade, hearing the musket fire, crosses the Coa in contradiction to Erskine's orders, just in time to come to Beckwith's aid.

16. Overview
In this overview (without fog!) at top Foy's brigade marches to take over Merle's position as the 36th Ligne and 2nd Legere form up to engage the 1/43rd (above yellow trees in centre). Behind the 1/43rd the first of Drummond's brigade, 1/52nd, move forward in support. Lower right, below the stone walls, the 4th Legere battle it out with the 95th in front (now having fallen back behind the ridge) and the 3rd Caçadores move on their flank.

17. Cat and mouse
Beckwith's Rifles fall back over the ridge as the 4th Legere turn to face the threat of Portuguese skirmishers on their flank.

18. 4th Legere charge 3rd Caçadores while 3/4th Legere move to Rifles' flank
Two battalions of the 4th Legere charge (top right). The Caçadores, still in skirmish order but well in the woods, decide to battle it out, and both sides retreat bloodied but unbroken. Meanwhile the French 3/4th Legere move across the ridge to engage the Rifles with musket fire from the woods (bottom).

19. French prepare to attack 1/43rd's flank when...
Meanwhile, back on the French right the 36th Ligne of Sarrut's brigade emerges from the woods and begins to form up with the 2nd Legere. Soult's cavalry are just about to launch their charge against the 1/43rd when the fog descends again in earnest and their prey disappears from sight!
 20. Saved by the fog!

The battered 3rd Caçadores fall back from their fight with the 4th Legere in the woods, as the 1/43rd use the opportunity of the dense fog to in turn fall back in line, anchoring their left against the Coa and right against the woods, securing their flanks against the French cavalry.
 21. 4th Legere charge 1/52nd

Meanwhile, back in the woods, the 1/52nd have advanced in line where they are charged by the dogged battalions of the 4th Legere. Despite having the 2/4th fall on their flank, the 1/52nd drive off the French, routing both battalions and breaking Graindorge's brigade.
 22. 16th Light Dragoons arrive

At this point a squadron of British Light Dragoons arrive on the battlefield, the only Allied horse to show up at this battle. With the 4th Legere in disarray the Dragoons charge up the hill, failing to notice the French chausseurs lurking in the woods. Taking a volley at close range they are driven back broken without having closed with the enemy.

23. Overeview
In this overview you can see 1/43rd (in line, lower left, now with flanks anchored on the Coa and the woods) fending off Sarrut's determined attacks. Mid-right 1/52nd drives off the 4th Legere's final attack, breaking them just as the Light Dragoons arrive while top left Foy's brigade holds the high ground, sending the 17th Legere down to the valley to take up positions behind the stone enclosures in anticipation of Drummond's advance.
At this point the fog briefly lifts, and Reynier spots two entire divisions of the enemy forming up at a nearby ford and beyond Sabugal. At the same time Wellington realizes that the Light Division is in trouble, fending off an entire French corps on their own, and orders the 3rd and the 5th Divisions into the attack.
 24. 2/5th of the 3rd Division leads the way across the ford

 25. 1/43rd and 2nd Legere fall back on their supports

With time running out Reynier hopes that he can still break the Light Division before having to withdraw in the face of the entire Allied army, now crossing the Coa. Sarrut's first attempt to shatter the 1/43rd fails as both sides fight to a standstill and fall back.

26. French 36th Ligne hits 1/43rd's line
A second attempt by Sarrut ends with the 1/43rd routing their attackers. However, Beckwith, having ridden up to rally the brave 1/43rd, takes a French musket ball and is killed!
 27. 1/43rd holds firm

The light bobs hold firm but with Beckwith down, young Major Smithwick, newly arrived and inexperienced, fails to rally the now broken brigade and it begins to withdraw.
 28. Heudelet sends troops down to hold up Allied advance

On the French left Graindorge manages to rally two of the battalions of the 4th Legere, but their withdrawal has opened the way to Drummond's brigade advancing on this flank. Reynier realizes that time has run out, with only two brigades still on the northern part of the heights (the 31st Legere and 47th Ligne, not in this scenario) to hold back the Anglo-Portuguese tide, and orders the entire II Corps into full retreat, with Heudelet's Brigade Foy tasked to cover the retreat on the French left with the 17th Legere in position behind the stone enclosures north of the woods.
 29. Soult's cavalry form up to slow 3rd Division's advance

Soult, tasked with holding up the 3rd Divisions advance on the French right retreat slowly as the British advance slowly in tightly closed columns. (It had just been lucky for the French that their cavalry were on this flank and in a position to tie up the advance of Picton's Division. It was this that allowed Reynier to continue the attacks on Beckwith for another turn before having to withdraw!)
 30. French howitzer in action

The loan French howitzer fires off one more round before limbering up and joining the retreat, but the powder is damp and the shot falls far short.
 31. 2/52nd come forward, Dragoons broken

The 2/52nd, in their first action of the war, move up on the 1/52nd's flank in pursuit of the retreating French. To their right the squadron 0f 16th Dragoons, late to the battle, have withdrawn broken after their commander fails to rally them.
 32. 2/52nd in pursuit

The 4th Legere is in disarray as the 2/52nd flushes them from a woods.

33. Drummond cues up his brigade in a final push to break the French rearguard
With only the three small battalions of the 17th Legere between Drummond and his quarry, the Allies cue up at the edge of the woods to drive the 4th off the stone wall.

34. Volley and charge!
The 1/17th moves left and forms line to slow the advance of the 2/52nd (bottom) while its sister battalions form line behind the walls. The stone wall protects the French from the worst of the British fire as they volley and storm the enclosures.
 35. Drummond's Rifles broken

The Rifles take a devastating volley and break soon after contact...

36. 17th Legere hold firm
And the others battle it out to a draw, but the 17th throw back the Allied pursuit, giving most of their comrades time to slip way.

37. Final overview
At this point the skies open up and let loose a tremendous deluge, marking the end of the battle. Wellington calls off the pursuit as Reynier's corps stumbles back to join up to the 8th Corps in reserve.
In the end the battle played out to a draw. As the fight continued the Victory Conditions changed, with the arrival of the 3rd and 5th Divisions signalling that II Corps not only needed to deal a defeat to the Light Division but also withdraw all but at most four battalions (rearguard) so that they were more than 12" from any pursuing enemy. They failed to do this, dallying a bit too long on the battlefield in their attempt to break Beckwith's brigade, leaving the Allies still engaged with six of the French battalions, As a result the French failed to meet their Victory Conditions, as did the British, needing to have ended the game with more than 50% of their Light Division's fatigue hits intact. However breaking Beckwith's brigade did give the French bragging rights!