We were back into the Battlefront WWII scenarios again this week, picking up where we left off with the second of the two Crete scenarios I wrote a number of years ago. Five days after the landing of German paratroops on the island and securing Maleme airfield the Germans have steadily built up their presence on the island. Pushing strongly against the Galatas line, the Germans successfully seize Galatas, ousting the NZ Composite battalion (a battalion made up of anti tank gunners, engineers and support troops) along with 18 Battalion from their positions around the village and successfully threatening the entire Galatas line.
But before they can consolidate, two Vickers VI’s of the 3rd Hussars do a run through of the town, guns blazing. Returning with the news that the town was “stiff with Jerries”, C and D Cos. of 23rd battalion are queued up for a counterattack, supported by the tanks. An ad hoc company formed of elements recently ousted (18 and 20 Battalions along with the Composite battalion) joins in, eager for revenge.
The battle was fought on a board 4.5’ square in 1/72nd scale, using the BF WWII ruleset. The scenario can be found here. As it was fought at night we used night rules, meaning that all encounters would be at very short range and morale tests done at one rating lower to represent the confusion of the attack. As well the German defenders, although outnumbering the attackers, begin disordered for the first two turns as they had yet to have established their defence and were taken completely by surprise by the night attack!
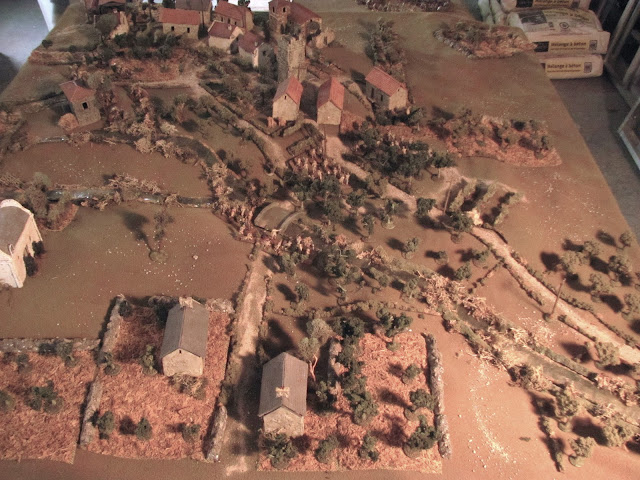 The Battlefield
The battlefield as seen from the New Zealand side of the board. The German defenders occupy the village, at the top of the photo.

Galatas
The village itself where all the fighting will take place. The objective for both sides is to hold/ take this from the enemy by game's end. The Defenders
The German defenders consist of elements of the 1st and 2nd Battalions, 100 Mountain Regiment (front two units) and elements of Ramcke Group made up of veteran German Fallschirmjaeger (back).
 New Zealand starting positions
C and D cos., 23rd Battalion, are right on the edge of the village ready for their attack (top) while across the stream the ad hoc company prepares to follow up (right, by bridge). Dug in on the lower left is D Co. of 20th Battalion, not historically part of the attack but available to the NZ player if desired. However, employing these troops limits the NZ player to a draw result at best.

1. Queuing up the attack
Under cover of darkness C and D Cos., of the New Zealand 23rd Battalion creep up through the orchards and vineyards surrounding Galatas. The order goes around to fix bayonets.

2. Galatas' outskirts rapidly taken
German Fallschirmjaeger of Ramke Group are holding the buildings east of the village. They are taken by surprise and rapidly ousted by the Kiwis.
3. Following up
With the buildings secured the Vickers VI of the 3rd Hussars' rolls forward in support.
4. Paras ousted
Seeing the surviving German paras flee back through the village, fear and uncertainty spreads amongst the defenders. (Green chips are hidden unit markers.) The 2nd Battalion, 100 Mountain Regiment, occupying houses deeper in the village, panic and abandon their positions to fall back in confusion towards the main German line.
5. Mountain troops encountered
As the New Zealanders push into the main village German mountain troops of the 1st Battalion scramble to put up a defence.
6. And hold!
The tank is driven off as the defenders put up a solid defence in the town square. NZ troops move in to try and oust them.
7. Ad hoc company advances in support
From across the stream the ad hoc company surges forward in support of D and C Cos.
8. Vickers supports attack on south side of village
Rallied, the Vickers lends its support to troops as elements attack from the south side of the village.
9. Moving deeper into Galatas
Maintaining their momentum and buoyed by the arrival of the ad hoc company, C and D Cos. push deeper into Galatas, attempting to clear the houses around the main square. But the German defence is stiffening after the original surprise and shock of the night attack.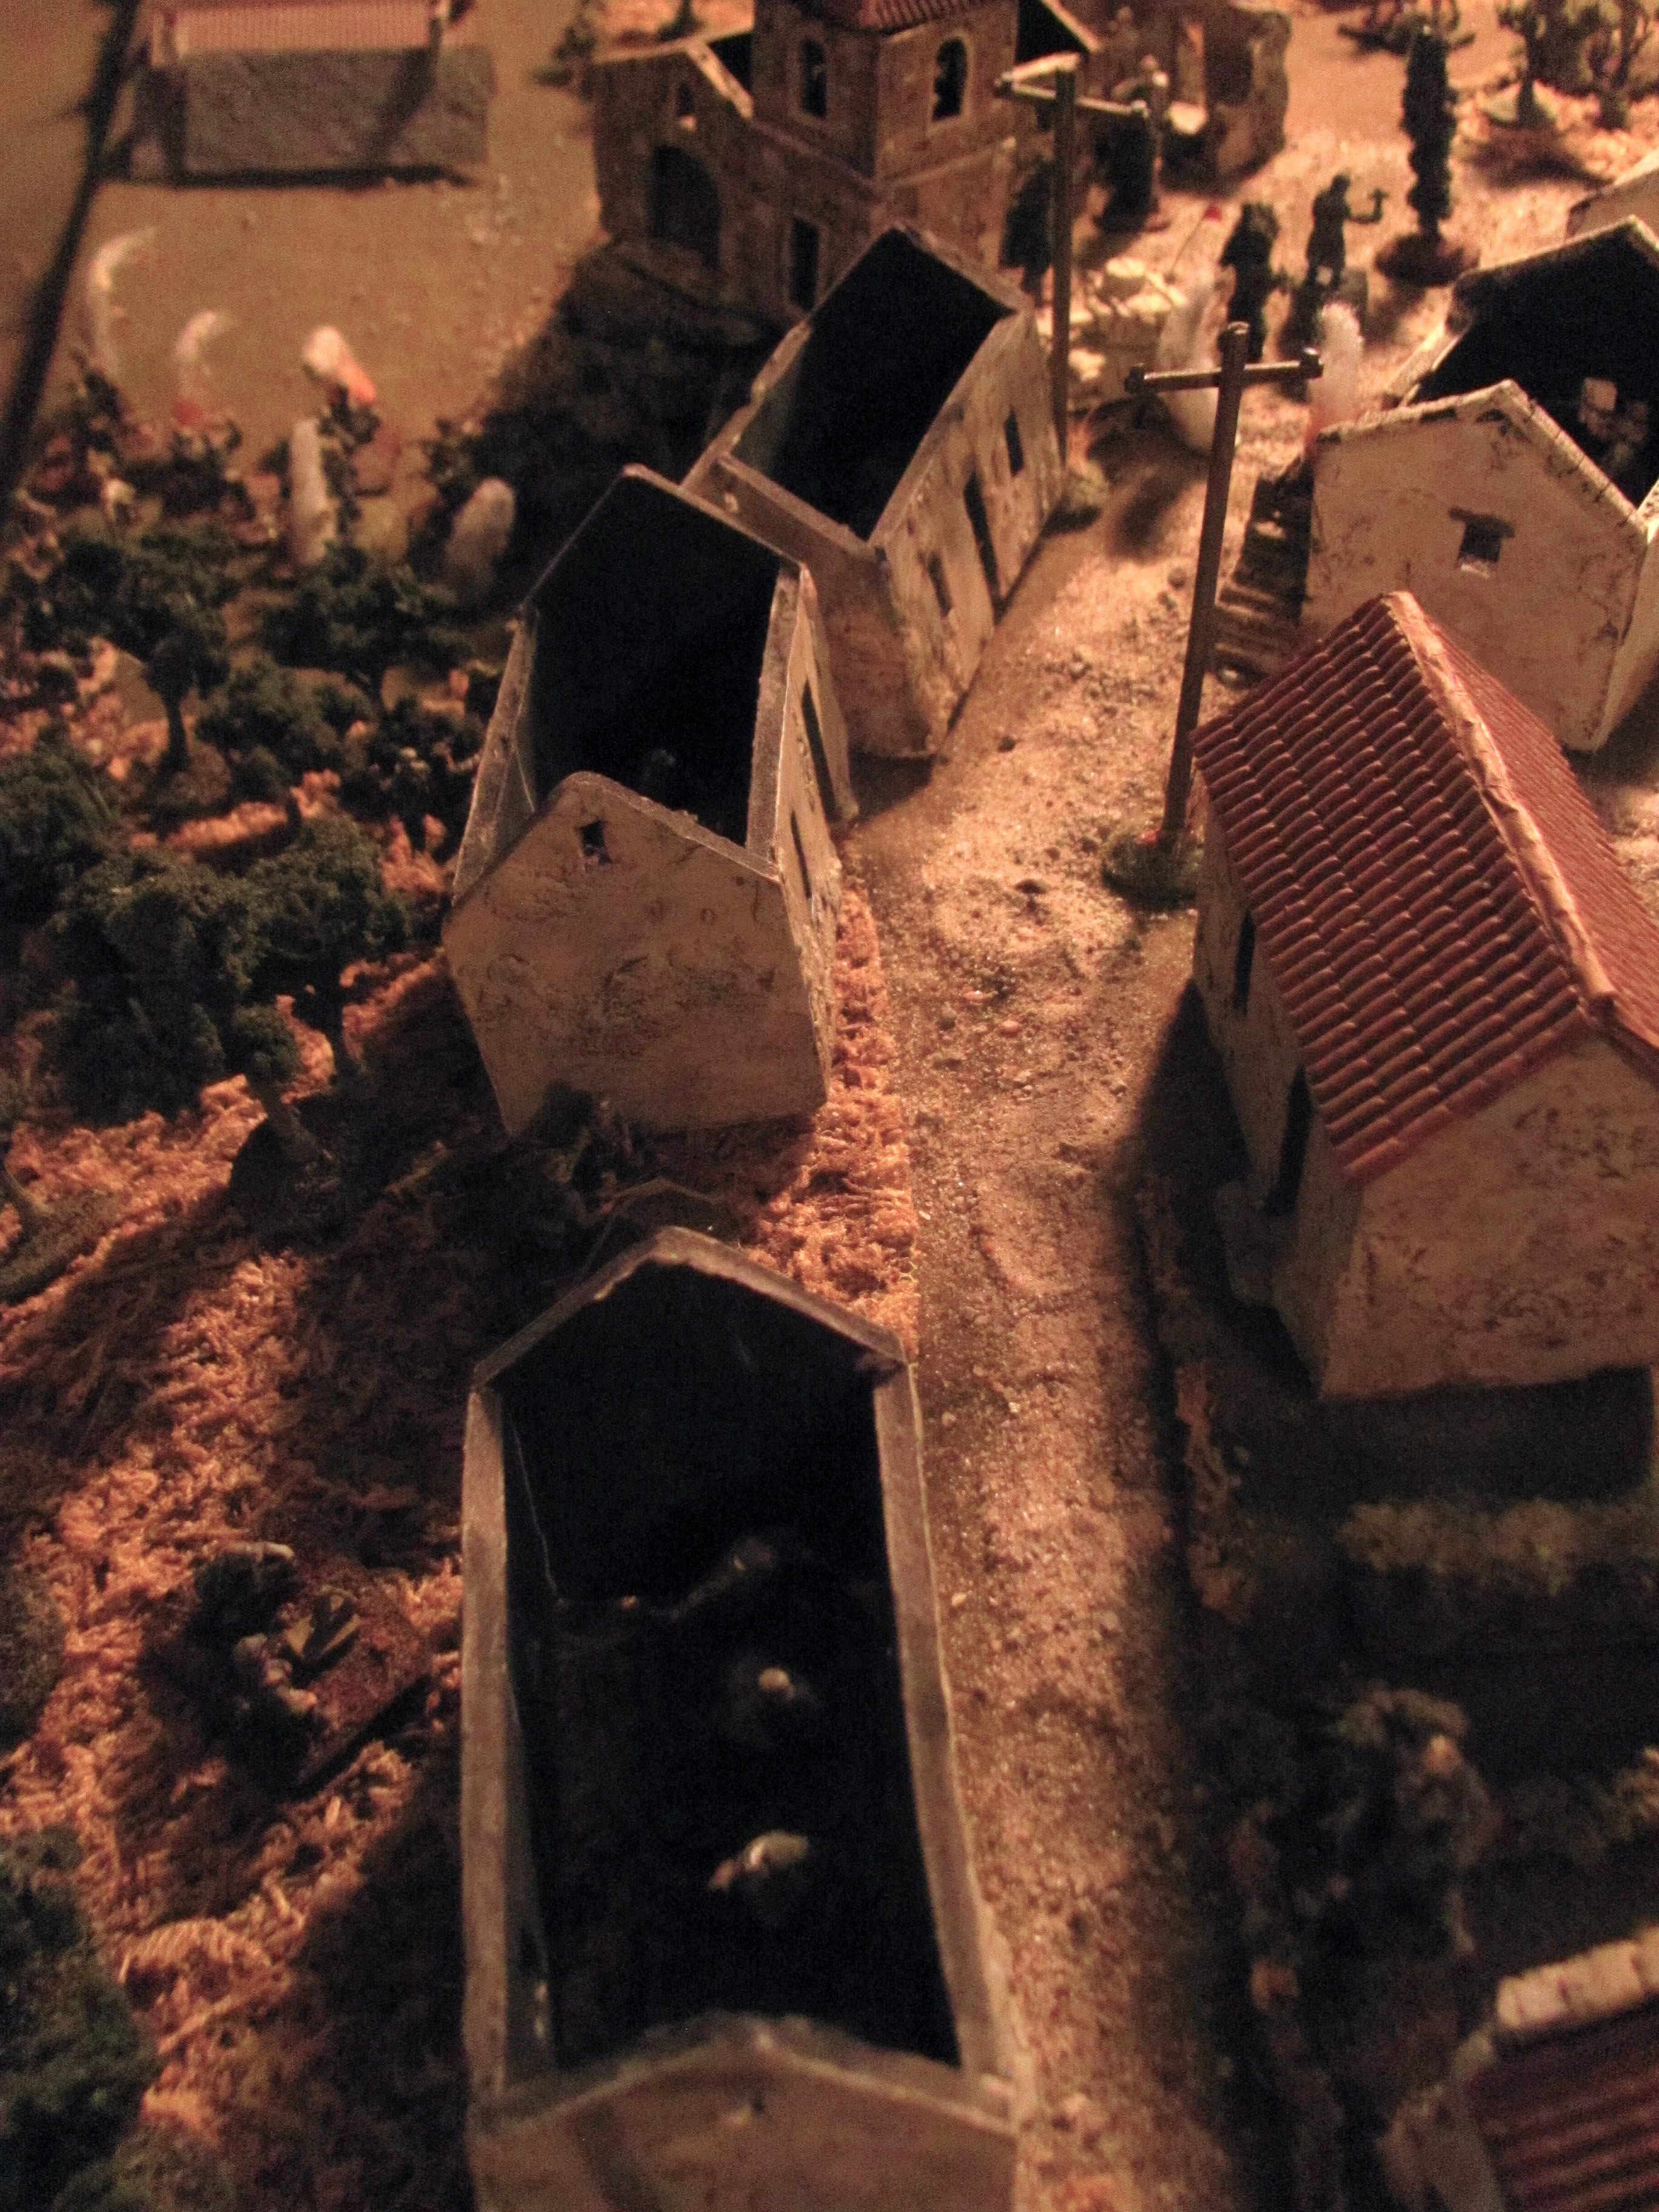
10. 1st Battalion breaks!
The troops of the German 2nd Battalion are finally rallied and scramble back to their positions just as most of the 1st Battalion suddenly breaks and flees into the darkness.
11. Second Vickers called in
But both C and D Cos., beginning under strength, have seen their casualties mounting. Even with the arrival of the ad hoc troops, Major Thompson fears the attack is faltering and calls in for the support of the remainder of the 3rd Hussar troop. (The commitment of the second Vickers means that the best the NZ player can now hope for is a minor victory. Historically the remainder of the 3rd Hussar troop never participated.) 12. Ousted from Galatas
Joining the fleeing paras, the 1st Battalion Mountain Regiment also panics and flees. Although managing to rally, bad maneuver rolls kept both units unable to seriously rejoin the battle and eventually they exited the board.

13. Battling it out on the north side of the town
A vicious battle ensues as the defenders fight to take back the houses on the north side of the square (bottom). A German mortar strike on the position (one of the few successful indirect fire missions managed in the dark) provided the opportunity for elements of the German 2nd Battalion to regain a foothold there. They successfully threw back a concerted counter attack before finally being ousted by the New Zealanders a second time, this time for good.
14. 2nd Battalion moves into positions in the south part of Galatas
Spotting the enemy infiltrating troops through the orchards south of Galatas, 2nd Battalion repositions, placing some units in the gardens on that side while consolidating their hold on the southwestern half of the village
15. Vickers KO'd in close combat
As the second Vickers rolls up in support of this flanking attack it is KO'd in close combat!
16. Mopping up around the town square
But the NZ attacks are relentless and a last concerted push by the Kiwis clears most of the still-occupied buildings in Galatas.
17. Last ditch German attempt to throw back the enemy
The Germans throw everything into a last ditch effort to recover the lost ground...
18. End of battle
But to no avail. A final poor maneuver roll by the German player (the last among many!!) left his 2nd Battalion, now over 50% casualties, disordered meaning the NZ player could claim a minor victory for having ousted any undisordered enemy from the village.But it had come at a high cost, including the loss of one of their precious tanks and 50% of both D and C Cos. Historically Galatas was retaken by the New Zealanders on this night, at a high cost to both sides but then the position was deemed too vulnerable, and abandoned, much to the disgust of the men who had fought so hard to take it. Crete would be exited by the Allies nine days later.
Amazing photography, Bill. Very artistic lighting and compositions.
ReplyDeleteThank you, Jonathan. The lighting is mostly just not enough light while playing at night time!! But it gave a great feel to the pictures, I thought.
ReplyDelete