Alan and I squared off for the second of the linked O’er the Hills scenarios covering the French retreat on Porto on May 10th and 11th, 1809, as they are hounded by Wellesley’s advance from Lisbon.
If the table looks familiar, it’s because the set up is similar to Part 1, with the village of Grijo at the midway point of a road bordered with hills and forests that traverses the battlefield south to north. Again the French, Franceschi’s forces from Part 1 now joined up with Mermet’s force, need to shepherd their baggage train off the north side of the board unscathed.
However, here the similarities end. The British horse are no longer part of the pursuit, but Wellesley has two massive Guard battalions (1/2nd and 1/3rd) in pursuit, along with Stewart’s brigade from Part 1. Two more British forces converge on the retreating French from both sides, Murray’s KGL battalions and Muter’s brigade under Hill, as the battle progresses. The objective of the French is to get their wagons off the board and deliver better than they take in doing so. The British objective is to inflict as much damage on the retreating French as possible.
This is a tricky scenario for the French. The British Guards are basically indestructible, and the converging flanking forces make withdrawal tricky. The French need to decide where and when to deploy in retreat while making best use of their cavalry to slow up the enemy.
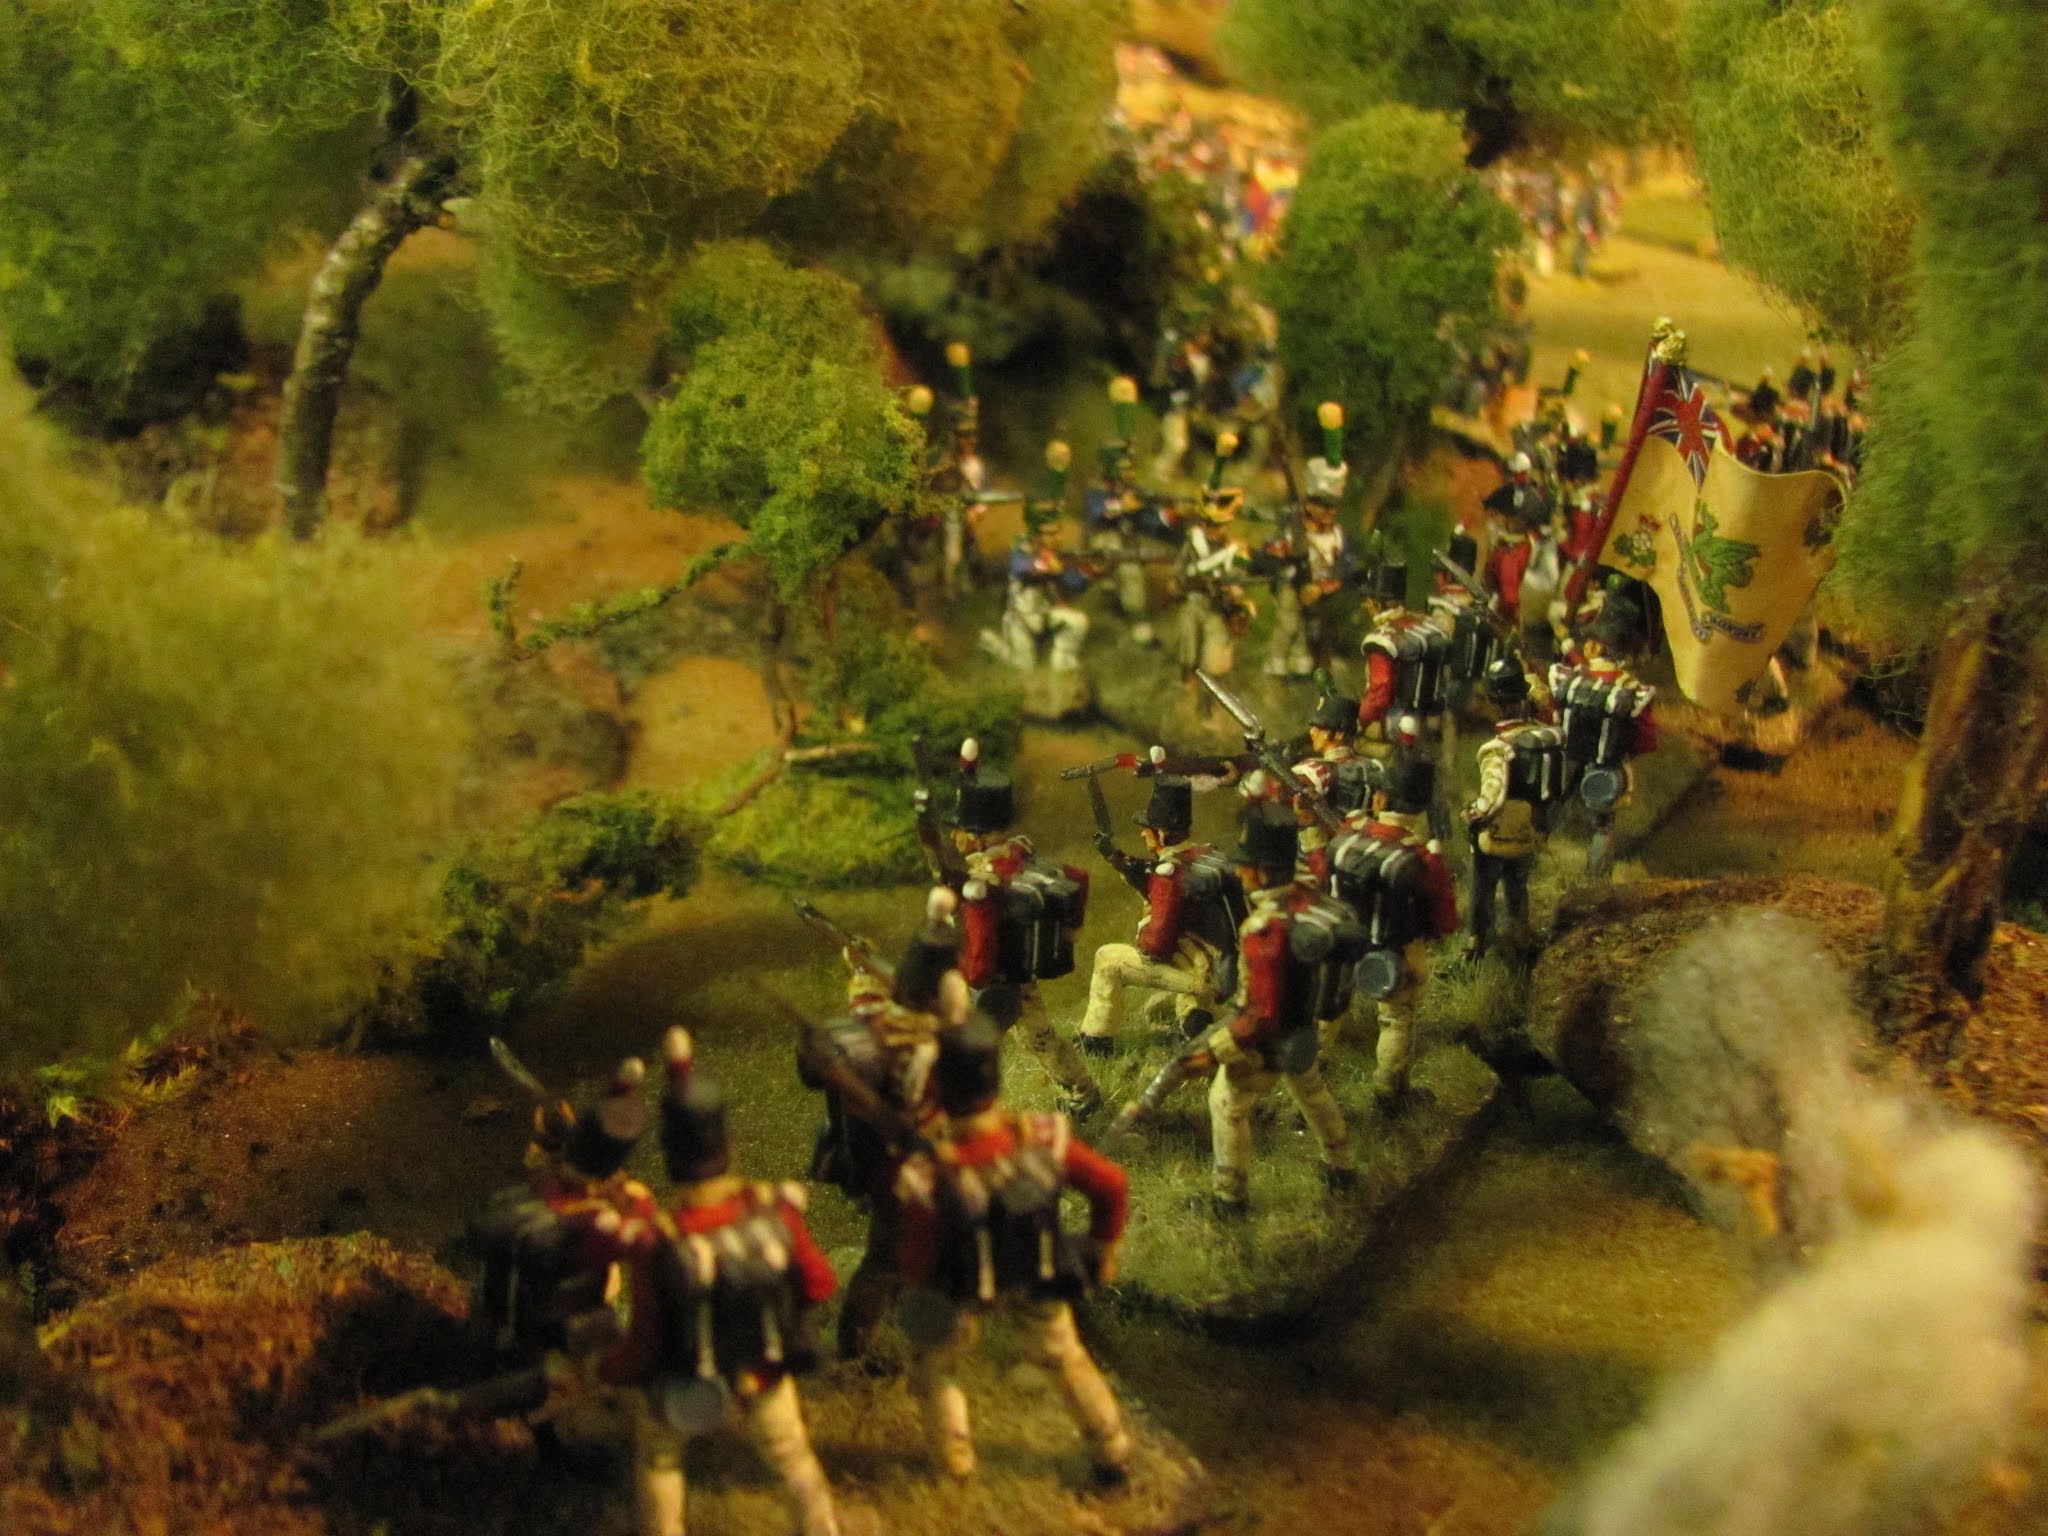
The game was played using the Over the Hills ruleset on a 6’ X9’ board, using my 1/72nd toy soldiers.
 |
| The scenario map showing the French rearguard and main defensive position with British lines of attack. Murray's KGL and Hill's force entered from either flank. |
The battle begins with the French deployed south of Grijo and the British force of Sherbrooke’s 1st Division, (Campbell’s Guards brigade) and Stewart’s brigade from Part 1 in close pursuit.

1. Starting positions
Early on Alan, playing the French as usual, knowing that there are flanking enemy forces approaching from both sides, elects to withdraw most of Mermet’s 2nd Division infantry to the final hill to the north where he will make his stand. Only the cavalry and Jardon’s 31er Legere, protecting the retreating wagons, will form the rearguard in and around Grijo.

2. French around Grijo
The cavalry and 31er Legere take up positions around Grijo as Mermet sends his line battalions to the rear.

3. French line battalions on the move

4. French form up rearguard

5. Wellesley moves Murray to the flank
The British, played by me, decide to push hard in column to try and keep the French off kilter. Knowing my superb Guards could advance with impunity on the French horse (their 13 FH base guaranteed a successful emergency square if charged) I moved them in column of companies against the French light cavalry in front of Grijo (top). With the French light horse engaged, Stewart’s brigade is pushed up the British left, swinging wide around Grijo as Paget seeks to link up with the rest of the 2nd Division, Murray’s KGL, when they arrive from the east on their flank march.

6. Sherbrooke and Campbell observe the 3rd Guards advance

7. British cannon open fire

8. Cautious columns
The Dragoons presence was a threat, but Stewart’s troops switched from column of companies to closed column anytime the French horse would venture close, all the time swinging onto the flank of the French horse around Grijo.

9. Wagons make their way through Grijo
The French needed to maintain their rearguard until their baggage train is safely through Grijo, but progress is slow as they negotiate the narrow streets.

10. Guards form emergency squares
The French light horse charge the Guard columns but they swiftly form square. Focussing on keeping the Guards contained in front of Grijo, the French commander failed to see the threat enveloping from Stewart’s flank move until it is too late.

11. Hussars enfiladed
The 1st Battalion of Detachments moves to the French flank (far right) and fires on the 1me Hussars to devastating effect.

12. Battered 1me Hussars fall back

13. French cavalry move to face threat from flank
Now realizing the developing threat on their flank, the French pull their Dragoons back to protect the wagons, leaving the 22me Chasseurs to keep the Guards contained in front of Grijo while the Hussars turn to face Murray's brigade.

14. Guards light bobs harass the French cavalry flank

15. 47me and 122me reach their new positions
Meanwhile, to the rear the French line battalions reach their new position on the final hill flanking the road where it exits the battlefield.

16. Mermet begins to deploy his troops
The 122me's three battalions are deployed to the east of the hill (bottom), while the 47me takes up positions on the west side. Both brigades send their skirmishers into the woods on either side.

17. Grijo overview
Back in Grijo things take a turn for the worse with the French cavalry. The Hussars charge Stewart's 29th in line, but the British manage to form emergency square (lower right). Musket fire breaks the Hussars and they rout (edge, far right). In front of Grijo the 3rd Guards (left) seeing that the French light cavalry, now broken, is preparing to withdraw, form line while the Coldstream Guards (top left) storm Grijo.

18. Routed Hussars
1me Hussars are routed by Stewart’s musket and cannon ire.

19. Battlefield overview from French positions
At the bottom can be seen Meret's line battalions now arrayed for battle on the high ground, prepared to protect the last stage of withdrawal of the French baggage train, which is now clear of Grijo (centre). On either side of Mermet's line battalions (out of picture) are woods occupied by their skirmish battalions. Centre left the Hussars rout while the 8me Dragoons (to their right) fall back to protect the wagons. Upper left Stewart's battalions continue their move around the flank of Grijo while the Guards (centre top) clear the French out of Grijo. Far upper left Stewarts's guns, left behind by the swift British advance, fall out of command, forcing Wellesley to dispatch an ADC to get them moving forward. They never do catch up to the fast-paced British advance!

20. 1/2nd Guards storm Grijo
With DeBelle’s cavalry scattered, the 2nd Guards form column and assault Grijo. Garrisoned by the 1/31er Legere with the 2/31er and voltigeur battalions in support, the Guards crush the 1/31er and pour through the town to engage the 2/31er just as Murray’s KGL arrive on the British right.

21. 1/3rd Guards devastate French Chasseurs with volley
The 3rd Guards, swiftly deploying in line in front of Grijo, destroy the 22me Chausseurs de Cheval with a devastating volley before they can retreat.

22. KGL arrive on French left flank
At this point the KGL flanking force, four line battalions strong, arrive on the British right. Pressed now by Paget’s entire united 2nd Division, as in Part 1, Girardin’s 8me Dragoons (upper left) once more find themselves stemming the red tide, holding the advancing columns from reaching the rear of the slow moving baggage wagons. Four of Paget’s battalions press the Dragoons, while the 1st and 7th KGL move to outflank the French once the British light infantry have cleared the voltigeurs from the woods.

23. And then things get worse
Things go from bad to worse for the French as Hill, with Muter’s brigade, suddenly appears deep on the French right! (The arrival of Hill is a variable, arriving on Turn 5-7, in this case arriving at the earliest possible moment, Turn 5.) Hill, seeing the Guards already pressing forward north of Grijo, sends the 2/48th and 2/66th to their left in a pincer movement towards the road in an attempt to get behind the French position. The 1/3rd advances in line into the woods to flush out the voltigeurs while the Portuguese 1/16th are sent around the right of the woods to engage the French from the front. Wellesley, with the Guards, spots the arrival of Hill and dispatches an ADC to urge Hill into the attack.

24. Guards light infantry chase 31er voltigeur battalion off the hill west of Grijo

25. 1/2nd Guards sally out of Grijo

26. 3rd Guards move to join the 2nd

27. KGL in advance

28. Overview

29. 1/48th and 2/66th form up on French rear
30. Light infantry and 3rd Buffs attempt to clear the woods

31. 122me Voltigeurs fall back on the French positions

32. Overview

33. 31er Legere trapped

34. Protecting the wagons

35. French squeezed

36. Overview

37. Clashes on the French rear
38. Stubborn voltigeurs

39. 31er destroyed

So many pictures! I read your post as if I was watching a movie. You're very talented in many things (painting, photography, scenery...), and above all these skills, you can create a unique atmosphere in your rendering. Bravo!
ReplyDeleteThanks, Philotep. I enjoy doing battle reports - they always feel like value-added after the game and it gives me a chance, strategically, to work out what worked and what didn't. But mostly I like the story-telling, in these and the games themselves.
DeleteFantastic Bill. I really enjoy your game reports.
ReplyDeleteI think from your blog you are in Canada? I don’t know how popular plastic 1/72 wargaming is there but where I am - the UK - it isn’t, or at least is much less prominent than gaming with metal figures in 28mm. Your blog is a great showcase for what can be done.
Thanks, Monty. Yes, I'm in Canada, and no, I wouldn't say 1/72 is a popular gaming scale here - I think it is mostly 28mm as well. Personally I find 28mm is a bit large for me to game the battles at a scale I like - even 1/72 pushes it, but I have played this scale since I was young and all my terrain is built for it.
ReplyDeleteI'm glad you enjoy the reports!
Great game, scenery and account, as always. Really tense. Enjoyed it a lot
ReplyDeleteRhanks Bill
Thanks, Brian. I have been missing our games!
DeletePart two as engrossing as part one! A tough task for the French for sure Bill, with a double-envelopment and quality 'holding troops' they certainly have their work cut out to get any away. I'd say almost a 'success' for both sides with a severe bloody nose inflicted by the British-Portugese and at least something got away for the French!
ReplyDeleteRegards, James
Thanks, James. I really appreciate that people take the time to read these reports - it surprises me, in all honesty! But it was a truly difficult task for the French and, in this fight at least, everything broke in favour of the Allies.
ReplyDelete