We played through a scaled down version
of R. Mark Davies' Battlefront WWII scenario, Soldiers' Day, over the
weekend. The scenario is based on the Polish 10th Mounted
Rifles' (the Polish 1st Division armoured reconnaissance
regiment) attempt to forge deep into the crumbling German defences at
the Falaise Pocket in order to seize an intact bridge at the village
of Jort on the River Dives following Operation Totalize.
I say scaled down in the sense that we
reduced the attacking armour by about two thirds and the defenders'
orbat by about one third. The game was also shortened to ten rounds
from 20 to allow an afternoon's play, with an increased chance for
the Polish attackers to find that crucial ford. All in all the
changes seemed to preserve the balance and spirit of the game.
The Polish objective was to push across
the river, preferably securing the bridge but as it was expected to
be strongly held, the possibility of finding a ford was also there as
an alternative avenue of attack.
We had decided on this scenario because
an old friend of my co-player had been invited along. He is Polish
and his father fought with the 1st Armoured in Normandy as
part of the 1st Anti Tank Regiment. We realized as we
looked into the scenario that a large contingent of that regiment
fought at Jort, giving a strong likelihood that George's father was
at this battle. He brought along a pin of his father's that he had
found in the family archives, which you can see in the photo of the
Polish forces involved.
The game was played in 20 mm on a 7'X
6' board. Other than the scaled down forces the board was fairly true
to a slightly cropped version of the scenario map.

Defending Forces
The bridge is lightly defended by
remnants of the 85th Infantry Division along with elements
of SS Panzer Division “Hitlerjügend”. A reduced pioneer company,
a 37mm AA gun, PaK36 50mm antitank gun and the ace in the hole, an 8.8cm
PaK43/41 antitank gun make up the bulk of the force, with a pair of
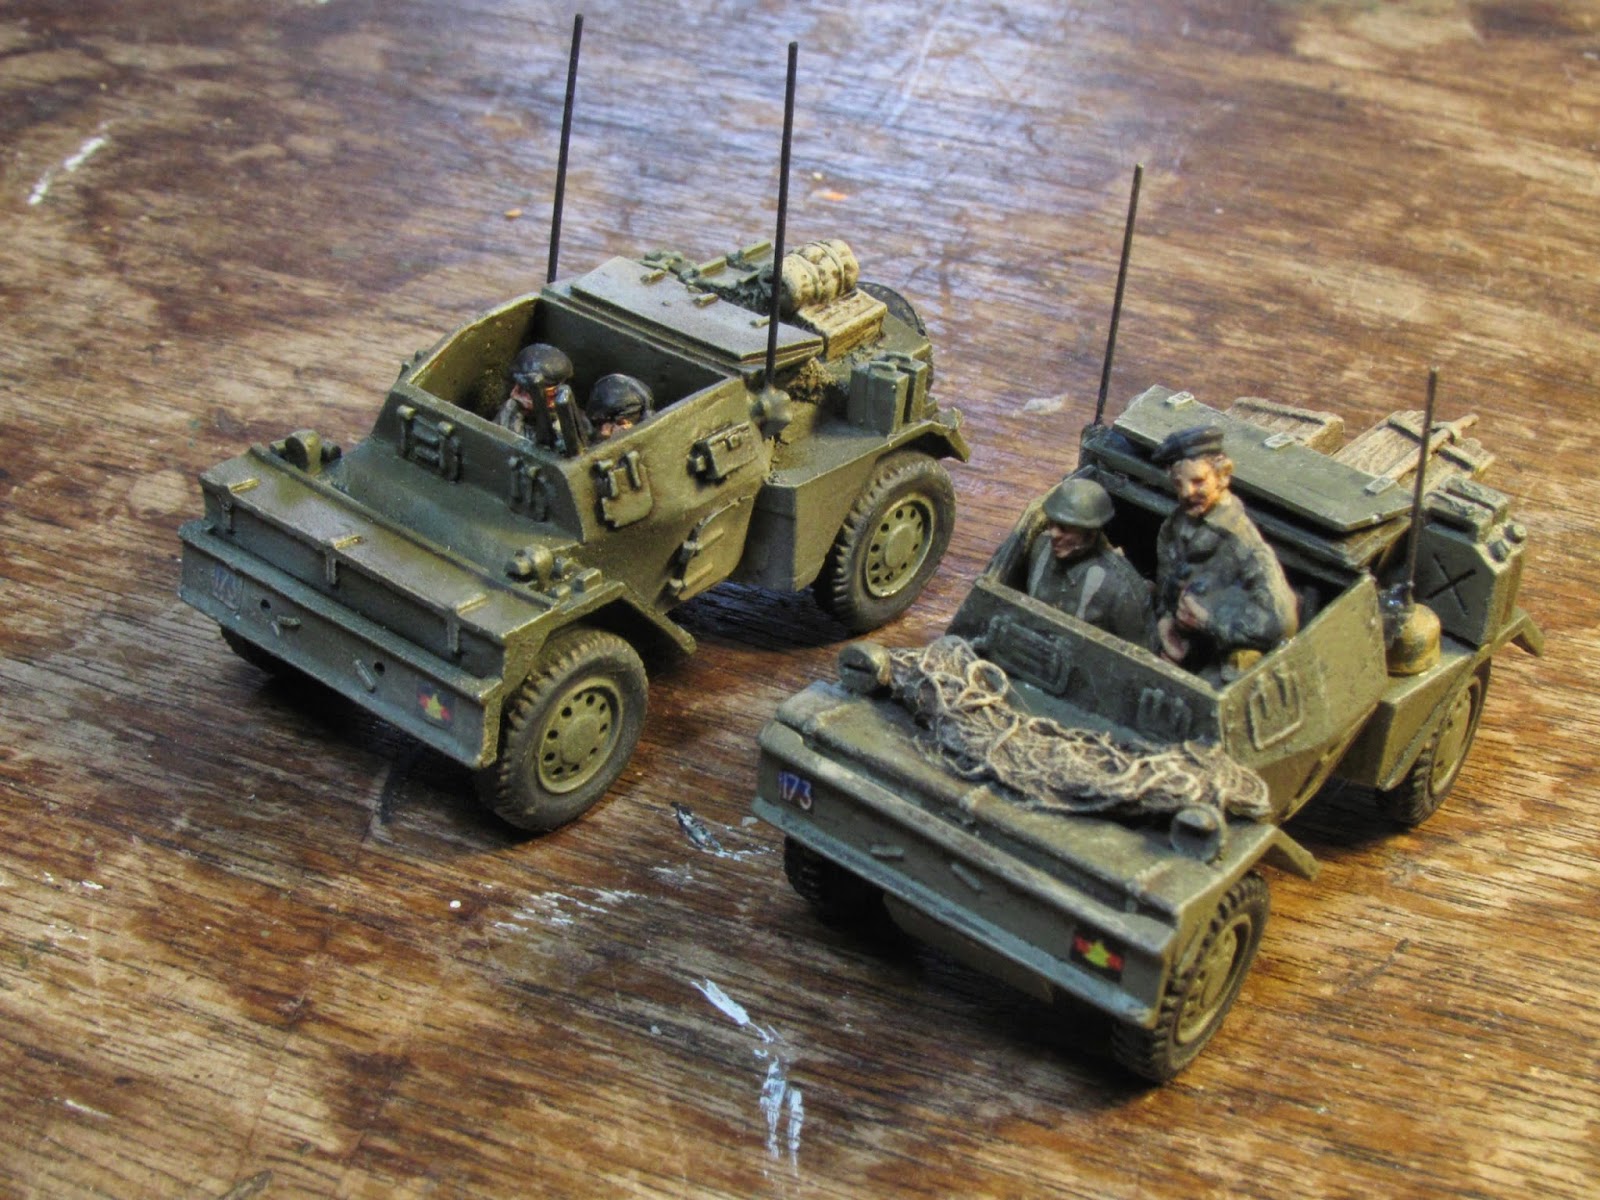
armoured cars representing the advance elements of Panzer Division
“Hitlerjügend”, sent to reconnoiter the situation and commanded
to stay put and aid in the defence.
Off board artillery support in the form
of a battery of 105's reinforce the defence. The two Panzer IV's, and
Jagdpanzer IV's, more elements of Panzer Division “Hitlerjügend”, may (or may not) arrive as reinforcements later in the game.

Attacking Forces
The attacking forces are all elements
of the Polish 1st Armoured Division, arriving in stages. No. 1 Squadron of the reconnaissance regiment (10th Mounted
Rifles) mounted in Cromwells lead the attack, with a platoon of
Achilles from No. 1 Battery, 1st AT Regiment and fire
support from the Canadians 5.5” guns coming available shortly afterwards with the
arrival of the Canadian FOO.
Infantry support, No. 1 Squadron of the
10th Dragoon Regiment, arrive in their armoured transport
on Turn 4 while the Stuart recce troop initially covering the Polish
left flank will bolster the attack for the last four turns.

George's Dad
We decided that our Polish guest player's dad would have commanded one of the two Achilles in play. The pin (lapel pin? cap badge? anyone know?) that he brought along showing the hussar's helmet of the 1st Armoured Division has pride of place in front.
 |
The map shows the lay of the land, with high ground above and below the river. The German defenders, with limited resources, opt to place all their elements below the river., spread out to avoid the threat of Allied artillery but focussed on defending the bridge as its loss will almost certainly spell defeat. Most of the infantry is stationed in the houses of Jort, with a sole stand watching the German right flank below the chateau at Vendeuvre. The two armoured cars are hidden deep in orchards guarding the German left flank, while the 50mm AT gun is positioned directly in front of the bridge, supported by the 37mm and heavy machinegun in enfilade of the bridge to its left.
The 88 is dug in on the high ground just to the left of Macé where it commands the bridge and most of the battlefield.
|
The Battlefield
Here are a few shots of the
battlefield.
 |
| View of the battlefield from south of Jort, German side of river. |
 |
| View along railway and road bordering the chateau - the major artery in for the Poles. |
 |
| Polish left flank. |
 |
| Jort as seen from the high ground to the south. |
 |
| View along railway embankment where it crosses the Falaise road. The high ground behind is where the Polish forces enter. |

A veteran Cromwell unit, No. 1 Squadron of the 10th Mounted Rifles, rolls in from the high ground to the northeast. Half the squadron moves in on the bridge…

While the others maneuver between the scattered buildings and orchards on the west side of the river in search of a possible ford. As the command Cromwell moves down the road in support of the units at the bridge it is KO'd by the PaK 43/41. It turns out to be a fortuitous shot for the Germans as the tank explodes into flames, sending up a dense column of smoke that effectively screens the 88 from observation by the Canadian FOO for the rest of the battle.
 3. PaK 43/41 on high ground
The shot came from the 88 mounted on
the high ground south of Macé. From this point the gun has a fairly
clear view of most of the Dives valley in this sector as well as the
high ground to the west, and the firepower to knock out almost
anything that rolls into its line of sight. He manages to pick off
the Cromwell as it moved between the protection of a pair of
buildings.
 4. Achilles take up position on Polish right
flank
4. Achilles take up position on Polish right
flank
With a dense forest on their left protecting them from observation by the 88, the Polish tank destroyers take up hull down positions on the high ground overlooking the Falaise road in order to guard against a possible German armour attack from this direction.
 5. Cromwell 95mm close support tank moves to cover bridge
Meanwhile Cromwells take up positions by the bridge, with the 95mm close support tank moving in to direct HE fire against an as yet unrevealed enemy.
 6. Looking for alternate crossings
Other Cromwells push down to the River Dives, searching unsuccessfully for a possible alternate crossing.
 7. Jagdpanzer IV's arrive (not)
Here is a shot of the Jagdpanzer IV's entering along the Falaise road. For the second time ( I had solo played the scenario earlier) the tank destroyers failed to show, but having painted them up specifically for this scenario, I was determined to show what they would have looked like if they had arrived!!
 8. 10th Dragoons
arrive
8. 10th Dragoons
arrive
With a dense forest on their left protecting them from observation by the 88, the Polish tank destroyers take up hull down positions on the high ground overlooking the Falaise road in order to guard against a possible German armour attack from this direction.
Meanwhile Cromwells take up positions by the bridge, with the 95mm close support tank moving in to direct HE fire against an as yet unrevealed enemy.
Other Cromwells push down to the River Dives, searching unsuccessfully for a possible alternate crossing.
Here is a shot of the Jagdpanzer IV's entering along the Falaise road. For the second time ( I had solo played the scenario earlier) the tank destroyers failed to show, but having painted them up specifically for this scenario, I was determined to show what they would have looked like if they had arrived!!
On Turn 4 No. 1 Squadron of the 10th
Dragoons arrive. With their carrier mounted machineguns in overwatch
on the high ground west of the chateau, two platoons of infantry
prepare to dismount.
 9. Getting off lightly
One of the other Dragoon halftracks strays into sight of the 88. As shells erupt around the carrier, disordering it, its occupants hastily dismount under fire, and the carrier reverses back up the road to cover.
 10.
PaK 38 goes into action
10.
PaK 38 goes into action
Back at the bridge the PaK 38 goes into action against the Cromwells gathering on the far side of the river. A German mortar also opens up from the buildings on the high ground on the east side of Jort.
 11. No where is safe from the
88!
11. No where is safe from the
88!
The Polish player quickly learns that nothing is safe from the 88. In a long shot that spanned the board corner to corner (see explosion in distance) the 88 plugs one of the tank destroyers as they move down from the high ground commanding the Falaise road and towards Jort.
 12. Achilles knocked out
This tank destroyer never saw the shot that killed it as it emerges from the railway underpass on the Falaise road. In the background the second TD retreats to the high ground behind the woods to cover the attack on the bridge from a distance.
 13. Things heat up around the
bridge
13. Things heat up around the
bridge
Finally some German reinforcements do arrive, in the form of a Panzer IV arriving from the southeast corner of the board. It is immediately engaged by the Cromwells clustered around the bridge, while the German PaK 36 successfully knocks out the second Cromwell of the day, the 95mm CS tank.
 14. German heavy machinegun in
enfilade
14. German heavy machinegun in
enfilade
Polish infantry that have moved into the second chateau next to the bridge come under fire by a heavy machinegun positioned in enfilade south of the bridge as they try to ford the River Dives. One section is knocked out and the second driven back into the protection of the chateau by mortar fire.
 15. Remaining
Achilles keeps watch from the high ground
15. Remaining
Achilles keeps watch from the high ground
 16. FOO and 6
pdr.
16. FOO and 6
pdr.
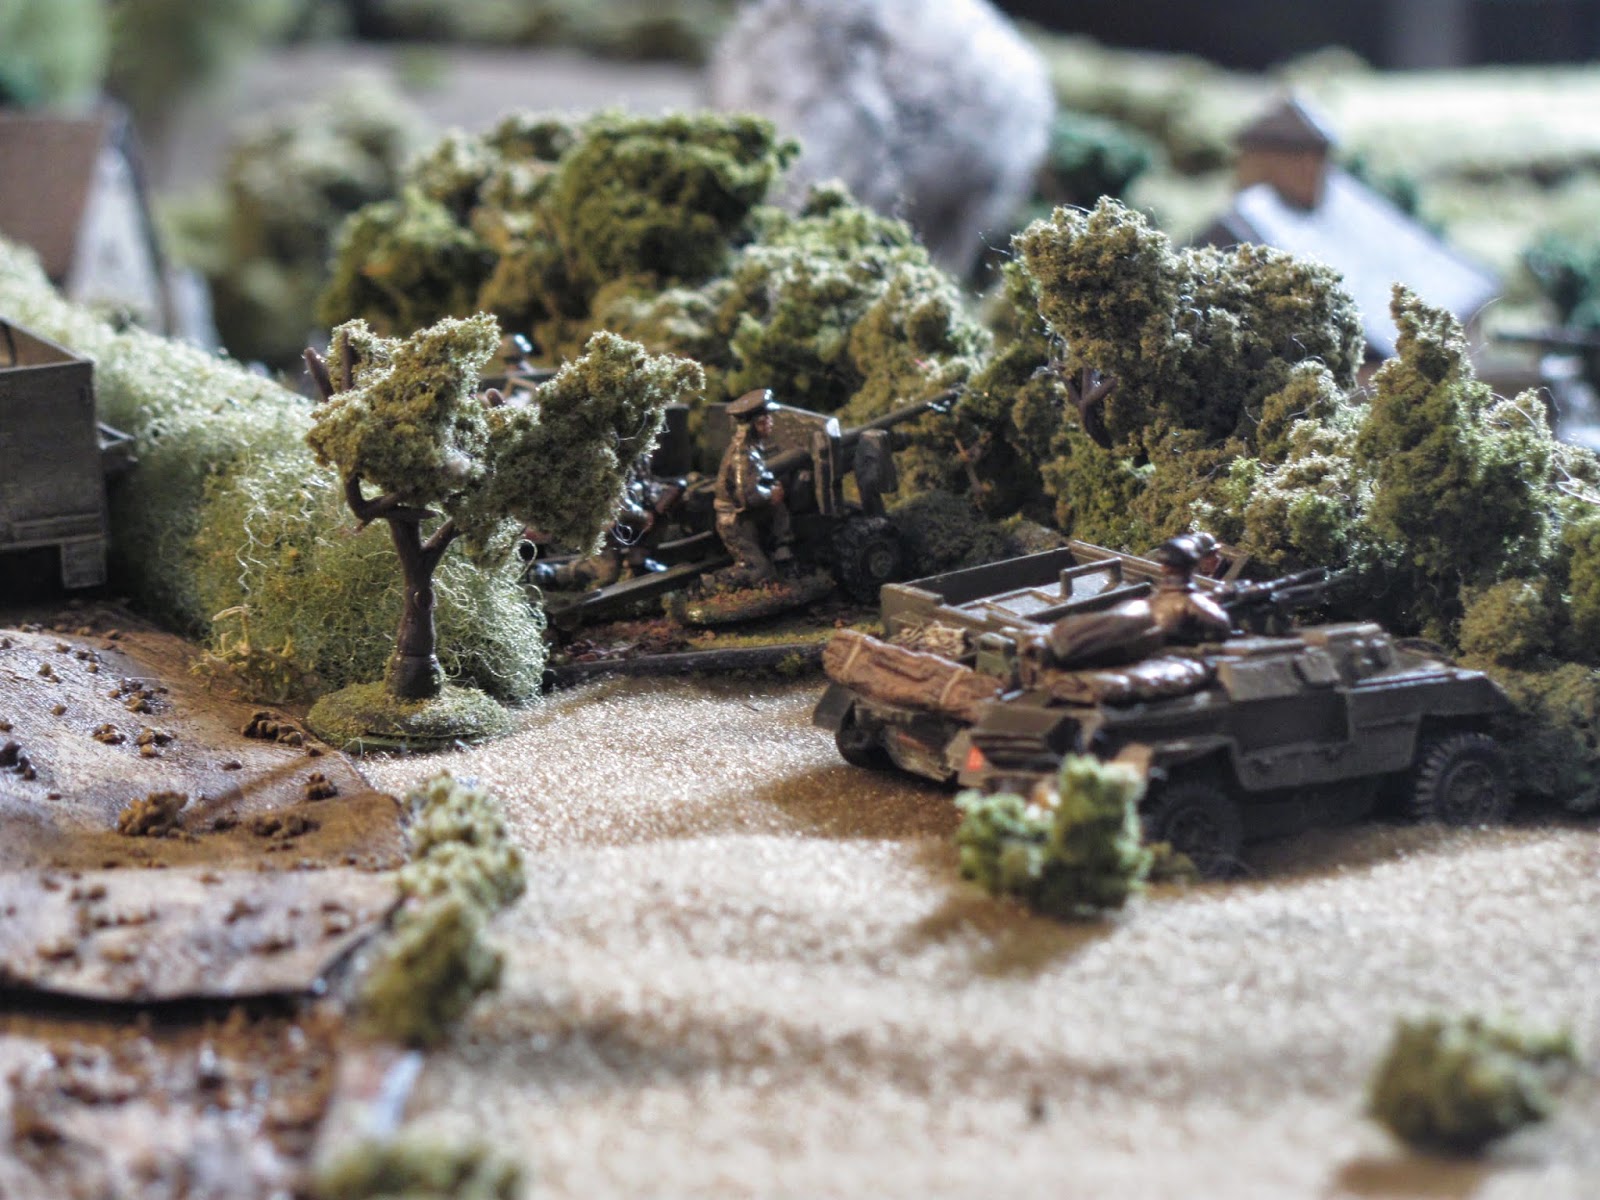
Also on the high ground west of Jort, the Dragoons' 6 pdr. and the Canadian FOO mounted in a borrowed Humber give support to the attack on the bridge. Communications with the Canadian big guns to the rear (a battery of 5.5” guns in general support) has been shaky to say the least, with only one relatively unsuccessful stonk coming in over four turns (60% chance of successful call). The guns are crucial to breaking the back of the German defence, but the failed calls for fire coupled with the fact that a burning Cromwell has effectively obscured the FOO's view of the pesky 88, has rendered the guns next to useless.
 17. Dragoons ford creek
Two platoons of Polish infantry ford the creek behind the chateau, moving in on suspected German positions. The woods beyond the creek prove to be undefended.
 18. Overview of Polish left flank
This overview shows the Polish infantry (lower right) fording the creek on their way to the River Dives. In the lower left can be seen the German 88 on the high ground south of Macé. Creeks and hedgerows make the going slow here but so far this flank appears to be undefended.
 19.
Bridge overview
19.
Bridge overview
In the centre you can see the Cromwells, clustering around the bridge waiting for an opportunity to forge across, as some of the Polish infantry begin to approach the river in search of possible fords. It has turned into a long distance shooting match with the antitank gun and Panzer IV, none being able to score a winning hit, but with the Cromwells reluctant to move closer, as any advance brings them out of the shelter of the buildings and into the sights of the German 88.
One of the other Dragoon halftracks strays into sight of the 88. As shells erupt around the carrier, disordering it, its occupants hastily dismount under fire, and the carrier reverses back up the road to cover.
Back at the bridge the PaK 38 goes into action against the Cromwells gathering on the far side of the river. A German mortar also opens up from the buildings on the high ground on the east side of Jort.
The Polish player quickly learns that nothing is safe from the 88. In a long shot that spanned the board corner to corner (see explosion in distance) the 88 plugs one of the tank destroyers as they move down from the high ground commanding the Falaise road and towards Jort.
This tank destroyer never saw the shot that killed it as it emerges from the railway underpass on the Falaise road. In the background the second TD retreats to the high ground behind the woods to cover the attack on the bridge from a distance.
Finally some German reinforcements do arrive, in the form of a Panzer IV arriving from the southeast corner of the board. It is immediately engaged by the Cromwells clustered around the bridge, while the German PaK 36 successfully knocks out the second Cromwell of the day, the 95mm CS tank.
Polish infantry that have moved into the second chateau next to the bridge come under fire by a heavy machinegun positioned in enfilade south of the bridge as they try to ford the River Dives. One section is knocked out and the second driven back into the protection of the chateau by mortar fire.
Also on the high ground west of Jort, the Dragoons' 6 pdr. and the Canadian FOO mounted in a borrowed Humber give support to the attack on the bridge. Communications with the Canadian big guns to the rear (a battery of 5.5” guns in general support) has been shaky to say the least, with only one relatively unsuccessful stonk coming in over four turns (60% chance of successful call). The guns are crucial to breaking the back of the German defence, but the failed calls for fire coupled with the fact that a burning Cromwell has effectively obscured the FOO's view of the pesky 88, has rendered the guns next to useless.
Two platoons of Polish infantry ford the creek behind the chateau, moving in on suspected German positions. The woods beyond the creek prove to be undefended.
This overview shows the Polish infantry (lower right) fording the creek on their way to the River Dives. In the lower left can be seen the German 88 on the high ground south of Macé. Creeks and hedgerows make the going slow here but so far this flank appears to be undefended.
In the centre you can see the Cromwells, clustering around the bridge waiting for an opportunity to forge across, as some of the Polish infantry begin to approach the river in search of possible fords. It has turned into a long distance shooting match with the antitank gun and Panzer IV, none being able to score a winning hit, but with the Cromwells reluctant to move closer, as any advance brings them out of the shelter of the buildings and into the sights of the German 88.
At the upper centre is the Achilles
behind the woods and to the right of that, behind the hedgerow, the
FOO and 6 pdr. (not visible).

The Polish infantry advancing on the
left encounter the first (and only) German resistance in this sector.
A single stand of infantry, dug in deep in an orchard, opens up on
the Poles as they ford the stream, knocking out one of the
sections.
 21. German heavy machinegun saves the day
The Canadian 5.5's finally arrive on
target and with the antitank gun and German armour disordered and the
88 engaged elsewhere, the remaining Achilles makes a sprint to get
over the bridge. He almost makes it, with the tank and gun both
missing but the German heavy machinegun manages to suppress the
Achilles with a lucky shot that halts it midway across the bridge.
 22.
Making short work of the tank destroyer
22.
Making short work of the tank destroyer
It's only a suppression but it gives time to allow the 88 to finish it off with its third kill for the day.
 23. Germans move to reinforce their right flank
It's only a suppression but it gives time to allow the 88 to finish it off with its third kill for the day.
With the Polish infantry beginning to
make some headway across the river, threatening the 88 with a flank
attack, the German commander begins to shift some of his as yet
hidden pioneers out of Jort and over to their right flank.
 24.
Sdkfz. 223 KO'd
24.
Sdkfz. 223 KO'd
The Sdkfz. 223, lurking near the
bridge, also dashes out, hoping the smoke from the burning Achilles
on the bridge will hide him from the Cromwells. But they find their
target with a well-aimed shot and knock it out.
 25. Cromwells
storm bridge
25. Cromwells
storm bridge
Emboldened by the Achilles mad dash, the Cromwells forge across as well under heavy fire from the defending guns. Meanwhile the Stuart reconnaissance troop arrives and, seeing the bridge clogged with fighting, dashes over to the Polish right flank in an attempt to find a ford in this yet unexplored part of the river. Two halftracks and a Cromwell join them, hoping to infiltrate into the orchard and bring some fire onto the machinegun that has been guarding the bridge.
 26. Dragoons push across the River
Dives
26. Dragoons push across the River
Dives
Three stands of Dragoons, after failing to find a ford for the armour, push across the River Dives regardless, while the German infantry stand shadows them through the orchard, continually ambushing them from new positions.
 27. Things blowing up
everywhere!
27. Things blowing up
everywhere!
The lead Cromwell is knocked out by the PaK36 and the second one fails its morale roll and turns and withdraws, leaving no Polish armour on the German side of the river. In turn the 6 pdr. knocks out the Panzer IV with a long range shot, but it is too little too late.
 28. Now that's a shot!
Emboldened by the Achilles mad dash, the Cromwells forge across as well under heavy fire from the defending guns. Meanwhile the Stuart reconnaissance troop arrives and, seeing the bridge clogged with fighting, dashes over to the Polish right flank in an attempt to find a ford in this yet unexplored part of the river. Two halftracks and a Cromwell join them, hoping to infiltrate into the orchard and bring some fire onto the machinegun that has been guarding the bridge.
Three stands of Dragoons, after failing to find a ford for the armour, push across the River Dives regardless, while the German infantry stand shadows them through the orchard, continually ambushing them from new positions.
The lead Cromwell is knocked out by the PaK36 and the second one fails its morale roll and turns and withdraws, leaving no Polish armour on the German side of the river. In turn the 6 pdr. knocks out the Panzer IV with a long range shot, but it is too little too late.
Threading the needle between
intervening buildings and a burning Achilles, the 6 pdr. does what
the Cromwells fail to do, knocking out the Panzer IV east of
Jort.
 29. Hero of the day
The German panzerfaust/infantry stand
in the orchard on the Polish left continues to torment the Dragoons,
knocking out two more of the three stands that managed to cross the
Dives, bringing its total to four. Although more German pioneers are
moving to reinforce, it singlehandedly almost eradicates this avenue
of attack.
 30. Second armoured car
The Sdkfz 232, also dashing over to protect the threatened 88, is knocked out by a volley of long range shots fired from the tanks on the Polish right flank.
 31. End game
This overview shows the situation at game end at the conclusion of Turn 10. In the centre two Polish halftracks have been knocked out by the 88 as they try to get some fire onto the German heavy machinegun. Above the bridge three stands of Polish infantry make it to the far bank of the Dives under cover of smoke from the burning Achilles, bringing the total infantry of that unit crossing the river to four (well short of the eight needed to score victory points). In the foreground the Stuart recce troop makes it to the bank of the River Dives but has no time to reconnoiter for a ford.
The Sdkfz 232, also dashing over to protect the threatened 88, is knocked out by a volley of long range shots fired from the tanks on the Polish right flank.
This overview shows the situation at game end at the conclusion of Turn 10. In the centre two Polish halftracks have been knocked out by the 88 as they try to get some fire onto the German heavy machinegun. Above the bridge three stands of Polish infantry make it to the far bank of the Dives under cover of smoke from the burning Achilles, bringing the total infantry of that unit crossing the river to four (well short of the eight needed to score victory points). In the foreground the Stuart recce troop makes it to the bank of the River Dives but has no time to reconnoiter for a ford.
At the end of the game the bridge was still firmly
in German hands although challenged by nearby enemy units. Securing it was a
crucial factor in any possible Polish victory, and meant that the
Germans had scored a partial victory once Victory Points were
totalled.
A brief postmortem would say that the
Polish attack was perhaps hindered by a certain timidity early on,
but the 88's command of the bridge and its approaches really hampered any
effective attack there. Perhaps pushing the infantry up their left
flank rather than focussing on the bridge was a mistake, because,
although they did find an undefended avenue of attack, it basically
pulled them out of the game and denied the armour at the bridge the
advantage of infantry support which was so clearly needed.
The biggest factor however was probably
luck, with the failure of the Canadian artillery to come in in any
meaningful way, and the Canadian FOO's view of the 88 being obscured
by the burning Cromwell (in our game not all tanks burn – basically
there is a 30% chance, but a lot of armour seemed to be smoking in
crucial spots on this day!) Also the failure to find a ford (we gave
a 20% chance, and the Poles failed on eight attempts) played a huge
factor in the loss. And the Germans may have had a bit more backbone
to their defence if more of their armour had succeeded in showing up,
although in the end it really wasn't needed.
All in all a great game, with
some really interesting moments of individual heroism that ended up
turning the tide of the battle.