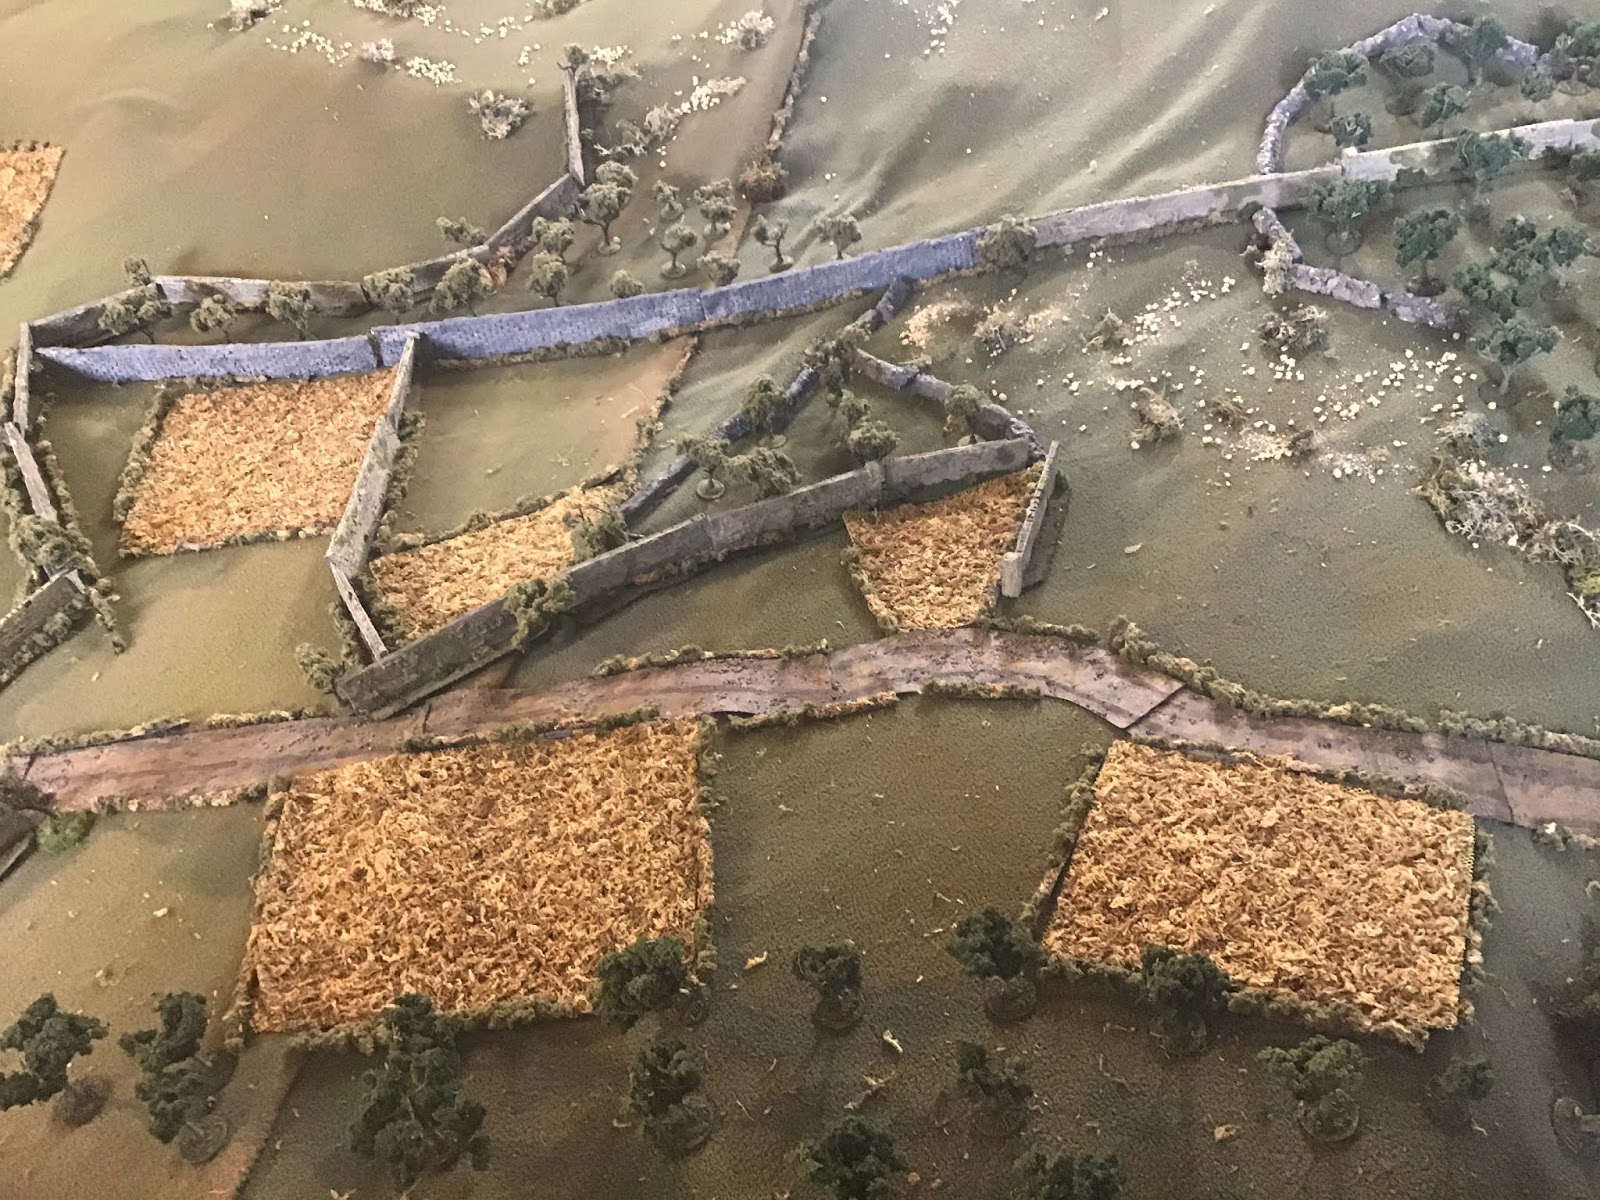
Over the past few weeks my Peninsular War gaming partner Brian North and myself played through Brian's scenario, the Battle of Alcañiz. This was, by far, the largest battle we have played together using the Over the Hills rules, with over 100 stands per side. Again, we did this Covid 19 style (see our Combat on the Coa AAR) linking via Facetime with me hosting here at my place while Brian played remotely from Toronto. Since the Coa game I have figured out how to manipulate the units on a map with a vector graphic program I've downloaded on my iPad, a big improvement over last game's pushpin battle map, which allowed me to keep Brian abreast of the big picture. We played on a 6' X10.5' table using my 1/72nd miniatures and Over the Hills rules. I played the attacking French while Brian took command of the Spanish.
The following is from Brian's scenario:
Alcañiz is the first of a series of three linked battles in Aragon (Alcañiz: 23rd May; Maria: 15th June and Belchite: 18th June) between the available forces of the two newly appointed generals Louis-Gabriel Suchet of III Corps (previously the popular commander of the second division of V Corps) and Joachim Blake of the Spanish Army of the Right (previously commander of the Army of Galicia and defeated at the battles of Medina del Rio Seco (14th July, 1808) and Espinosa de los Monteros (10th November, 1808). The global context is the 1809 counter-offensive by the Central Junta that saw the battles of Talavera (27-28th July) and Almonacid (11th August) on the main front.
Summary of the historical battle
The Spanish were drawn up in a strong position, but had their backs to a river only crossable at the bridge immediately behind the Spanish centre on Las Horcas. However, if defeated, the Spanish could retreat to Morella, the next town, along the road behind the Hermitage of Santa Barbara (right hand corner of Spanish baseline on the map) as well as over the bridge. Suchet’s plan seems therefore to have been to attack first on his left against Areizaga on the Cerro del Pueyo. If that attack succeeded, the secondary line of retreat could be cut, leaving only the bridge. A strong assault could then smash through the centre, create chaos and capture most of the troops of the Spanish centre and left as they bunched together trying to get across the bridge.
After driving in the Spanish vanguard from around 06.00, Suchet focused first on his left, sending Laval against Areizaga’s division on the Cerro del Pueyo, in order to force Blake to reinforce his right flank, weakening his left or centre. It is not entirely clear whether Laval was ordered to demonstrate or attack fully; most sources state that it was a demonstration that turned into a full assault. The 3rd Vistula attacked Areizaga frontally, while the 14th line came in onto Areizaga’s left flank. Each regiment attacked with at least one battalion in open order. Areizaga led from the front, rallying his men when they wavered. Blake sent over Menacha with his two battalions, who attacked on the Spanish centre right and helped defeat Laval’s first assault. The Spanish cavalry, also sent over from the extreme left, came under infantry fire as they arrived and were then immediately afterwards ambushed by the French cavalry as they emerged from the wood; they take no further part in the battle. This victory inspired Laval’s division to make a full assault. This time skirmishers covered a single 2-battalion column (approx. 1,000 men), – but this column was also defeated. Laval then pulled back, rallied and reorganised his defeated troops.
After Laval is defeated, Musnier’s division, which had been held back out of effective artillery range up until now, marched onto the field. The main assault that followed was preceded and supported by an artillery barrage from Musnier and Laval’s two batteries, presumably placed on the hills from which the French descend onto the plain. Musnier’s second brigade, the 115th Line, guarded the right flank of the main assault force by threatening the Spanish left on the Perdiguera, and Laval occupies Areizaga by again threatening him on Los Pueyos.
The main assault was made by the five battalions of Fabre’s brigade (114th and 3rd Vistula) up the Zaragossa road straight at the centre of the Spanish position on Las Horcas, where the main Spanish battery is placed.
The assault force is described as one deep column of 2,000, similar to the heavy columns that the French in Catalonia had used successfully to break through Spanish lines at Cardadeu, Molinos del Rey and Valls. Whether there were distances between the battalions or whether they were in two regimental columns (attack columns closed up) is not stated in the sources, The Spanish gunners held fire until canister range. At least part of the Spanish left on the Perdiguera moved forward and fired at the assaulting troops from the flank. The French advanced steadily without stopping to fire until they reached a ditch in front of the guns. Precisely how far in front of the guns is not clear. One source says the French actually reached the guns on their right on the road; another says the ditch was about 100 yards in front of the guns. Whichever is the case, short range canister plus flanking fire destroyed the head of the column and the entire brigade routed completely and fled back to their starting position.
The other French forces then retired back to the hills they had started on and then the entire force retreated in an orderly manner. During the night, this retreat turned into a rout, due to a rumour that the Spanish cavalry were along them.
Scenario
This scenario represents Suchet's assault on the Spanish position at Alcañiz on May 23rd, 1809. It starts with Laval’s attack, which is then followed by Musnier’s.Alcaniz AAR
The battlefield

 Lazan, with two batteries and a half horse battery in front, from left to right front has the Voluntarios de Valencia, 2/Fernando VII and a battalion of combined grenadiers. In support , under Lazan’s personal command, are 3/America and a small unit of guerillas, the Partida de Guijaro.
 Roca’s position to the left of Lazan, with three battalions of Valencia line in front and 2/America and 3/2nd Saboya in support.
Blake's right, with Areizaga holding the high ground with his militias, the Tiradores de Murcia on the right (bottom) and the Reserve de Aragon in support, Tiradores de Doyle are behind the Hermitage and Voluntarios de Aragon and the Daroca battalion are on his left. A dense woods (top), site of some very heavy fighting, separates Areizaga's position from Lazan.
 On Blake’s far left Menacha’s brigade (2/Cazadores da Valencia and 1/Voluntarios de Zaragossa) deploy in line in orchards, while Ibarrola’s horse (Hussares Espanoles, Olivenza and Santiago) cover the flank.
 With the blessing of a priest, Blake surveys his deployment with satisfaction. Let the French come!
 View of Roca’s and Lazan’s positions on the two hills, from the road to Alcaniz.
 View of Areizaga’s position on the Spanish right from the Hermitage of Santa Barbara.
And the battle... |
Map showing deployment of the Spanish forces and Suchet’s initial plan of attack, with Laval’s brigade and Wathier’s horse advancing on Areizaga while Suchet’s reserve and the French artillery guard his flank.
|
 Laval attacks!
Overview, from left to right.
As Laval pushes his Poles forward, Areizaga throws his Tiradores forward in skirmish formation while the small battalion of Aragonese light infantry occupy the Hermitage of the Virgin. To the right of the hermitage the 14th advances while in front Wathier charges the Spanish howitzer battery. Top left Areizaga pulls his reserve into the high rough ground (cavalry unable to enter). The howitzer, too far forward, limbers up to join in the retreat but is caught by Wathier’s cavalry. The artillery crew evade to the safety of the Spanish line while Coronel Cucalon, also caught in the path of the charge, dashes to the safety of the hermitage to join the Voluntarios de Aragon.
On Laval’s right Suchet brings up his guns with his reserve screening in front.
 Suchet advancing behind screening infantry is shelled from Lazan’s guns.
Wathier’s 13 Cuirassiers and two squadrons of the 4th Hussards charge and overrun the Spanish limbered howitzer, then pull up short, unable to pursue the Spanish into the rough ground to which they take refuge.
 Laval’s 3rd Vistula sweep Doyle’s Tiradores off the Cerro del Pueyo as the Poles cross the heights in open order to follow up the 14 on the right. They bypass the Aragonese light infantry in the Hermitage, who stay a thorn in Laval's side throughout the battle!
Tiradores de Doyle (in red) evade from first the Poles and then the French horse as they take refuge behind the Reserve de Aragon.
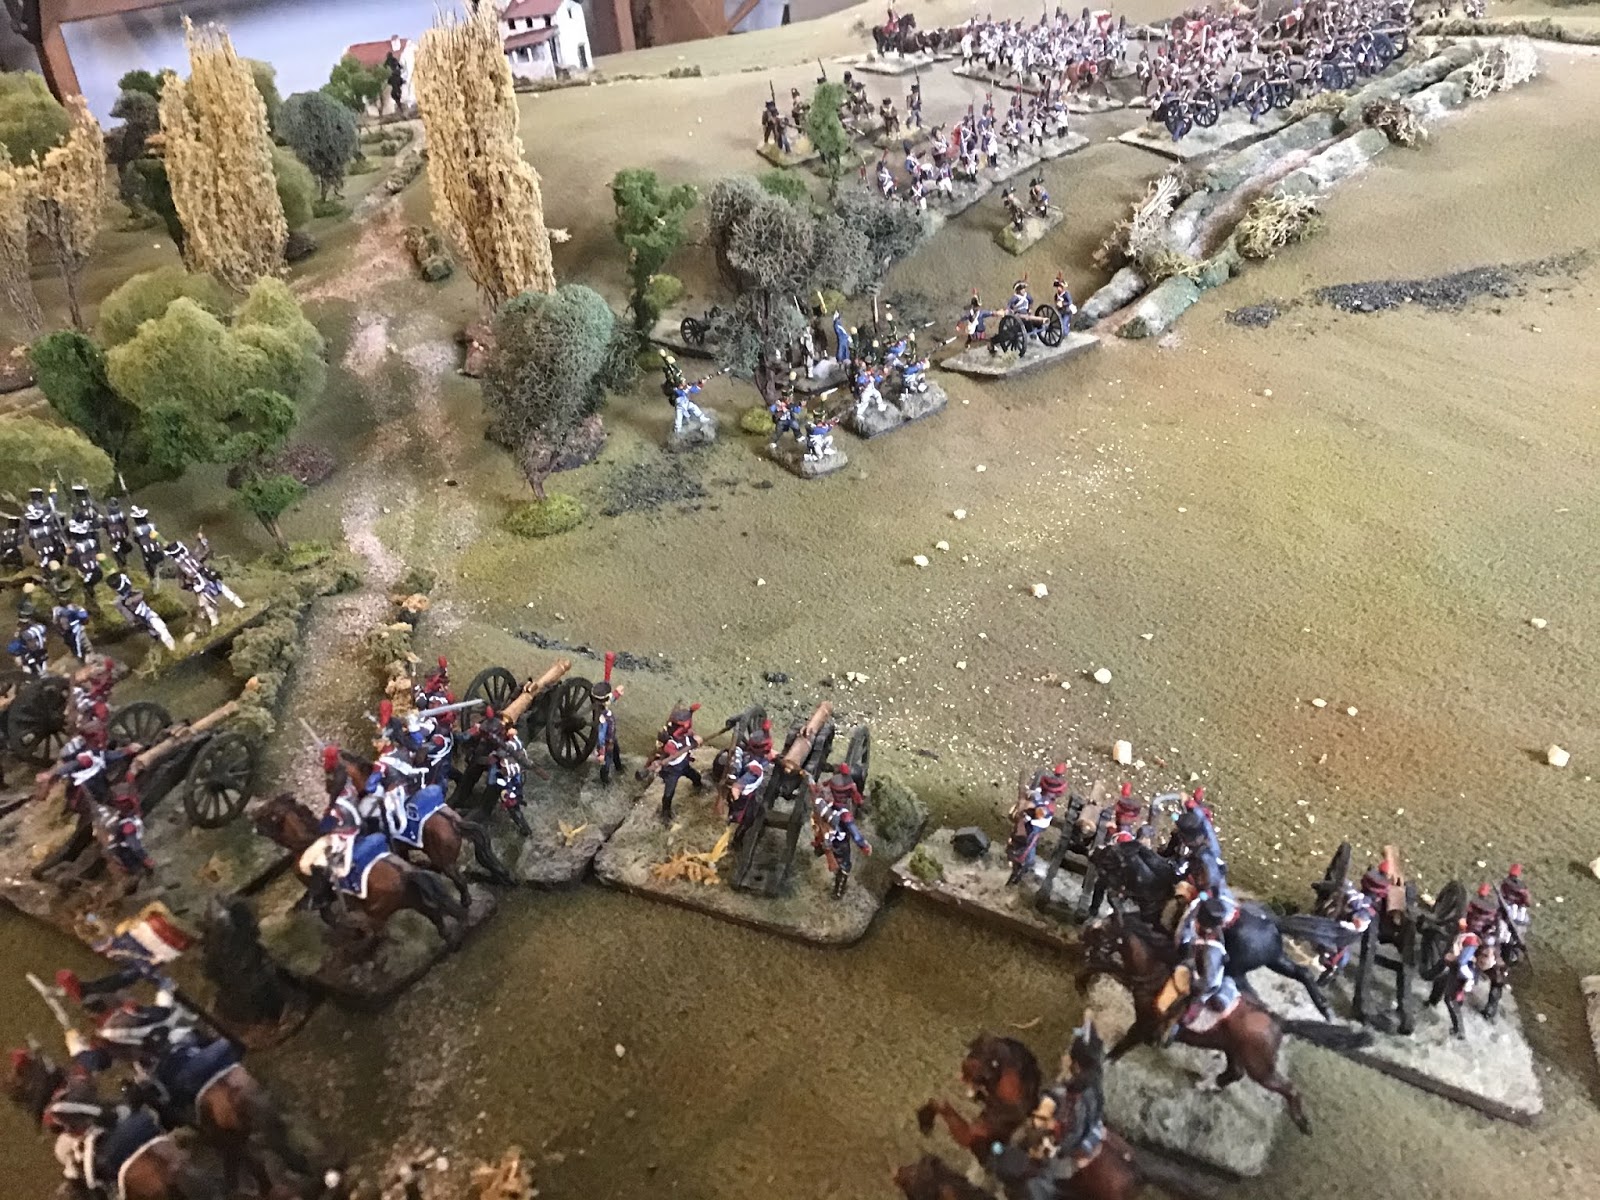
Suchet positions his batteries on the high ground left of centre and begins to shell the Spanish guns. He sends in his combined voltigeurs to clear the half horse battery on Lazan’s right by attacking through the woods.

 |
| In this map the 14th advances on Areizaga while the Poles cross over the high ground and fall in behind. Having overrrun the Spanish howitzer the French horse (top) have pulled back behind Suchet's gun line while Suchet sends his voltigeurs into the woods to clear out the Spanish half horse battery to the right of the gun line on Las Horcas. |
 View from behind the Spanish line. Hoping for a swift victory, the 14th charge Areizaga’s Daroca battalion in column while the 3rd Vistula move up in support. But Daroca holds and the 14th, unable to deploy into line, fare badly. The 2/14 are routed and the 1/14 fall back wavering.
The 1/14th (in white) in full retreat as they are routed by Areizaga’s Daroca. In the foreground Suchet’s 121 pulls back, still covering the rear of the guns, worried about a sally from the Spanish infantry inhabiting the Hermitage.

Laval's Vistula move in as the 14th is driven off by Daroca.

As the 14th fall back Laval's 3rd Vistula move in on the attack. But a devastating first volley from the Aragonese militia (!) drive the Poles back, as Areizaga holds tight on his high ground. Laval starts to realize that the Spanish right might be a harder nut to crack than he had thought.

Meanwhile, on the opposite side of the battlefield, Ibarrola's Spanish cavalry, spotting Musnier's division advancing on the Spanish centre, ventures out from Blake's left to move across Roca's front.

Musnier enters in assault columns, as Lazan's guns start to seek them out at long range. Ibarrola's horse form up in line upper right.

Overview. Areizaga battles it out with Laval on the high ground (foreground), Suchet advances guns (mid upper right) while beyond the guns Musnier arrives top right. Top left Lazan and Roca hold tight in preparation for Musnier’s attack.

Fabre leads with his Poles against the Spanish centre.


Blake, now knowing the French attack will fall on his centre, relays orders (delayed in their arrival) that send Menacha and his troops on a long march to bolster the Spanish centre right.


As Suchet starts to feed his reserve troops into the woods, hoping to turn Lazan's flank, Menacha marches to Lazan's right to link with Areizaga's Tiradores de Doyle already in the woods.

Meanwhile, as things shape up for a slugfest in the woods, the cavalry battle it out on Musnier's right flank. Battalions from the 114 and 115 form square in case it goes badly for Wathier's horse.

 But Musnier's squadrons and the Cuirassiers hold fast.

Musnier's lead troops, the 3/1 Vistula, take advantage of the breach in the gun lines to storm the ditch.
 |
| This map shows the 3/1 Vistula breaching the ditch (centre) as the rest of Musnier's troops follow up. On the upper left top Wathier's Hussards come close to routing from the field before they are rallied, while below the 1/115 and 3/114, although still shielded from the Spanish horse by Musinier's Hussards and the Cuirassiers, form square to protect Musnier's right. In the woods Suchet's reserve and Lazan's 14th battle it out with Menacha's troops and Doyle, while the 3 Vistula retreat to hold against Areizaga around the Cerro de Pueyo on the right of the map. |


Regrouped and rallied, the 1/3 Vistula form column and charge the Daroca battalion. Daroca breaks, and the Vistula fall back into line.

 Menacha's Cazadores break Suchet's 121 and throw back the combined voltigeur battalion. Fighting alongside Doyle, the 1/14th are also hit hard and rout for a second time.
Musnier reforms his troops in column and marches them behind the French guns, following up on the Poles' success. At top right Blake pulls his Oliveira horse back in front of his guns, forcing the second Polish battalion into square.


Roca's three Valencian battalions (rear line in white) arrive and form line behind Lazan's flagging centre.


With the grenadiers and 3/America dispersed the victorious 3/1 Vistula suddenly finds itself deep behind the Spanish gun line on a wide open Spanish flank.

Overview. At the bottom Areizaga, despite the loss of Daroca, continues to frustrate Laval's attempt to break the deadlock.
In the woods (middle) the seesaw battle continues while in the Spanish centre, despite the arrival of three fresh battalions from Roca, things are starting to give.
Top right the cavalries clash for the last time while top left Roca's two remaining battalions on La Perdiguera form square.
 |
| Map of above overview. On the right Vistula 1/3 takes Tiradores de Doyle in the flank, but misjudge the difficulty of attacking infantry on the edge of a woods and are sent packing. To Doyle's left 2/14 attack Menacha's Cazadores, who are routed, although the Voluntarios de Zaragoza still stand firm. In the centre Musnier throws his troops into assault columns, marching behind the guns and towards Lazan's right, where the 2/1 Vistula are about to knock a big hole in the Spanish line. |

1/3 Vistula rout after failing to dislodge Doyle. This is the third battalion of Laval's that Areizaga has sent packing!


In the Spanish centre things suddenly collapse. With Ibarrola's cavalry withdrawing Musnier's Hussards, unleashed, charge up the road in column of squadrons, hitting Laval's remaining battery as it limbers up and tries to pull back. (The horse battery successfully withdraws to safety.)

Musnier's second Vistula battalion also form column and charge, but the guns are overrun just as they arrive. (Both these photos are screen captures from Brian's Facetime feed as he gets a ground's eye view of the unfolding battle!)

The Hussards's charge carry them past the guns and into Roca's Valencians who have no time to form square. Two battalions in line are broken by the French horse in quick succession and the Spanish centre is shattered!


In the woods in the centre the French begin to get the upper hand, but it is immaterial as Blake's centre has crumbled and most of Lazan's and Roca's troops are in full retreat. Two of Roca's battalions, along with the Spanish horse artillery, are still in square at the top, but with a division of French and a brigade of enemy cavalry between them and safety things don't look good.
We called the game at this point as Brian had a flight to catch back to Europe. The Spanish army was not yet broken, but close to it as the writing was on the wall. We agreed that his virtual connection, despite the Facetime link, photos and updated maps, still made it difficult to always capture the big picture. But this was the fourth time in playing this (three times played solo by Brian) that the French have won a battle that historically was one of those few that went to the the Spanish. Again we agreed that Areizaga and the Spanish horse did surprisingly well and that there were key moments when things could have gone either way, so a great and well-balanced scenario, for certain! Next fight, the battle of Maria where Blake and Suchet face off for a second time. Stay tuned...