The New
Zealand 28th (Maori) Battalion Attack
on the Cassino Railway
Station
Cassino,
Italy, February 17/18, 1944
This was a playtesting of a small scenario I wrote for the Battlefont WWII rule set, a tense little night time battle between the Maoris of 28 Battlaion, 2nd New Zealand Division and the German defenders, 361 Panzer Grenadiers of 90th PG Division. In effect there are two fights going on, one to secure the bridgehead and the other, by the Kiwi engineers, to repair a series of German demolitions along a railway bed before dawn. It was played using 20mm miniatures on a 3' X 4.5' table. Only the first part of the scenario was played as it ended in a German victory, which precluded the second part.
Background
 By
mid-February, 1944 the U.S. 34th Division's attempts to
force a breakthrough at Cassino had exhausted the division with only
marginal gains in the hills west of the town. The front was now
handed over to General Freyburg and his New Zealand Corps (8th
Army, 2nd New Zealand Division and the 4th
Indian Infantry Division) newly arrived from the Adriatic front.
Freyburg was under pressure to launch a relieving action that would
divert German resources from the mounting difficulties being
experienced at the Anzio bridgehead to the north.
By
mid-February, 1944 the U.S. 34th Division's attempts to
force a breakthrough at Cassino had exhausted the division with only
marginal gains in the hills west of the town. The front was now
handed over to General Freyburg and his New Zealand Corps (8th
Army, 2nd New Zealand Division and the 4th
Indian Infantry Division) newly arrived from the Adriatic front.
Freyburg was under pressure to launch a relieving action that would
divert German resources from the mounting difficulties being
experienced at the Anzio bridgehead to the north.
A
few days before the attack the great abbey at Monte Cassino was
reduced to rubble in the still highly controversial bombing of
Monastery Hill. Over the previous months of fighting the monastery
and its commanding position over the entire Liri Valley had become
fixed in the Allied mind as being primarily responsible for their
inability to break the German's Gustav Line.
The
abbey bombing on February 11 was followed by a series of attacks,
culminating on the night of the 17th when the 4th
Indian Division launched its attacks into the mountains east of the
monastery. These attacks were coordinated by an attempt by the 28th
(Maori) Battalion to force a bridgehead over the Rapido River and
seize the Cassino railway station and surrounding objectives west of
the town.
.jpg) |
| The scenario map shows the two company attack by the Maoris of 28 Battalion. German 5 Kp., II Battalion, 361st PG Regiment, occupied the houses north of the station and the railway station itself. 6 Kp. defended the railyard and hummock while 7 Kp., not in the fight, were dug in west of the Gari. |
Scenario
This scenario covers the intitial night
attack on the station. The challenge was to seize four objectives in
order to secure a safe bridgehead in which the engineers could do
their work repairing the German demolitions along the rail bed. The
railbed offered the only way across the water-logged ground for
supporting armour and vehicles to bolster the bridgehead. It was
imperative that the work be done before dawn, when German artillery
would be able to once again zero in on the approach from their
eagle-like vantage points on Monte Cassino.
The
railway runs up through the water-logged ground bordering the rapido
and its tributaries. At the upper right are the outskirts of Cassino,
and just below that the railway station and roundhouse. The German
forces and defences west of the Gari (upper left) are placed on board
but the rest are using hidden markers. Barbed wire was known but
minefields, surface laid, were only discovered when the attackers
were within 1”.
The Maoris began their attack along a sunken road,
forward of where the engineers were bridging the “Little Rapido”,
the first in a half dozen demolitions that had to be repaired by
game's end.
2. View up the railway towards the station
The first of the
demolitions, the ruined bridge over the “Little Rapido”, can be
seen in the foreground.
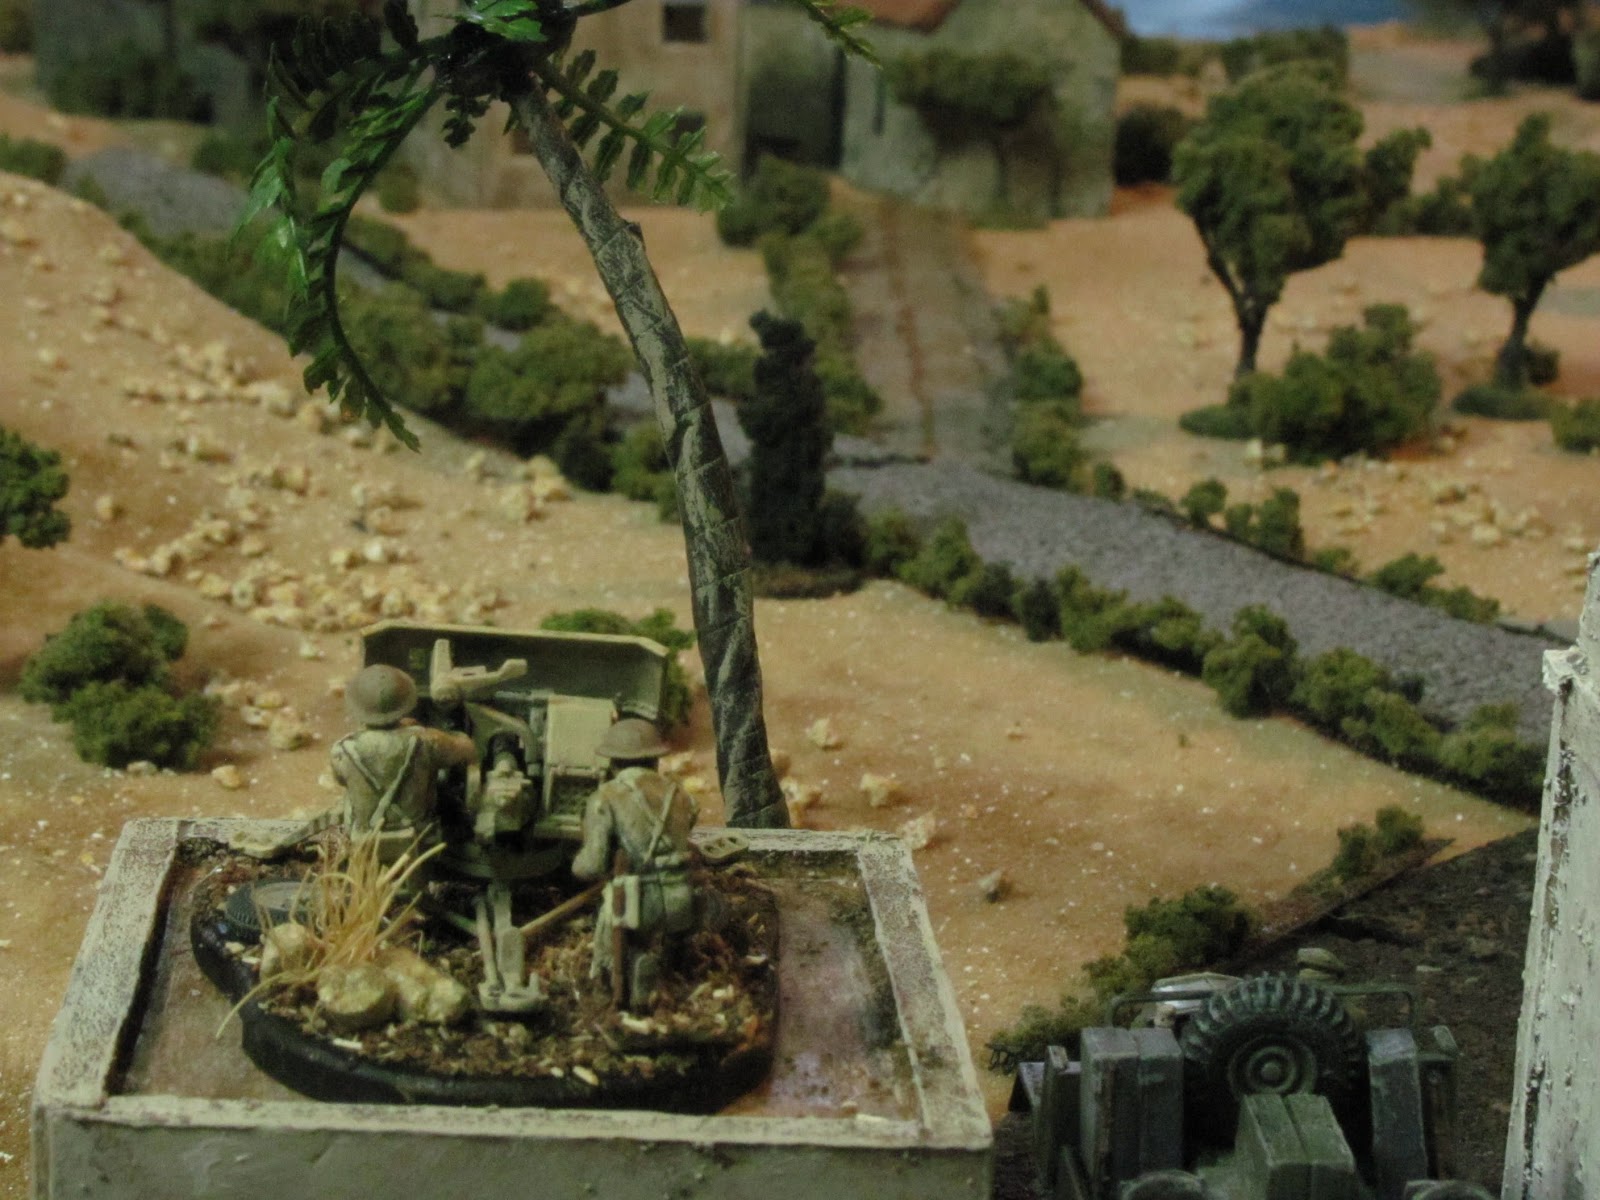
3. German defences west of the Gari
River
Behind minefields and barbed wire 7 Kp. of the 361st
Pz. Grenadiers, II Battalion hold their portion of the Gustav Line.
Unsure of where the attacks were going to fall, these troops have
orders to stay put and not cross the Gari. As a result they willl
only be involved peripherally in the night's fighting.
4. A Company
advances behind barrage on left side of railway
A barrage consisiting
of four regiments of 25 pdrs., two regiments of mediums and a battery
of American heavies opens up on the attack's objectives, pulverizing
them for ten minutes before moving on to counter battery and
harrassing fire. A and B Companies of the 28 (Maori) Battalion leave
their start line, advancing across the sodden fields towards the
railway station under cover of darkness.
5. First Contact
B Company,
advancing on the houses to the right of the railway, come under fire
from a German machinegun firing from a bunker. With most of the
company mired in minefields and barbed wire, one section charges into
the hail of bullets and knocks out the gun.
6. Grazing fire on NZ
right flank
An overhead shot gives a sense of the hail of bullets,
tangles of barbed wire and minefields that the Maoris have to
negotiate to close with the enemy. German grazing fire kept most of B
Company's heads down, but one lone section managed to dash through.
Gerrman artillery, targetting behind the minefields, has already
caused a few casulaties even before the Maoris have made
contact.Railway station is at bottom right.
7. Grazing fire on NZ left
flank
A Company, attempting to outflank the machinegun fire they are
taking from the hummock south of the roundhouse, encouter minefields
and are pinned by more machinegun fire coming from the German
positions west of the Gari River. Although the minefields are dummy
fields, the machinegun fire ie enough to cause them to abandon this
approach.
8. Engineers bridge Little Rapido
Meanwhile the engineers are
working feverishly to repair the German demolitions along the
railbed. This work is imperative as the railway is the only approach
possible for A Squadron of the 19th Armoured Regiment to
advance its Shermans. The Little Rapido is quickly bridged and the
engineers move forward to begin manual work on the subsequent
demolitions. The bulldozer of the Mechanical Equipment Platoon
crosses the newly constructed bridge while a truck full of bridging
supplies for the main work over the Rapido waits to move forward.
9.
Another machinegun opens up from the railyard
As some of the lead
engineers, working ahead, approach the fifth and sixth demolitions,
yet another German machinegun opens up from a bunker in the railyard,
sending a torrent of bullets straight down the railway and driving
the engineers from their work.
10. B Co. begins to clear the houses
north of the railway
Having reached the outer most houses, some of B
Company begin to work their way north, engaging in close combat the
second of the two machineguns that are holding up the attack on this
flank.
11. Overview
.jpg) At the bottom right B Company can be seen starting
to make some headway against the Germans in this sector. South of the
railway (top right) German efenders still hold out stubbornly in the
roundhouse, but no longer hold the hummock. However, A Company is
stalled out in the water-logged area to the left of the station and
unable to make headway.
Meanwhile the engineers begin work on the
Rapido crossing but are hampered by the lack of bridging equipment,
still held up further down the line as the bulldozer fills in the
second demolition, a blown gap in the railbed.
At the bottom right B Company can be seen starting
to make some headway against the Germans in this sector. South of the
railway (top right) German efenders still hold out stubbornly in the
roundhouse, but no longer hold the hummock. However, A Company is
stalled out in the water-logged area to the left of the station and
unable to make headway.
Meanwhile the engineers begin work on the
Rapido crossing but are hampered by the lack of bridging equipment,
still held up further down the line as the bulldozer fills in the
second demolition, a blown gap in the railbed.
12. German defence
begins to break on the right flank
The second German heavy machinegun
is taken out of action and the Maoris of B Company begin to close in
on the final German positions on this flank.
13. Engineers wait for
bridging supplies at the Rapido
The bridging supplies necessary to
complete the first span of work over the Rapido are held up until the
bulldozer can fill a gap in the railbed.
14. A Company stalled out and
stonked on left flank
On the NZ left flank A Company comes under heavy
mortar and machinegun fire as they go to ground in front of the
roundhouse and hummock.
15. B Company moves in on intersction
objective from the north
Having finally forcd their way into the
cassino outskirts, B Company begins to attack back towards their
first objective, the intersection northwest of the railyard.
16. Work
begins on bridging the Rapido
With bridging supplies and the bulldozer
having finally arrived work begins in earnest on bridging the Rapido.
This is the largest of the demolitions that will have to be repaired,
requiring the work of an entire platoon of engineers and two
truckloads of supplies. Although others are wrorking ahead of the
Rapido as much as possible on demolitions 4 to 6, the engineers are
beginning to run seriously behind schedule as time starts to run
out.
17. A Company storms the roundhouse
With off board artillery once
more becoming available, the mediums stonk the railyard with a
thickened concentration that wreaks havoc among the German defenders.
Under cover of smoke A Company tries to revive its stalled attack as
the battalion mortars drop shell after shell on the stubborn
machinegun post that has been holding them at bay south of the
roundhouse.
18. A Company driven off
The first attempt to take the
roundhouse fails as Grman defenders drive off elements of A Company
that have attacked from the left flank.
19. B Company in full
retreat
Meanwhile, on the right flank, B Company, having suffered
losses of 50% suddenly break off their attack on the intersection and
retreat towards their start line. It is an unfortunate turn of events
for the Maoris as the German defence had all but collapsed in this
sector as they retreated to the railyard, but the uncertainties and
loss of command and control as a result of darkness (and bad die
rolls) lead to this most untimely of withdrawals!
20. Engineers under
fire
With the railway station and roundhouse still in German control,
the engineers are forced to work on the final demolitions while under
mortar and machinegun fire. Casualties among 8 Field Company begin to
mount.
21. A Company takes roundhouse
A second attempt at the roundhouse finally clears it in a series of close assaults.
22. Working on the final demolitions
Although the work on the
Rapido moves ahead slowly, all other demolitions are repaired other
than those at the entrance to the railyard. The engineers work under
cover of smoke, but the moon has now come out and the Germans know
thy are there, and mortar fire continuously disrupts the work.
23.
Rapido finally bridged – but too late!
The Rapido is finally bridges
and the bulldozer and engineers engaged in this task begin to move
forward, but it is too late. Dawn is almost here and the last
demolition is yet to have been repaired.
24. 6 Kp. In full retreat
With
the Maoris of A Company closing in on the railyard, German 6 Kp.
breaks and runs, fleeing past an antitank gun waiting west of the
yard as assurance against the arrival of enemy armour.
25. B Company
finally regroups at their start line
B Company's flight from Cassino
finally comes to an end as they reach their start line. They manage
to regroup but it is too late for them to re-enter the battle.
26. End of battle
As A Company finally drives the last of
the defenders out of the roundhouse the sun breaks on the horizon.
Elements of 5 Kp. still hold out tenaciously in the railway station,
denying the New Zealanders of any hopse of holding their bridgehead.
The engineers, working on the final demolition, are forced to
withdraw before completing the work and the tanks of A Squadron wait
well east of the Rapido with no way forward.
With only two of the four
objectives taken by the Maoris, and the railway station still in
enemy hands, there will be no opportunity to win this battle and the
night goes to the Germans as a marginal victory.
 By
mid-February, 1944 the U.S. 34th Division's attempts to
force a breakthrough at Cassino had exhausted the division with only
marginal gains in the hills west of the town. The front was now
handed over to General Freyburg and his New Zealand Corps (8th
Army, 2nd New Zealand Division and the 4th
Indian Infantry Division) newly arrived from the Adriatic front.
Freyburg was under pressure to launch a relieving action that would
divert German resources from the mounting difficulties being
experienced at the Anzio bridgehead to the north.
By
mid-February, 1944 the U.S. 34th Division's attempts to
force a breakthrough at Cassino had exhausted the division with only
marginal gains in the hills west of the town. The front was now
handed over to General Freyburg and his New Zealand Corps (8th
Army, 2nd New Zealand Division and the 4th
Indian Infantry Division) newly arrived from the Adriatic front.
Freyburg was under pressure to launch a relieving action that would
divert German resources from the mounting difficulties being
experienced at the Anzio bridgehead to the north..jpg)
.jpg)
.jpg)
.jpg)
.jpg)
.jpg)
.jpg)
.jpg)
.jpg)
.jpg)

.jpg) At the bottom right B Company can be seen starting
to make some headway against the Germans in this sector. South of the
railway (top right) German efenders still hold out stubbornly in the
roundhouse, but no longer hold the hummock. However, A Company is
stalled out in the water-logged area to the left of the station and
unable to make headway.
At the bottom right B Company can be seen starting
to make some headway against the Germans in this sector. South of the
railway (top right) German efenders still hold out stubbornly in the
roundhouse, but no longer hold the hummock. However, A Company is
stalled out in the water-logged area to the left of the station and
unable to make headway.+.jpg)
.jpg)
.jpg)