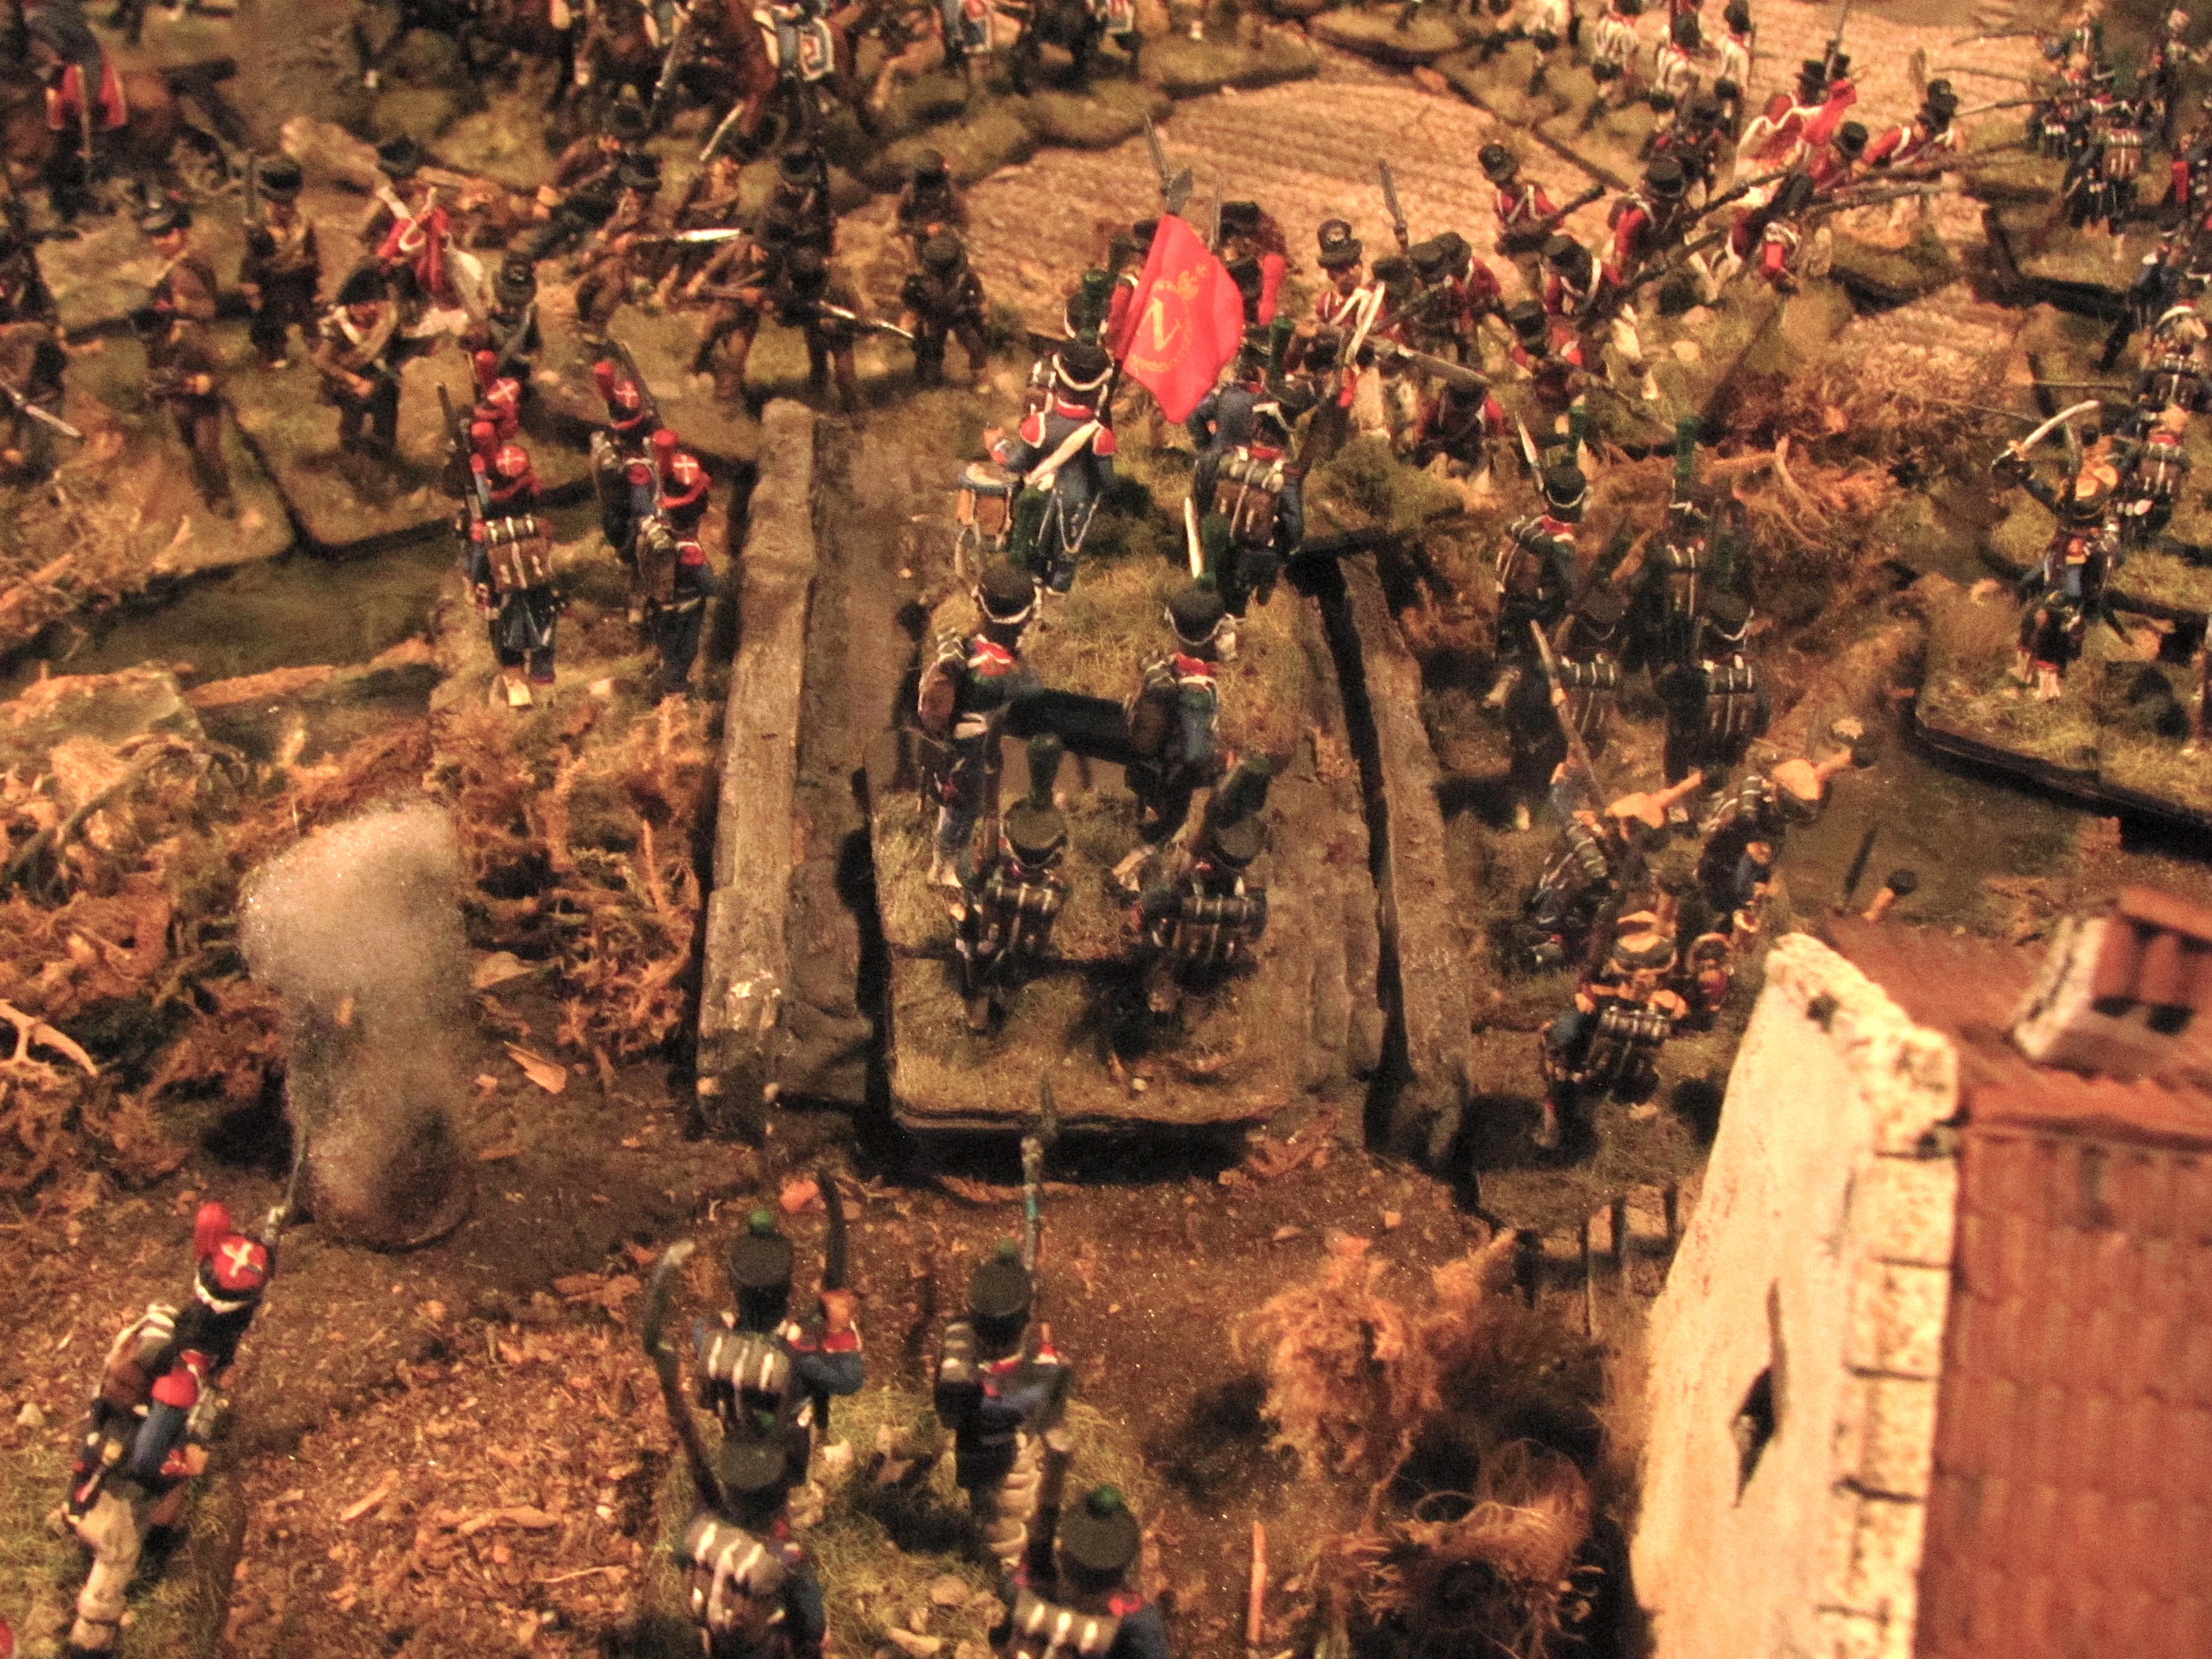
Alan and I were at each others’ throats again, this time with a scenario based on a delaying action fought by Maucune's division against lead elements of Graham's forces at Beasain and Villafranca on June 24, 1813. The French player's aim is to delay the attacking Allies long enough that Foy's retreating column can make it safely past the road junction and move off towards Tolosa.
Background
On learning of the devastating defeat at Vittoria, Foy, engaged in operations around Bilbao, evacuated the city pursued by both Longa's and Graham's forces, both of whom had been told off by Wellington to intercept Foy's retreat. Collecting the garrison of Bilbao and Vertigier Saint Paul's Italian brigade and holding Longa's pursuing Spanish at bay, Foy descended along the road from Bergara. Maucune, escorting his convoy which had departed from Vittoria prior to that battle, was contacted by Foy and ordered to hold the junction of roads at Villafranca until Foy's 8,000 soldiers could pass through. Maucune sent the convoy ahead to Tolosa and then turned back to defend the junction at Villa Franca de Ordizia with his division.
 |
| The map of the battlefield. Foy's column with St. Paul as rearguard enters at A, needing to exit upper right. Halkett and Bradford arrive in squares 2-4 on Turn 1 while Pack arrives on Turn 3 at square 1. The French begin with Montfort's brigade deployed in a line Olaberria to east of Lazkao while Pinoteau's brigade is in reserve at Villafranca. |

The Battlefield
Lots of difficult, heavily wooded terrain here. The Rio Oria traverses the board, starting in the top left and snaking down to the bottom right, with two smaller streams feeding into it top right and mid-picture. The Bayonne chaussée follows this route, crossing and recrossing the river by bridges and running through the two large towns on the right, Beasain and Villafranca. Just visible on the hilltop top left is the small hamlet of Oraberria while centre left is the village of Lazkao. Brigade Montfort holds the south bank of the Oria, with the 2/15th Ligne holding Olaberria, the 1/15th in Lazkao and the 17th Legere’s two battalions in skirmish lines either side of Lazkao. Brigade Pinoteau has its three line battalions held in reserve at Villafranca, north of the river. The Allies will enter from the left, Foy’s column can be seen entering by the road from Bergara at the top right corner.

Pinoteau at Villafranca
The 4/66th, 4/82nd and 4/86th are in reserve at Villafranca.

1/17th Legere and 1/15th Ligne in and flanking Lazkao

Halkett and Bradford advance towards Lazkao
Halkett’s brigade (1st and 2nd Light KGL and a small battalion made up of Pack’s Portuguese light infantry and grenadiers) enter via the hills on the left to clear this side of the Lazkao valley while Bradford’s Portuguese brigade, with the 5th Caçadores leading, move to take the town.

Olaberria by-passed
Graham, wanting to move quickly with the hopes of cutting the chaussée east of Villafranca, opts to simply bypass Olaberria.

Skirmishing west of Lazkao
Seeing this the 2/15th abandons the hamlet and falls back to join the 2/17th’s skirmish line facing the advancing KGL light battalions.

5th Caçadores skirmishing in front of Lazkao
Meanwhile in the valley the 5th Caçadores engage with the 1/15th in front of Lazkao while the massive 24th Line forms up in columns in preparation for assaulting the town.

1st Light KGL drive the 2/15th back off the hill with deadly fire

24th Line seize Lazkao after heavy fighting
The 1/15th give as good as they get defending Lazkao but the weight of the 24th carries the day as they oust the French from Lazkao at bayonet point and seize the town.

Pack’s brigade arrives on Allied left
At about this time the third Allied column, Pack’s independent Portuguese brigade arrives in the Oria valley and moves in column of march up the chaussée towards the junction west of Beasain. His orders are to swing east and follow the south bank of the river to join up with Bradford and Halkett in front of Beasain.

Foy's column descends from Bergara, reaching the Bayonne Chaussée
The French column has already mostly passed the first junction as the rearguard, St. Paul’s Italian brigade enters in march column at the rear.

4/86th Ligne deploys to block Pack's advance
Concerned that Pack’s brigade may intersect Foy’s column, Maucune had directed Poitreau to send troops to hold the junction until the Italians can deploy.

Overview, Allied right
In this overview Halkett’s KGL press the 2/15th back in the foreground in a massive skirmish battle while the 2/17th Legere give ground in face of the Allied advance. Upper left the 1/15th, driven out of the town, can be seen routing towards Villafranca while on the upper right the 1/17th extends its line forward towards the 13th Line, which is defending the stream edge south of the village.

French falling back towards Beasain
With Lazkao lost the French begin to withdraw towards Beasain and Villafranca, continuously pressed by the pursuing Allies.

4th Caçadores cover Pack's advance
On the Allied left the 4th Caçadores deploy in line in front of the 4/86th, covering the rest of their brigade marching behind. At this point Maucune is still unaware that Pack’s brigade has no intention of attacking across the Oria.

Overview
In this overview bottom right Montfort’s 1/17th Legere falls back towards the river. Just above them the 2/17th Legere and 2/15th give ground slowly as Bradford and Halkett press forward. Mid-right Pinoteau has left Villafranca to defend Beasain with his two remaining battalions as, top right, Foy’s convoy moves towards the town. Mid-left and above the Allies press forward while above them top centre Pack’s brigade continues slowly along the south bank of the Oria with the intention of linking up with the rest of the Allied attackers, but demonstrating in front of the 4/86th to try to pin as much of the enemy at the top of the board as possible.
 Pinoteau in Beasain

Pintoteau defends the centre as the routed 1/15th falls back towards the protection of the town.

1/17th Legere retreat to form new line guarding French left
Maucune, realizing that the Allies are probably pressing towards his left to sever the chaussée orders Montfort to form a line of defence south of the river and east of Villafranca. Here the 1/17th fall back towards this new position.

St. Paul's Italians arrive, deploy as rearguard for Foy's column
Meanwhile Foy has dropped off St. Paul’s Italians to form a rearguard against Pack.

2/17th Legere joins 1st to stave off the Allied bid to cut the Bayonne Chaussée
In the lower right a slightly battered 2/17th joins its sister battalion to help form a new line on this flank. However the 2/15th Ligne has been broken in the retreat. Unable to escape the pursuing KGL they were caught and destroyed in the process of crossing the bridge north of Beasain.

1/15th regroups and marches to join remainder of Montfort's brigade
However the 1/15th, reaching the safety of Beasain (lower right), manages to regroup and marches through Villafranca to join the rest of the brigade forward of this town. Behind the 1/15th Foy’s column can be seen snaking through Beasain, upper right.

1/17th Legere charged by 2nd Light KGL
The 2nd KGL are the first Allied troops to contact Montfort’s new line. They charge the 1/17th and after some heavy hand to hand fighting both sides fall back. The French line holds.

Montfort's brigade pressed hard as Foy's column exits Villafranca
Reinforcements begin to arrive as Foy’s column exits Villafranca. Lower right is the end of the 2/15th on the French left, joined by Pinoteau’s 4/66th (next to column) who have moved from Beasain to reinforce the French left. In front of these are the two 17th Legere battalions facing off against the Allied advance.

Overview
Here we can see that St. Paul’s brigade has begun to take over Pinoteau’s position in Beasain (top right), freeing up Pinoteau’s remaining battalions to move into Villafranca (below). The remainder of the French are forming a new line east of Villafranca (lower right). On the left the Allies move forward, with the 5th Caçadores already skirmishing from the woods against the enemy (lower left). Upper left Pack’s brigade has given up on the pretence that they are going to cross the Oria and move down out of the hills in front of Beasain, shadowed by the Italian 2nd Legere.

French rearguard begins to withdraw
Pinoteau’s 4/86th and St. Pauls’s 6th Ligne march through Beasain, following the convoy, while the rest of St. Paul’s brigade hold the river side and bridge.

Shadowing Pack's march on opposite bank
Still concerned he may try to force a crossing and attack the French rear the Italians shadow Pack’s caçadores along the river bank. (lower right).
 4/86th harassed by 4th Caçadores skirmish fire

The Portuguese light infantry manage to engage the last of the 4/86th from across the river as the French march into Beasain.
 Montfort and Pinoteau covering column's exit

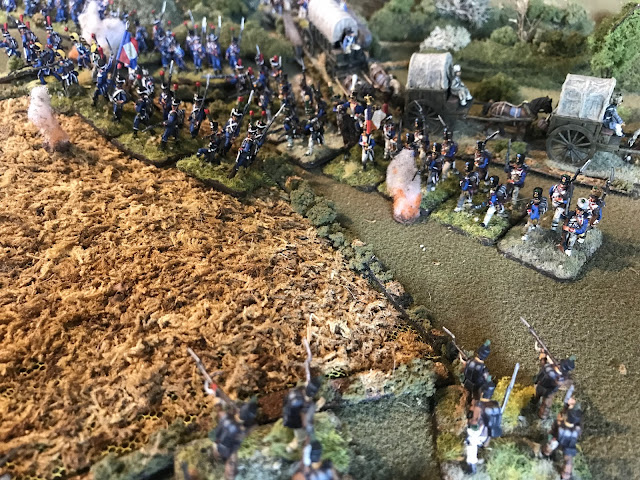
With the convoy almost free of the board, Montfort and Pinoteau’s troops hold fast against any last ditch effort by the Allies to break their line and attack the convoy.

13th Line charges Montfort’s Legere
Sure enough the 13th volley and charge the French line. A deadly return volley by the defenders thins their ranks but after a vicious fight the 2nd Legere are broken.

Montfort breaks but French line holds as 13th falls back
This last melee has finally broken Montfort, having taken the brunt of the Allied attacks so far. He now has to withdraw from the field but the 13th, with heavy losses, is unable to press its advantage and falls back on its supports.

Overview
Bottom right Pinoteau has, however, taken over the French left as more reinforcements march forward. Foy’s column has successfully left the field of battle on its way to Tolosa but Pinoteau and St. Paul have yet to extricate themselves. Lower centre the Allies queue up for another bid to break the French line while above Pack’s brigade moves forward on the south bank opposite Beasain (still held by St. Paul).
 2nd KGL move forward but Montfort's 2/17th Legere sends them packing

Rallied, the 2nd KGL move forward once again in skirmish order. Montfort charges and rather than evade the KGL choose to stand and deliver. But they deliver a very sporadic fusillade (on a 17, they roll a 10 and a 9) and are driven back with heavy losses.

Pinoteau's 4/66th break a charge by the Portuguese 24th Line with a first volley
Undeterred Bradford's 24th Line charges, and again the French line holds, as a well-directed volley drives them back with heavy losses.

Skirmishers engage in the streets of Beasain
St. Paul sends the 4th Ligne out the north of Beasain to move across country towards Villafranca, while the Italian light infantry continue to hold the north part of the town. Pack, seeing the Italians march off up the hill, directs his 4th Caçadores to enter the village, and a skirmish fight breaks out in the streets of Beasain.

Things heat up around Beasain
At about the same time the 1st Light KGL cross the river between the two towns unopposed. As they scramble up the bank and form line the Italian 2nd Legere, seeing this, evacuate the north side of Beasain to form up in column to meet them (top right). Meanwhile the 4th Caçadores sweep through Beasian and up into the hills in pursuit of the 4th Ligne’s disappearing march column (bottom right). The tail end of the column takes fire from the Portuguese skirmishers but manages to slip away behind the 6th Ligne Italians who have now formed line to cover their retreat (top left).

St. Paul's 4th Ligne march to the rear, covered by the 16th

1st Light KGL drive off a charge by the Italian light infantry
A deadly volley drives off a charge by the Italian 2nd Legere as the Portuguese 16th Line prepare to cross the Oria.

Overview
Bottom right Montfort’s two remaining battalions have withdrawn towards Tolosa but Pinoteau now has all three of his fresh battalions in line guarding access to the bridge east of Villafranca. Above him St. Paul’s Italians withdraw, although the 1st KGL and Pack’s brigade, now mostly across the Oria, are in close pursuit and may have trapped the Italian light infantry.
Bottom left Bradford has rallied the massive 24th Line in preparation for another bid to break the French rearguard as the 13th and 2nd KGL recover to their rear.

24th volley and charges Pinoteau's battalions
Both the 24th Line and Halkett’s Portuguese deliver volleys before the 24th charges in. But their powder must have been dampened in the crossing of the Agauntza because little damage is done as the French mount a countercharge. The 24th’s line is so long that it overlaps two of Pinoteau’s battalions, and the Portuguese suffer heavily at the hands of the French…

Pinoteau holds!
…with both sides staggering back from heavy losses, but with the French coming out the clear victor.

1st KGL charge the Italian light infantry
Things do not work out so well for St. Paul’s light infantry however. Already staggering from the KGL’s blistering volley as they gained the north bank of the Oria, the KGL now charge their column while Pack’s 4th Caçadores come swarming down the hillside to engage the Italians’ flank. The column briefly holds and then is broken!

Follow up charge on 6th Ligne
The KGL’s charge carries them on to hit St. Paul’s 6th Ligne, in open order covering the retreat of the 4th.

6th Ligne routed
These are routed and St. Paul’s brigade is broken, although he manages to march the 4th off in good order.
Pinoteau withdraws in good order
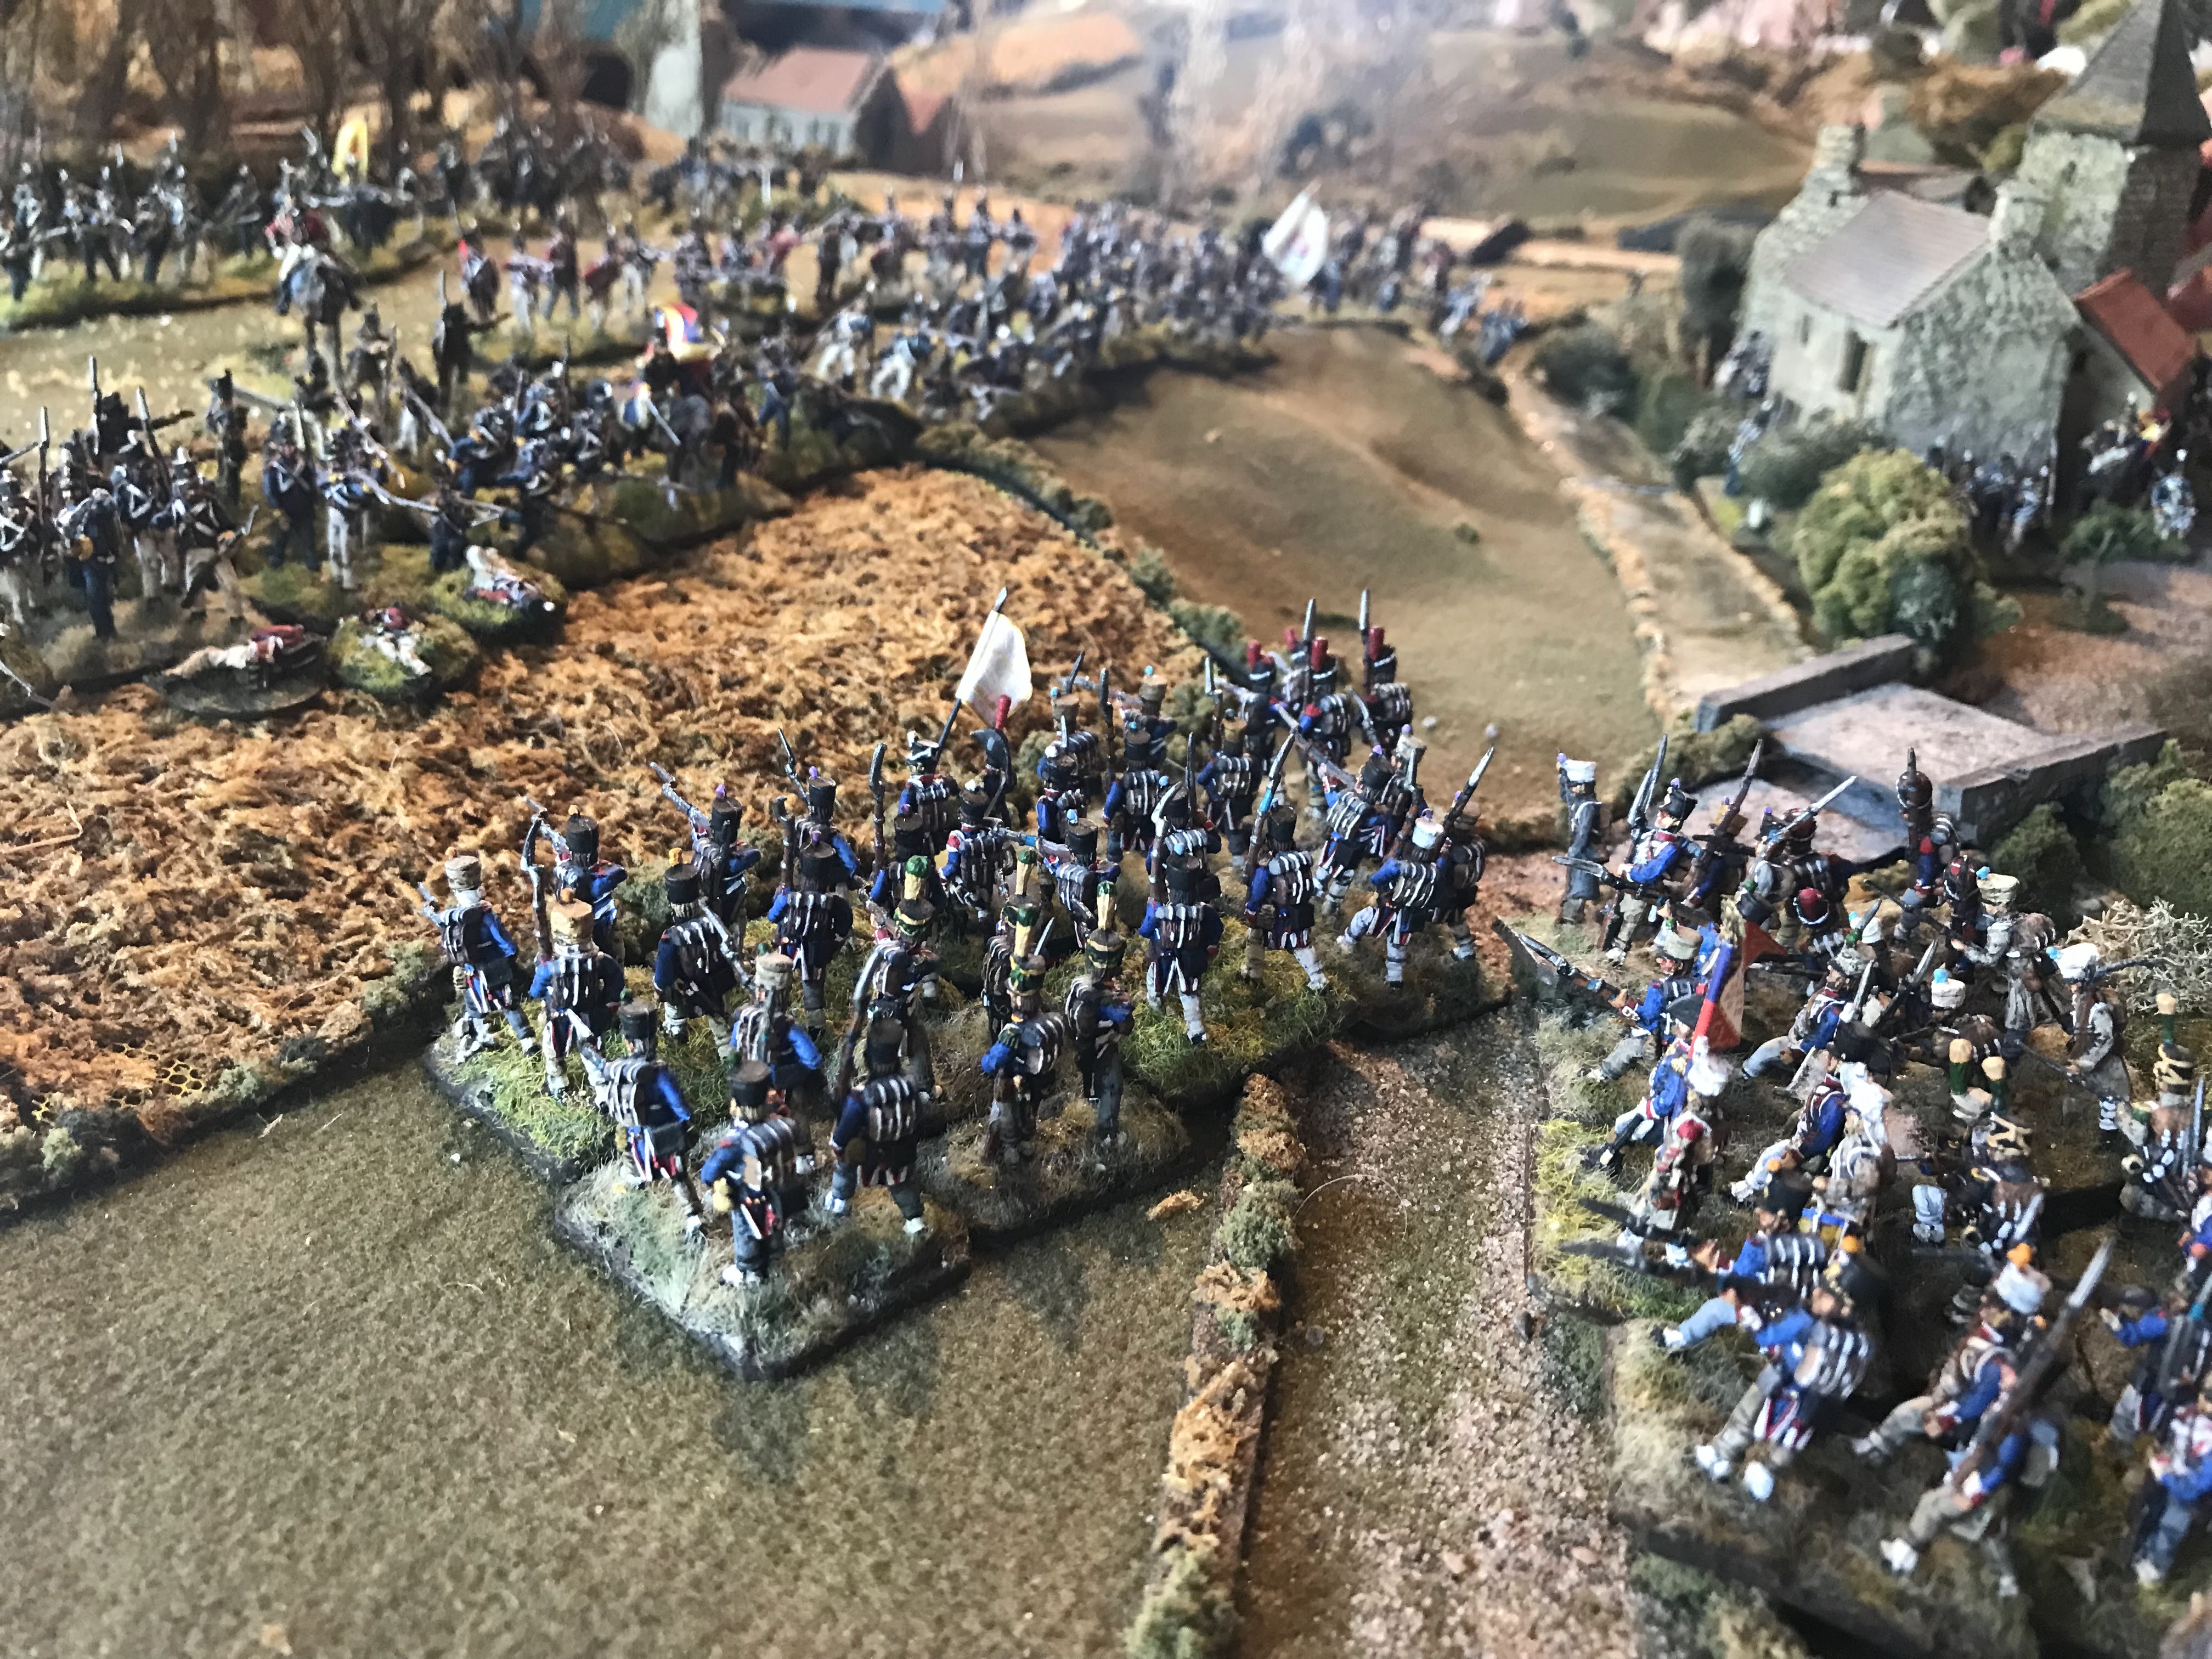
With his fresh third battalion covering the retreat, Pinoteau manages to disengage and exit the battlefield as a cohesive rearguard. But the French have taken a pounding keeping the crossroads open and Graham's Allies come out the victor, albeit weakened enough that they will wait for more of his army to arrive before resuming the pursuit of Foy. The will meet again a few kilometres and a couple of days later up the chaussée, at Tolosa.

Game end
In this overview you can see the troop dispositions at game end. Bottom right Pinoteau’s brigade moves off in good order as Bradford’s 24th Line lick their wounds after being handed a beating by the French. Despite their best efforts, Bradford, supported by Halkett, were unable to break through here and block the French retreat.
However around Beasain and Villafranca Halkett’s 1st KGL and Pack’s brigade have had success, managing to cross the river and engage the Italian rearguard before they could slip away.
The victory conditions give the Allies a minor victory as they had failed to either intercept Foy’s column or break Maucune’s division. However, both St. Paul’s and Montfort’s brigades were broken in the fighting. The Allies suffered less, but Bradford’s brigade, suffering most heavily in both the assault on Lazkao and the attempt to break the French line east of Villafranca, was close to the break point. Halkett too had suffered significant losses whereas Pack’s brigade, like Pinoteau’s came off unscathed. We will pay attention to these tallies when we play Tolosa, still being written but which historically saw both these armies in a major action a few days later.
It was a terrific game, lots of tension as the French first tried to stem the Allied advance until Foy’s column had cleared the board and then disengage, almost succeeding save for the pressure on the Italian rearguard once they could no longer stop the enemy from crossing the river.